Project:
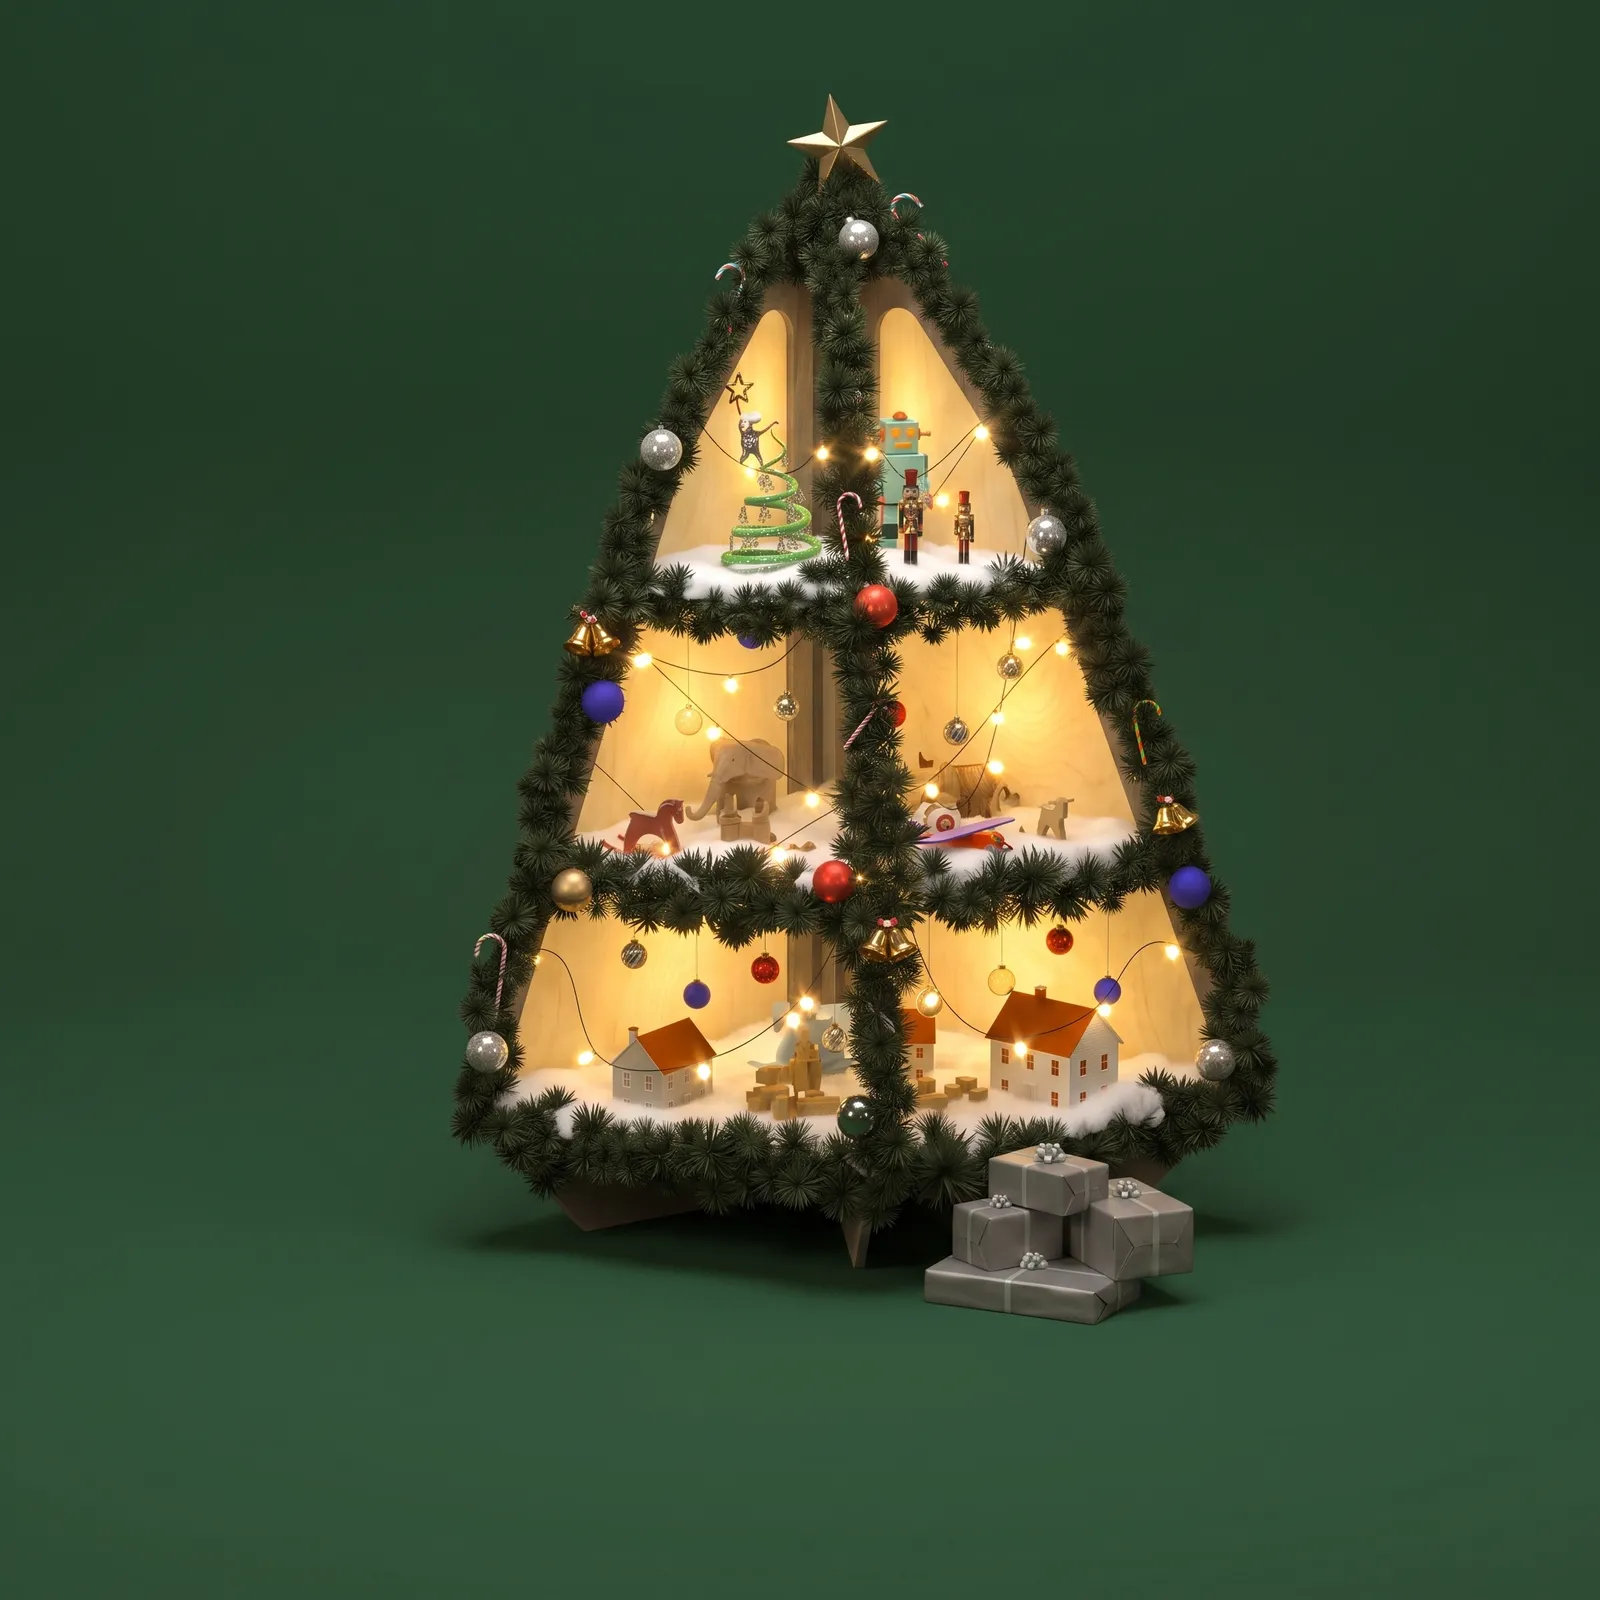
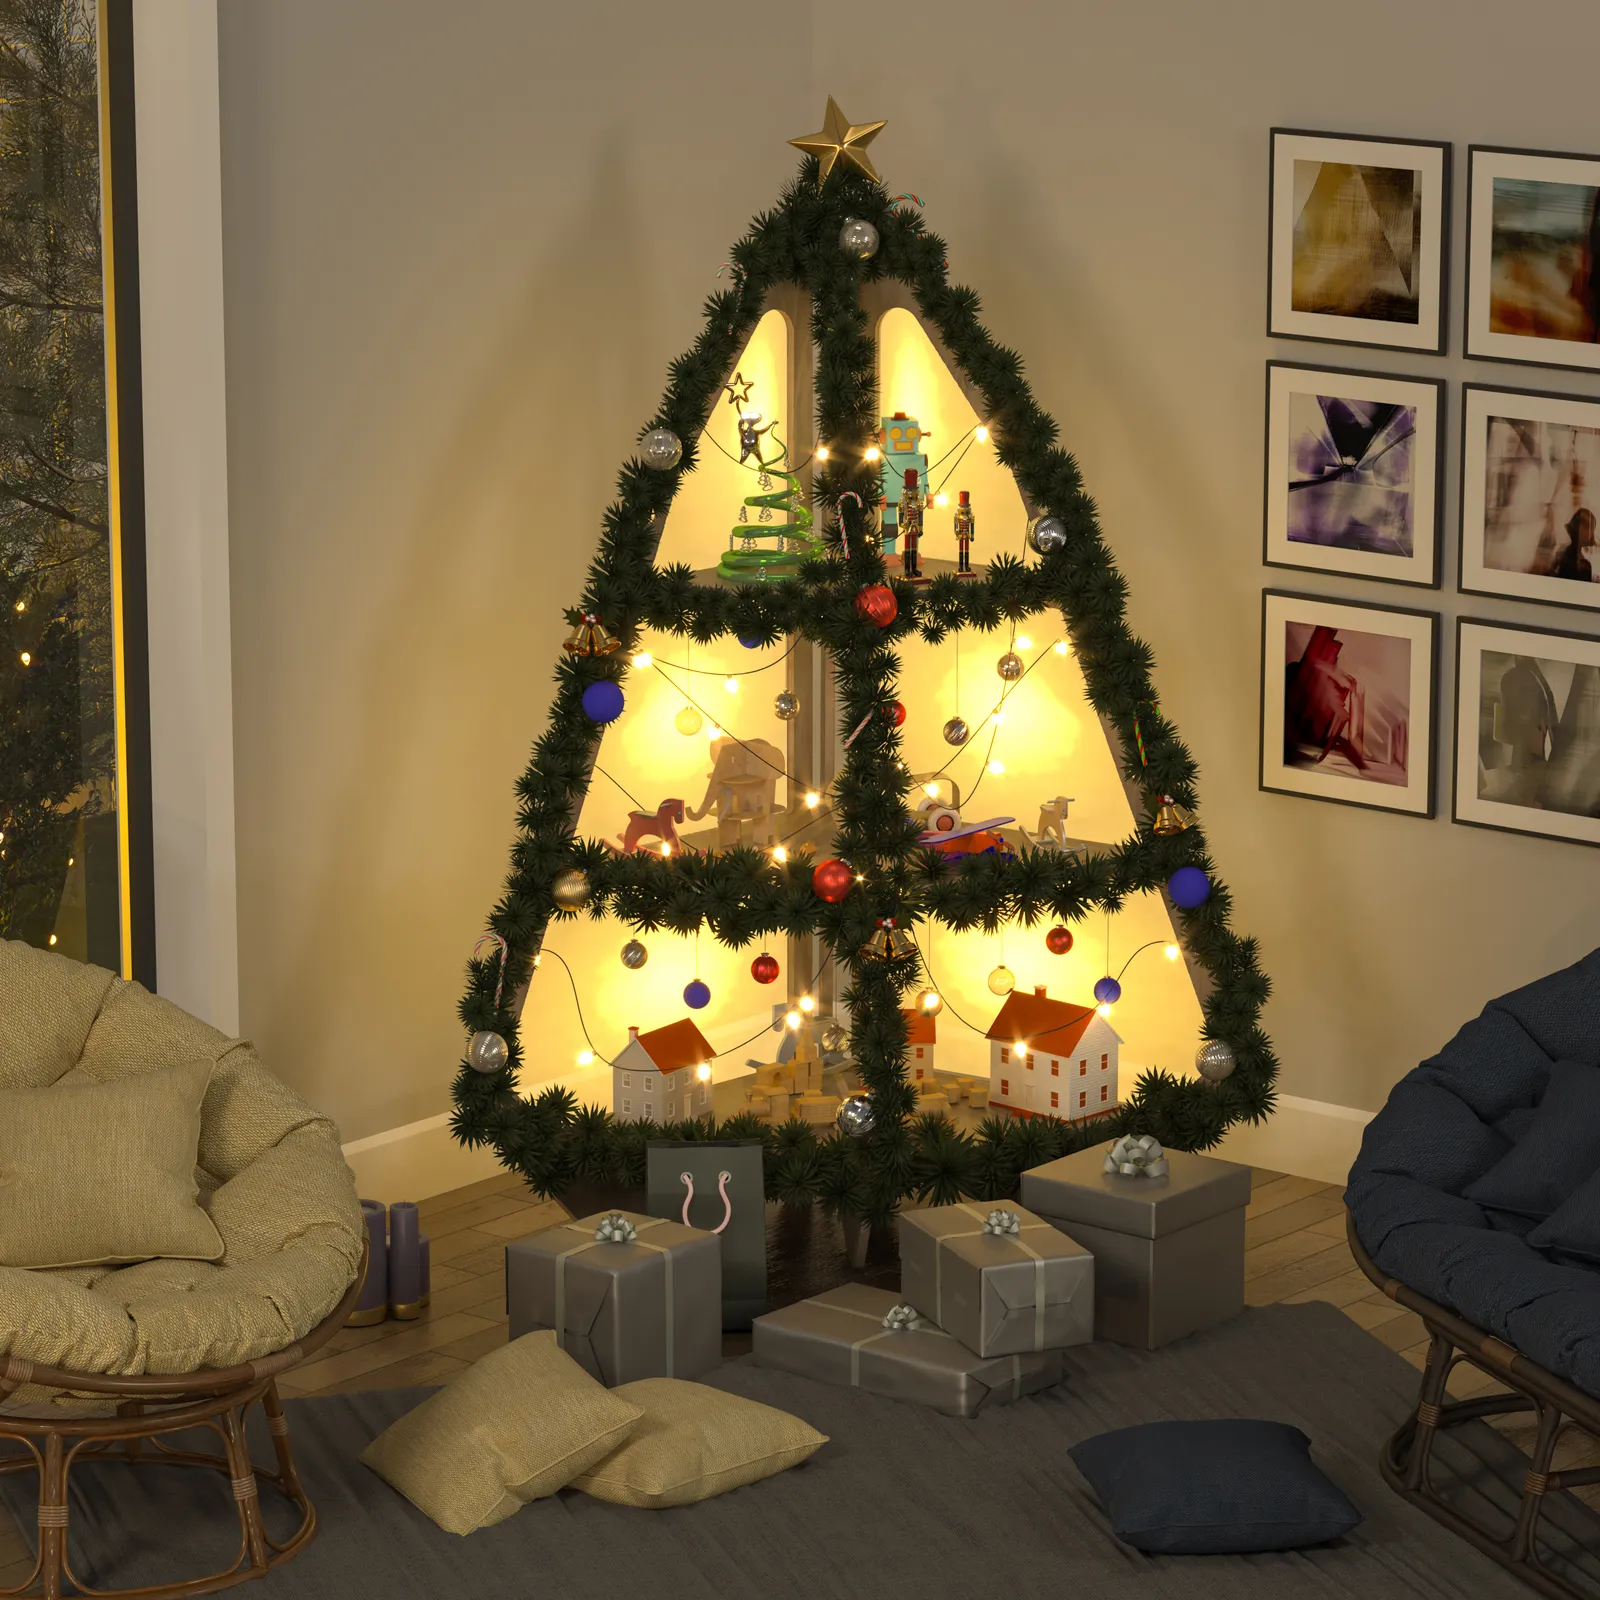
Fully-Illuminated, 6 ft. Corner Christmas Village Tree Stand CNC Files and Assembly Plans (3 Shelves)
Package:
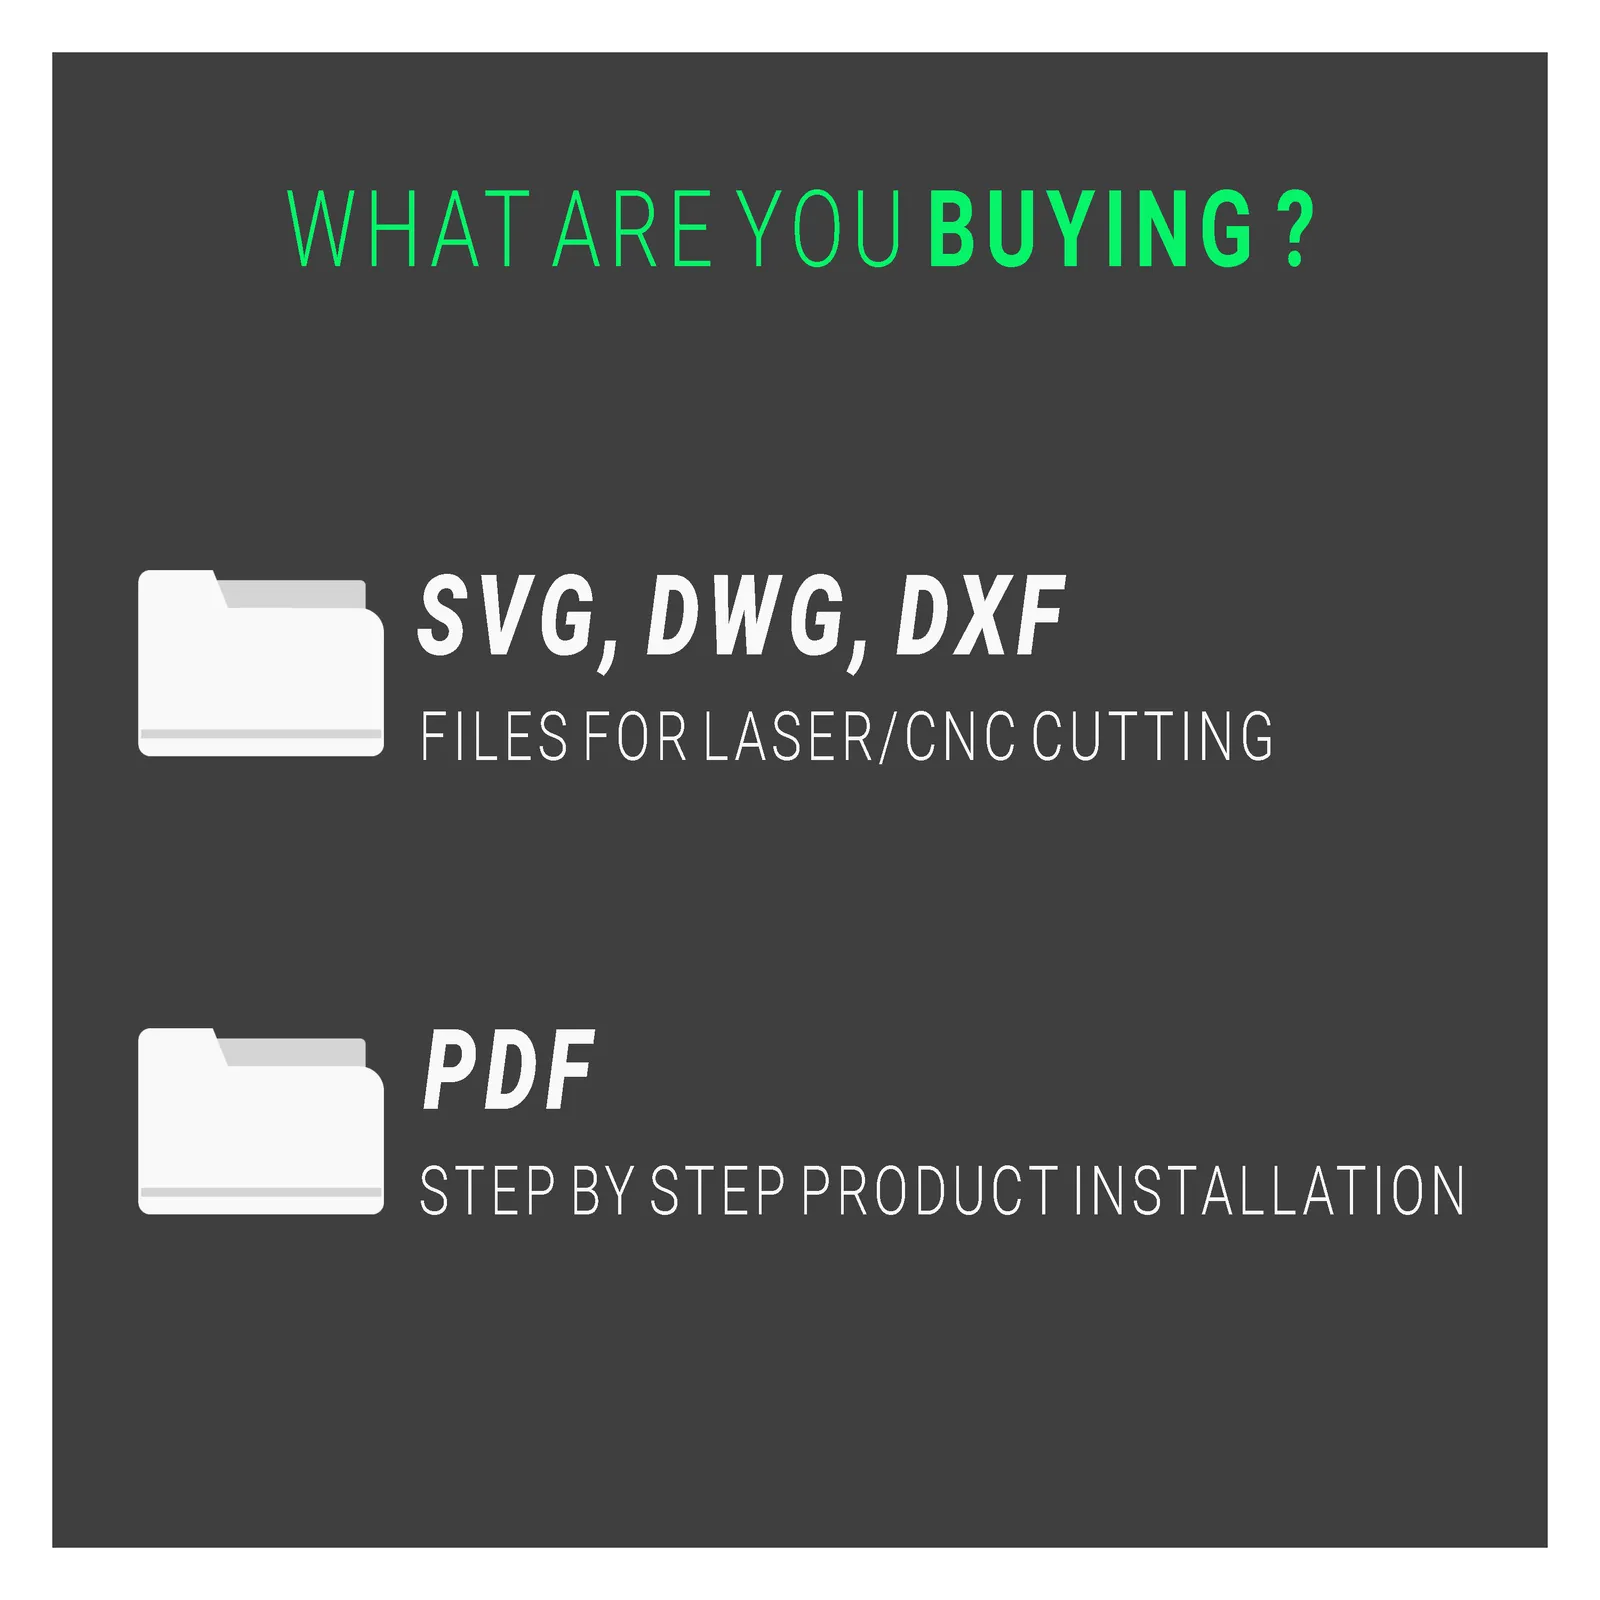
3 CNC Cut Files (SVG, DXF, DWG) + 1 PDF Guide
Laser/CNC-Ready Cut Files with a PDF Production Guide Covering Step-by-Step Assembly, Dimensions and Material Notes
What This Estimate Covers
Plywood Panel
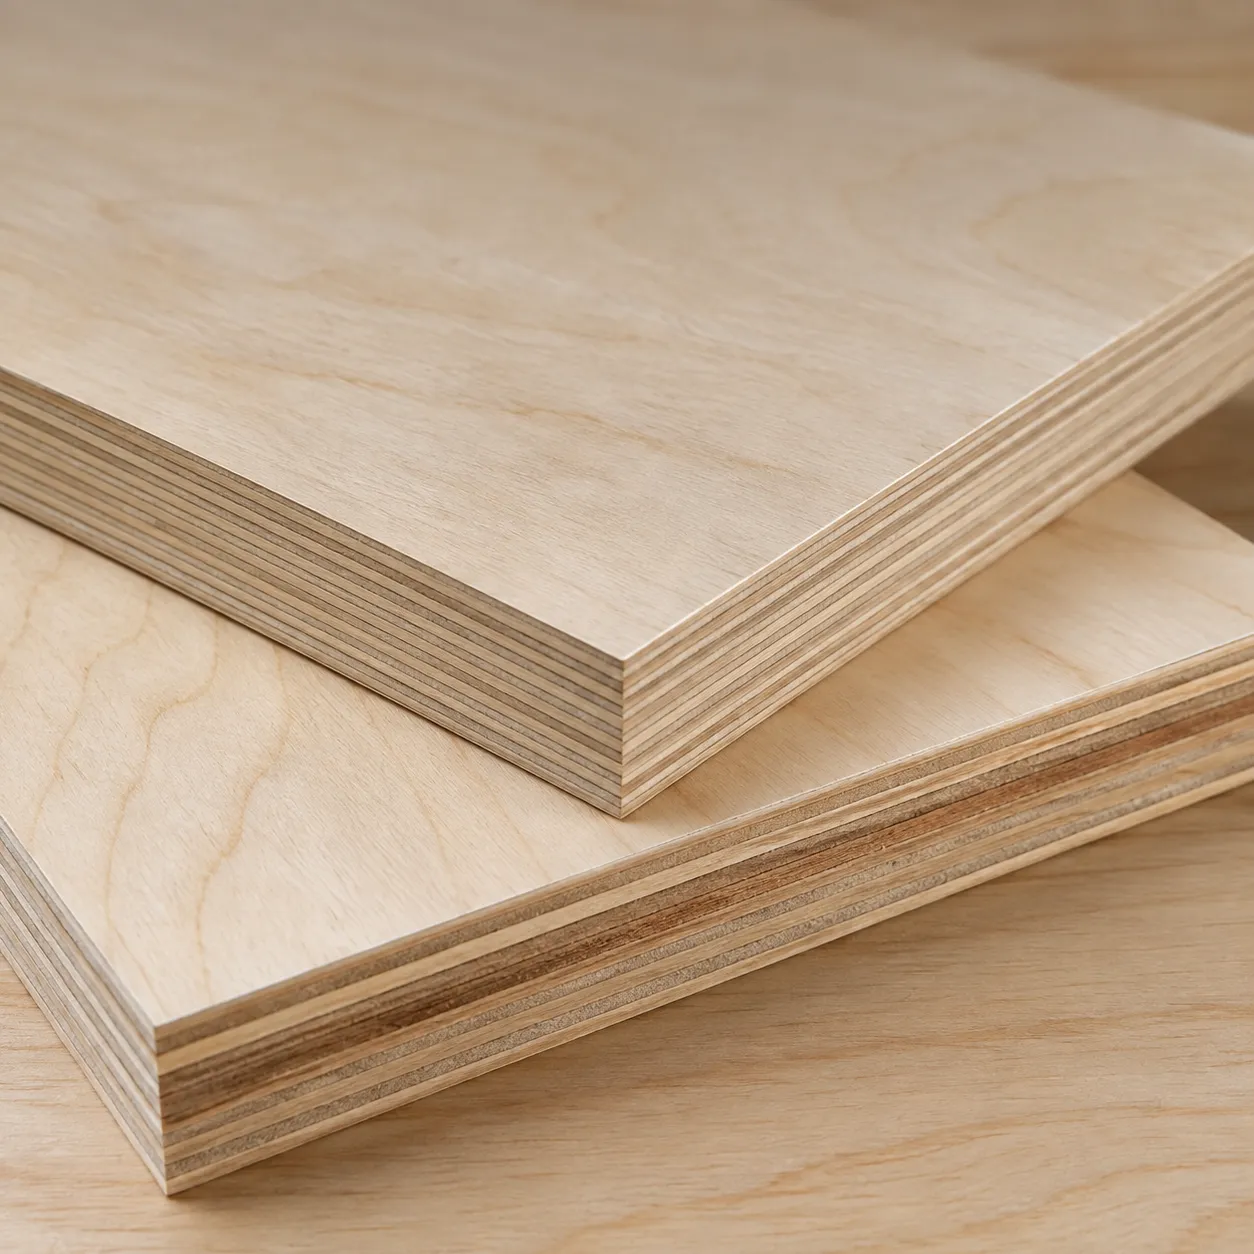
2 sheets of 19/32" (15 mm) hardwood-faced (birch) plywood — this estimate uses the hardwood-faced option, which is cheaper than Baltic birch.
Screws & Hardware
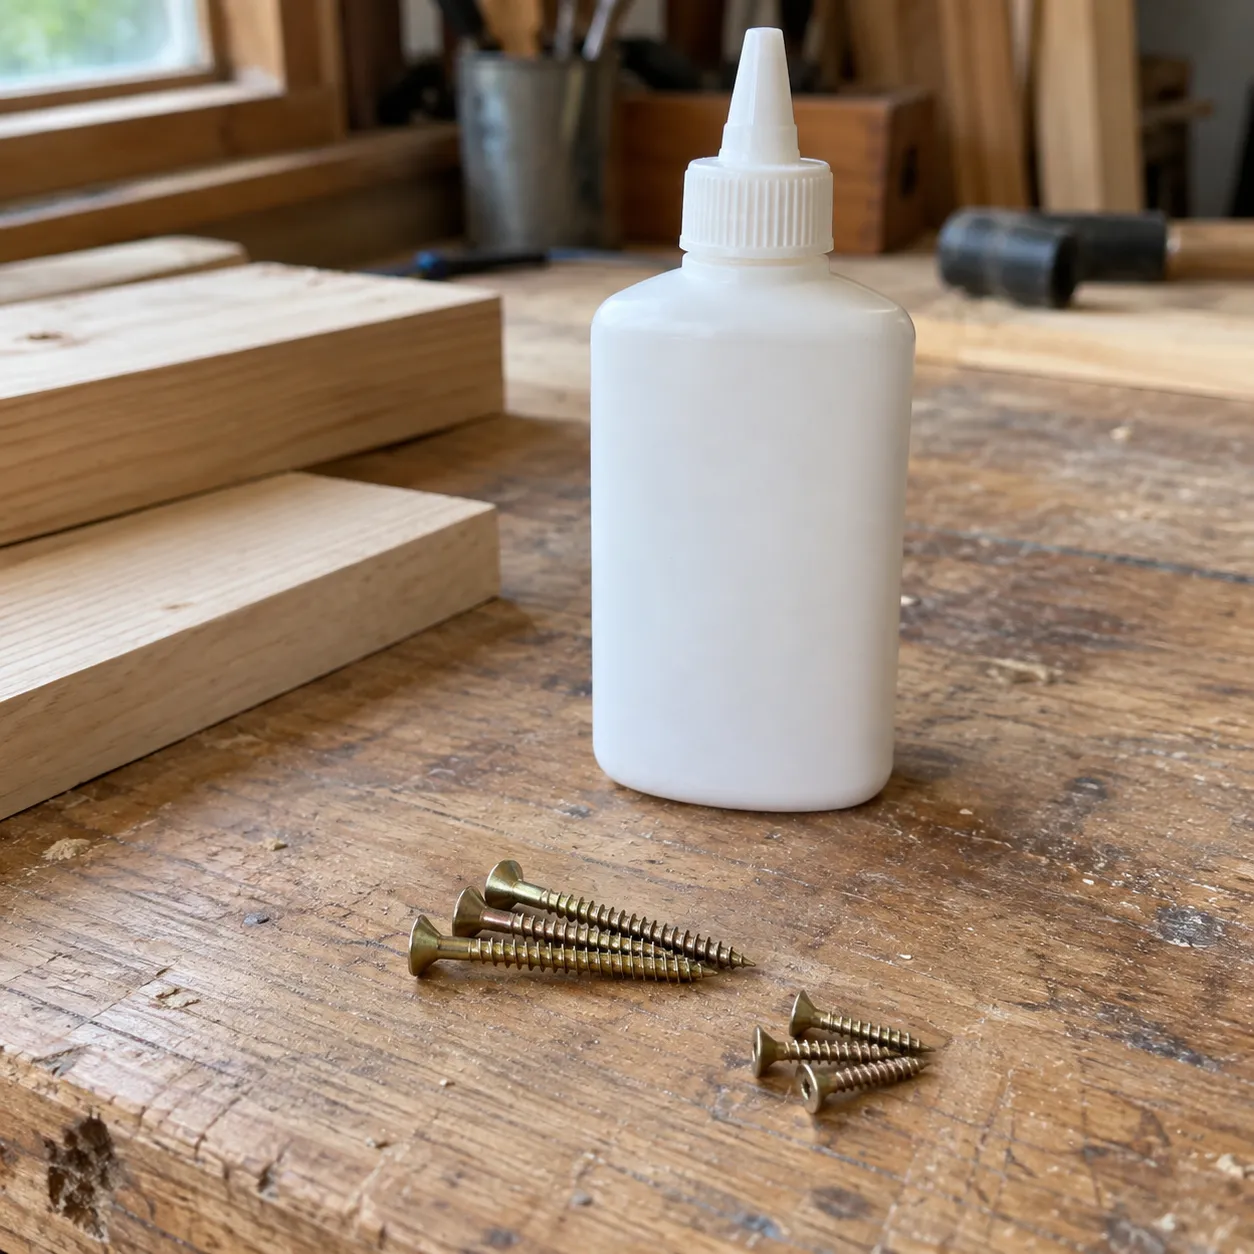
The #8 x 1" and #8 x 2" flat-head wood screws for the panel and holder joints (about 80 total) — sold in 100-count packs, so a little extra is unavoidable.
Finish (Varnish/Paint)
Water-based polyurethane varnish (1 quart) for the natural birch look, priced here; a fully painted finish costs differently based on the primer/paint you choose.
Acrylic Lighting Panel & Screws
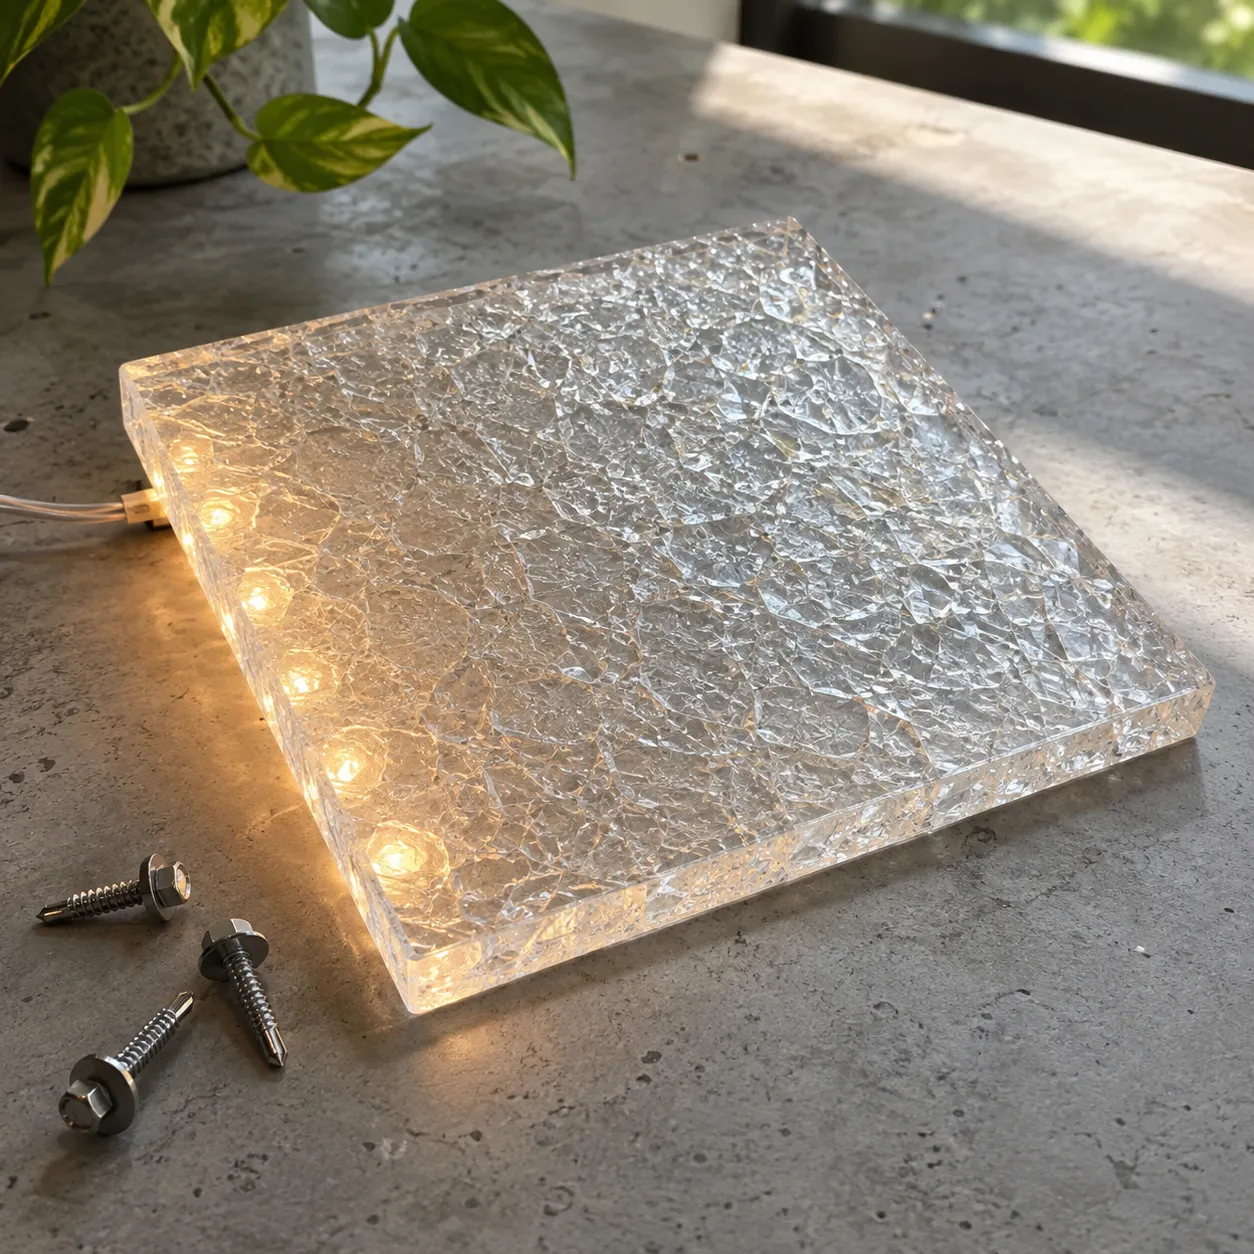
The 2 OPTIX "cracked ice" acrylic lighting panels the guide references, plus the hex washer screws that hold them — I designed this variant to be lit, so both are required.
LED Strip
Price varies by length, wire type, and brand, so it's not included in this estimate.
Wall Anchor Hardware (Anti-tip Kit)
An optional safety measure; whether you use one and which kit you pick varies by person, so it's not included.
CNC/Laser Cutting Labor
If you have the cutting done by a shop, labor pricing varies significantly between local providers, so it's not included in this estimate.
Fast processing. Help was offered.
Oct 16, 2025 · Martina B*
I haven't made it yet, but the instructions are clear and easy to read. Will post pictures after it is made. Didn't need customer service. Thank you!
Aug 6, 2025 · Jacquelynn O*
Great design, I'll try to build it as soon as possible.
Nov 13, 2024 · Giuseppe S*
Great plans! Very easy to understand and suggestions are right on!
Oct 31, 2024 · Deborah
Directions are easy to understand.
Feb 3, 2024 · Courtney
Fast processing. Help was offered.
Oct 16, 2025 · Martina B*
I haven't made it yet, but the instructions are clear and easy to read. Will post pictures after it is made. Didn't need customer service. Thank you!
Aug 6, 2025 · Jacquelynn O*
Great design, I'll try to build it as soon as possible.
Nov 13, 2024 · Giuseppe S*
Great plans! Very easy to understand and suggestions are right on!
Oct 31, 2024 · Deborah
Directions are easy to understand.
Feb 3, 2024 · Courtney
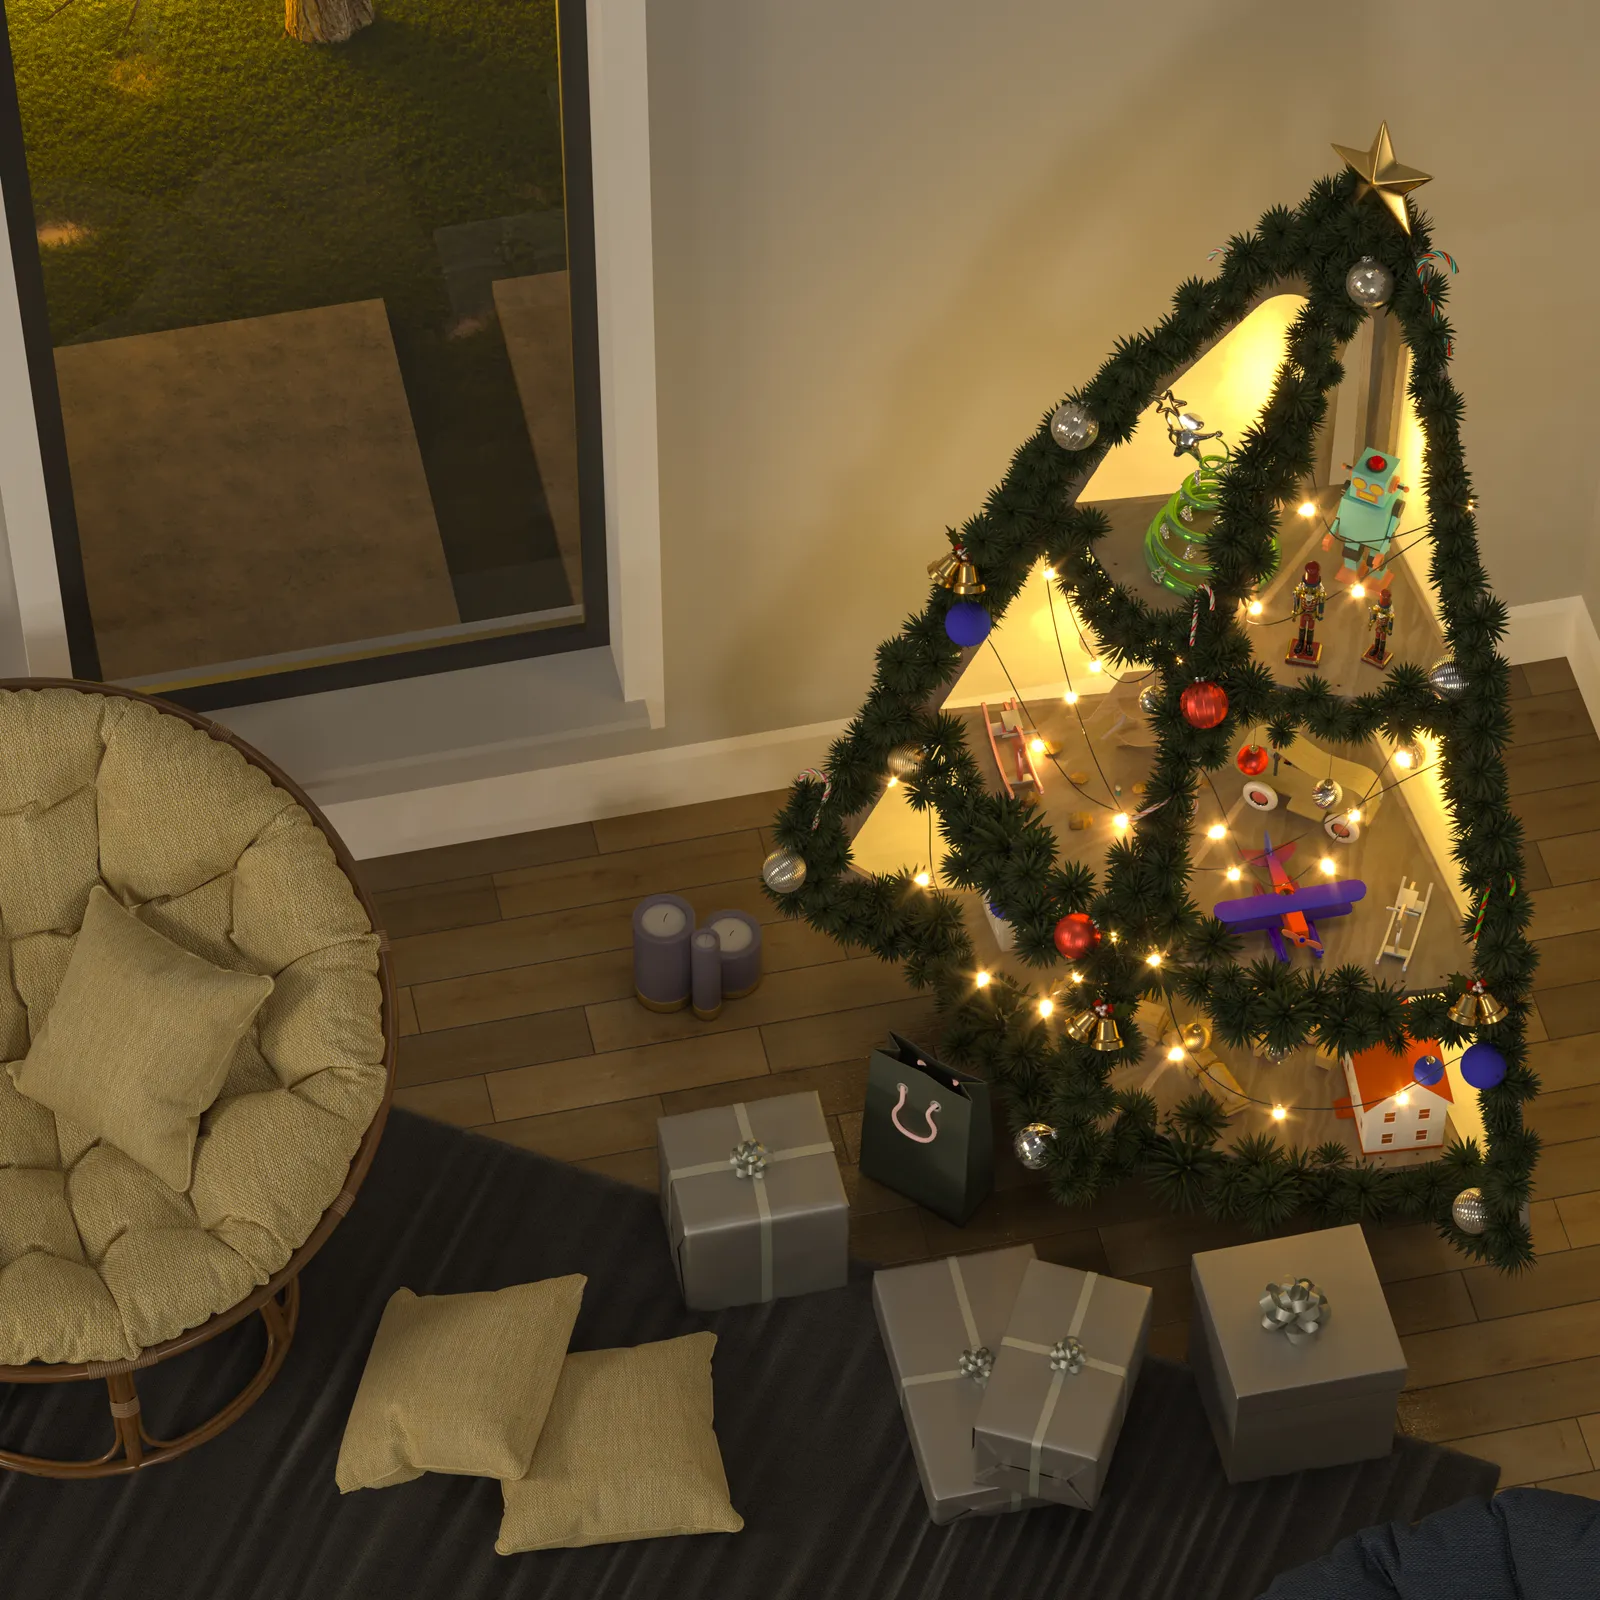
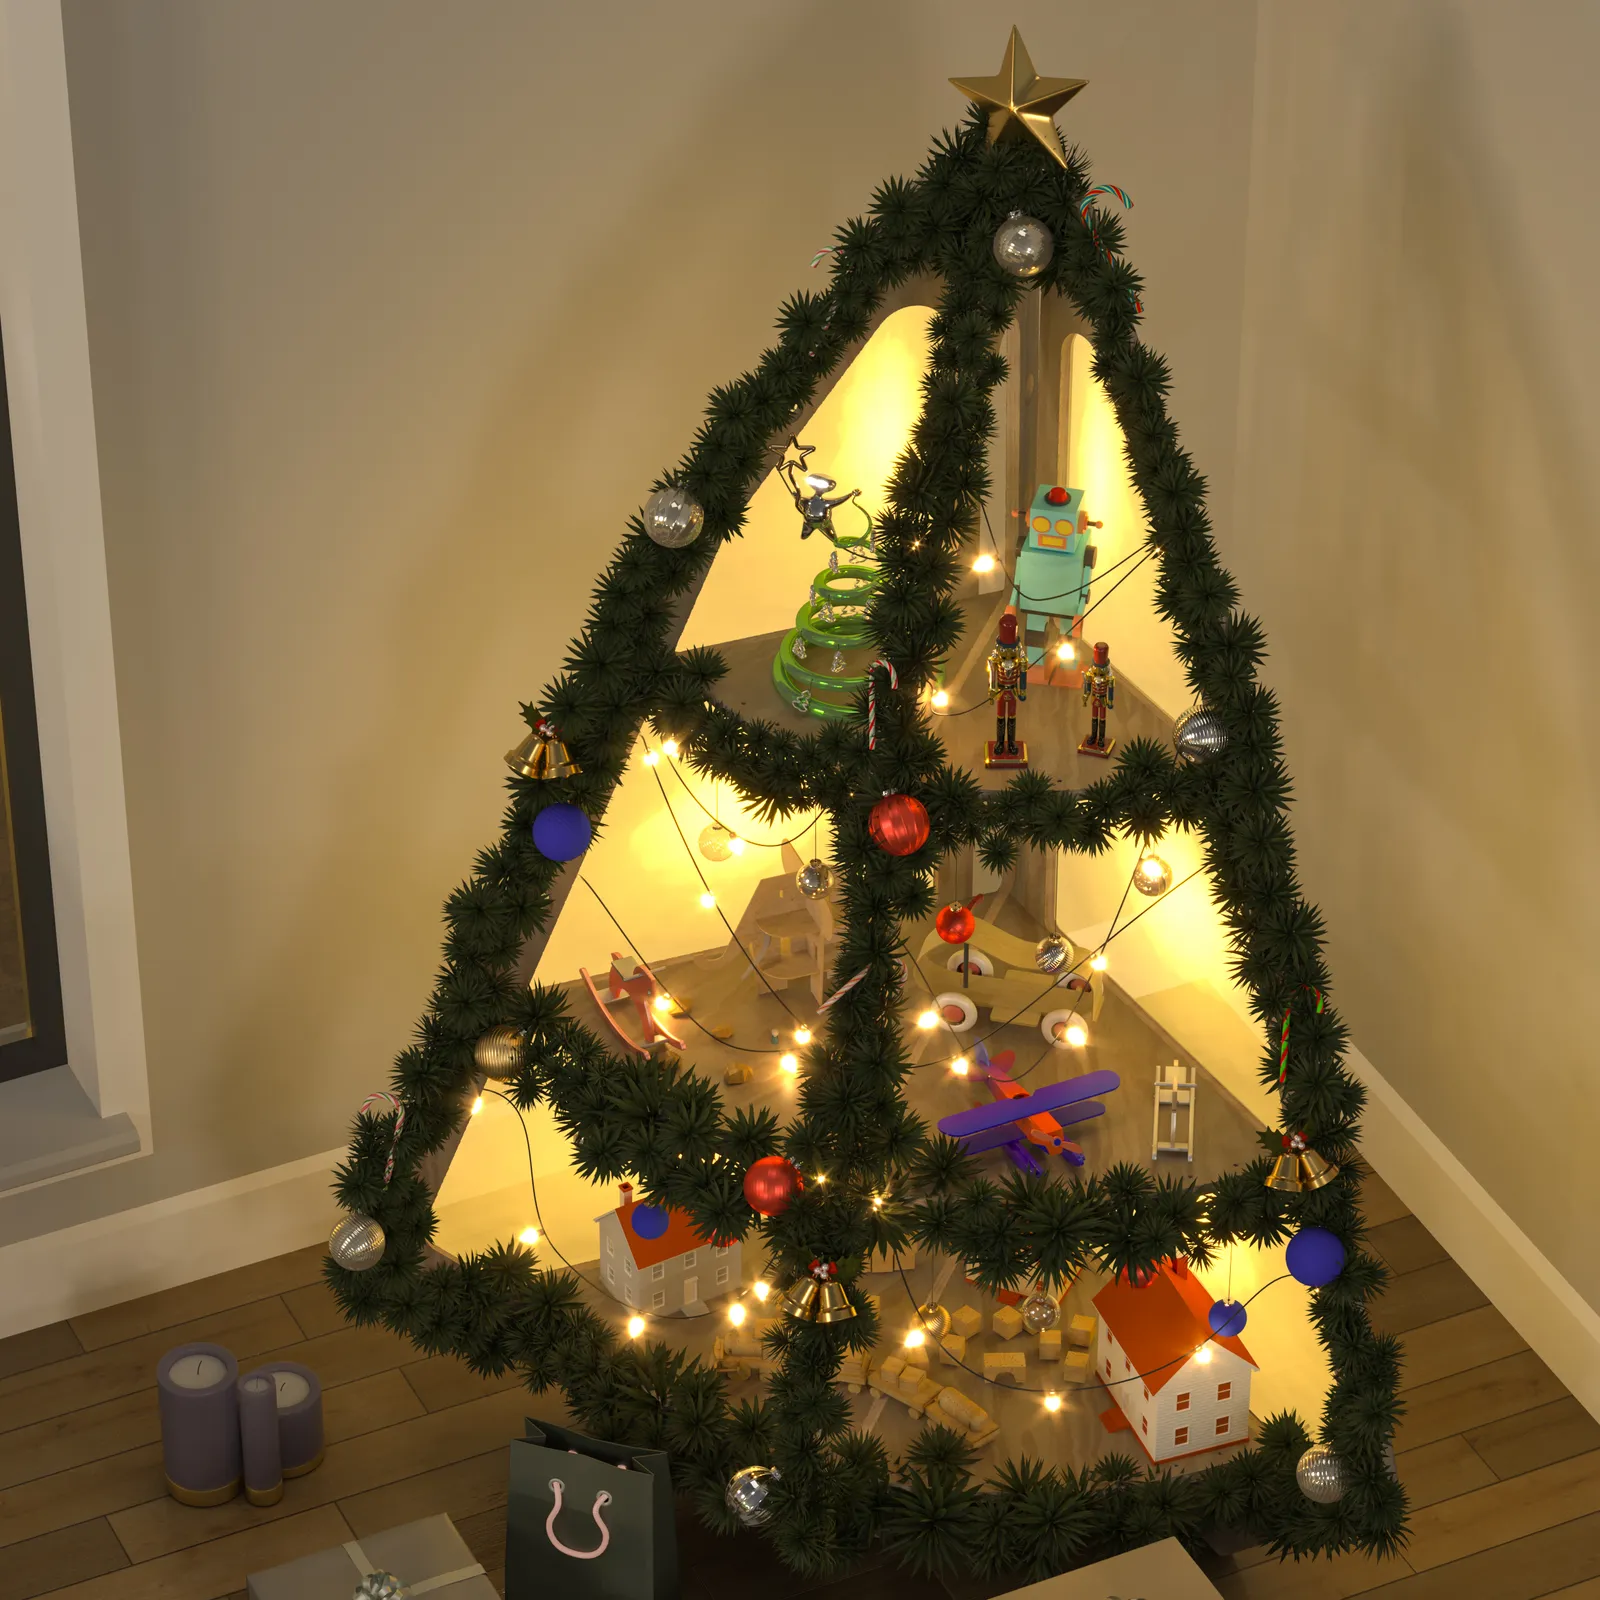
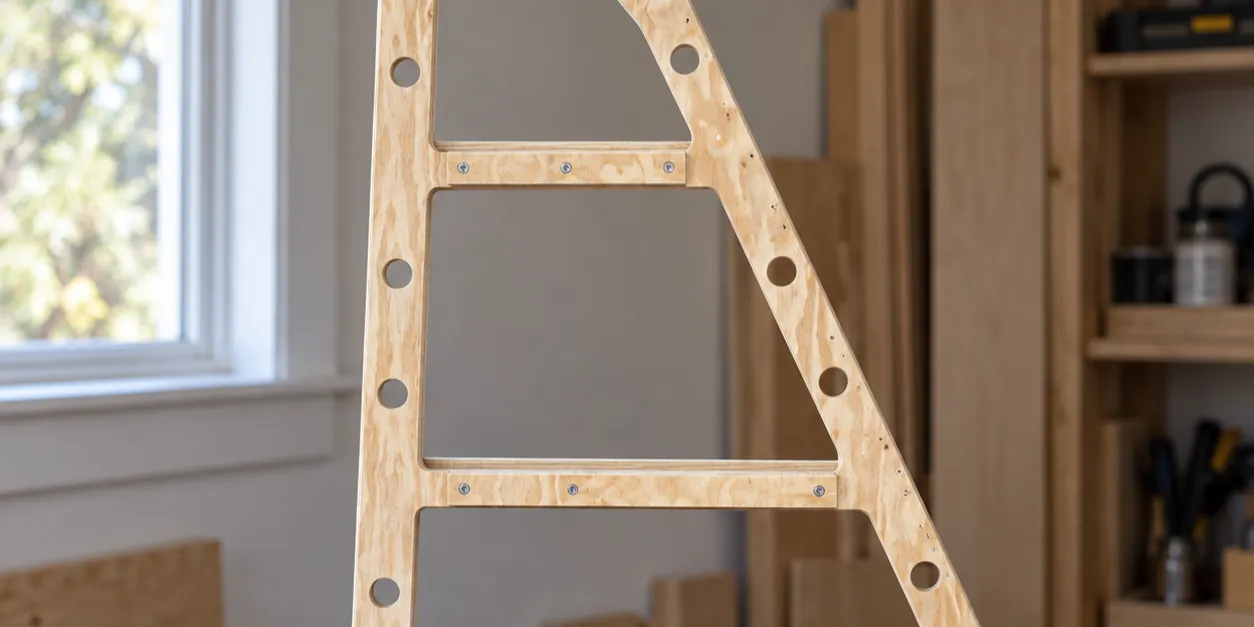
This project shares the corner stand family's common skeleton: a center panel that sits into the room corner, and two side panels that open out from it, parallel to the walls. Each of the three shelves is a pie-slice (quarter-circle) filling the 90° angle between the two side panels.
What sets this variant apart is that the side panels carry no pattern at all — instead, nearly the whole panel is lit. On the other variants, light escapes through motifs cut into the panel (a pine tree, a snowflake, a geometric pattern); here, a large section of each side panel is left open as a single wide window, with a semi-opaque acrylic pane filling it. The result isn't a shaped shadow play — it's a panel that glows edge to edge with an even, warm light, a "lightbox" effect that's the most dramatic and full of any variant in the family.
Unlike the two side panels, the center panel carries a row of decorative holes for hanging ornaments and is cut with a slight 3° closing angle toward the back — a small engineering detail that lets the whole structure sit flush into the corner. Since the panel itself stays flat, there's no fine motif detail to cut here; the main thing to get right is the light window's placement and the LED strip behind it.
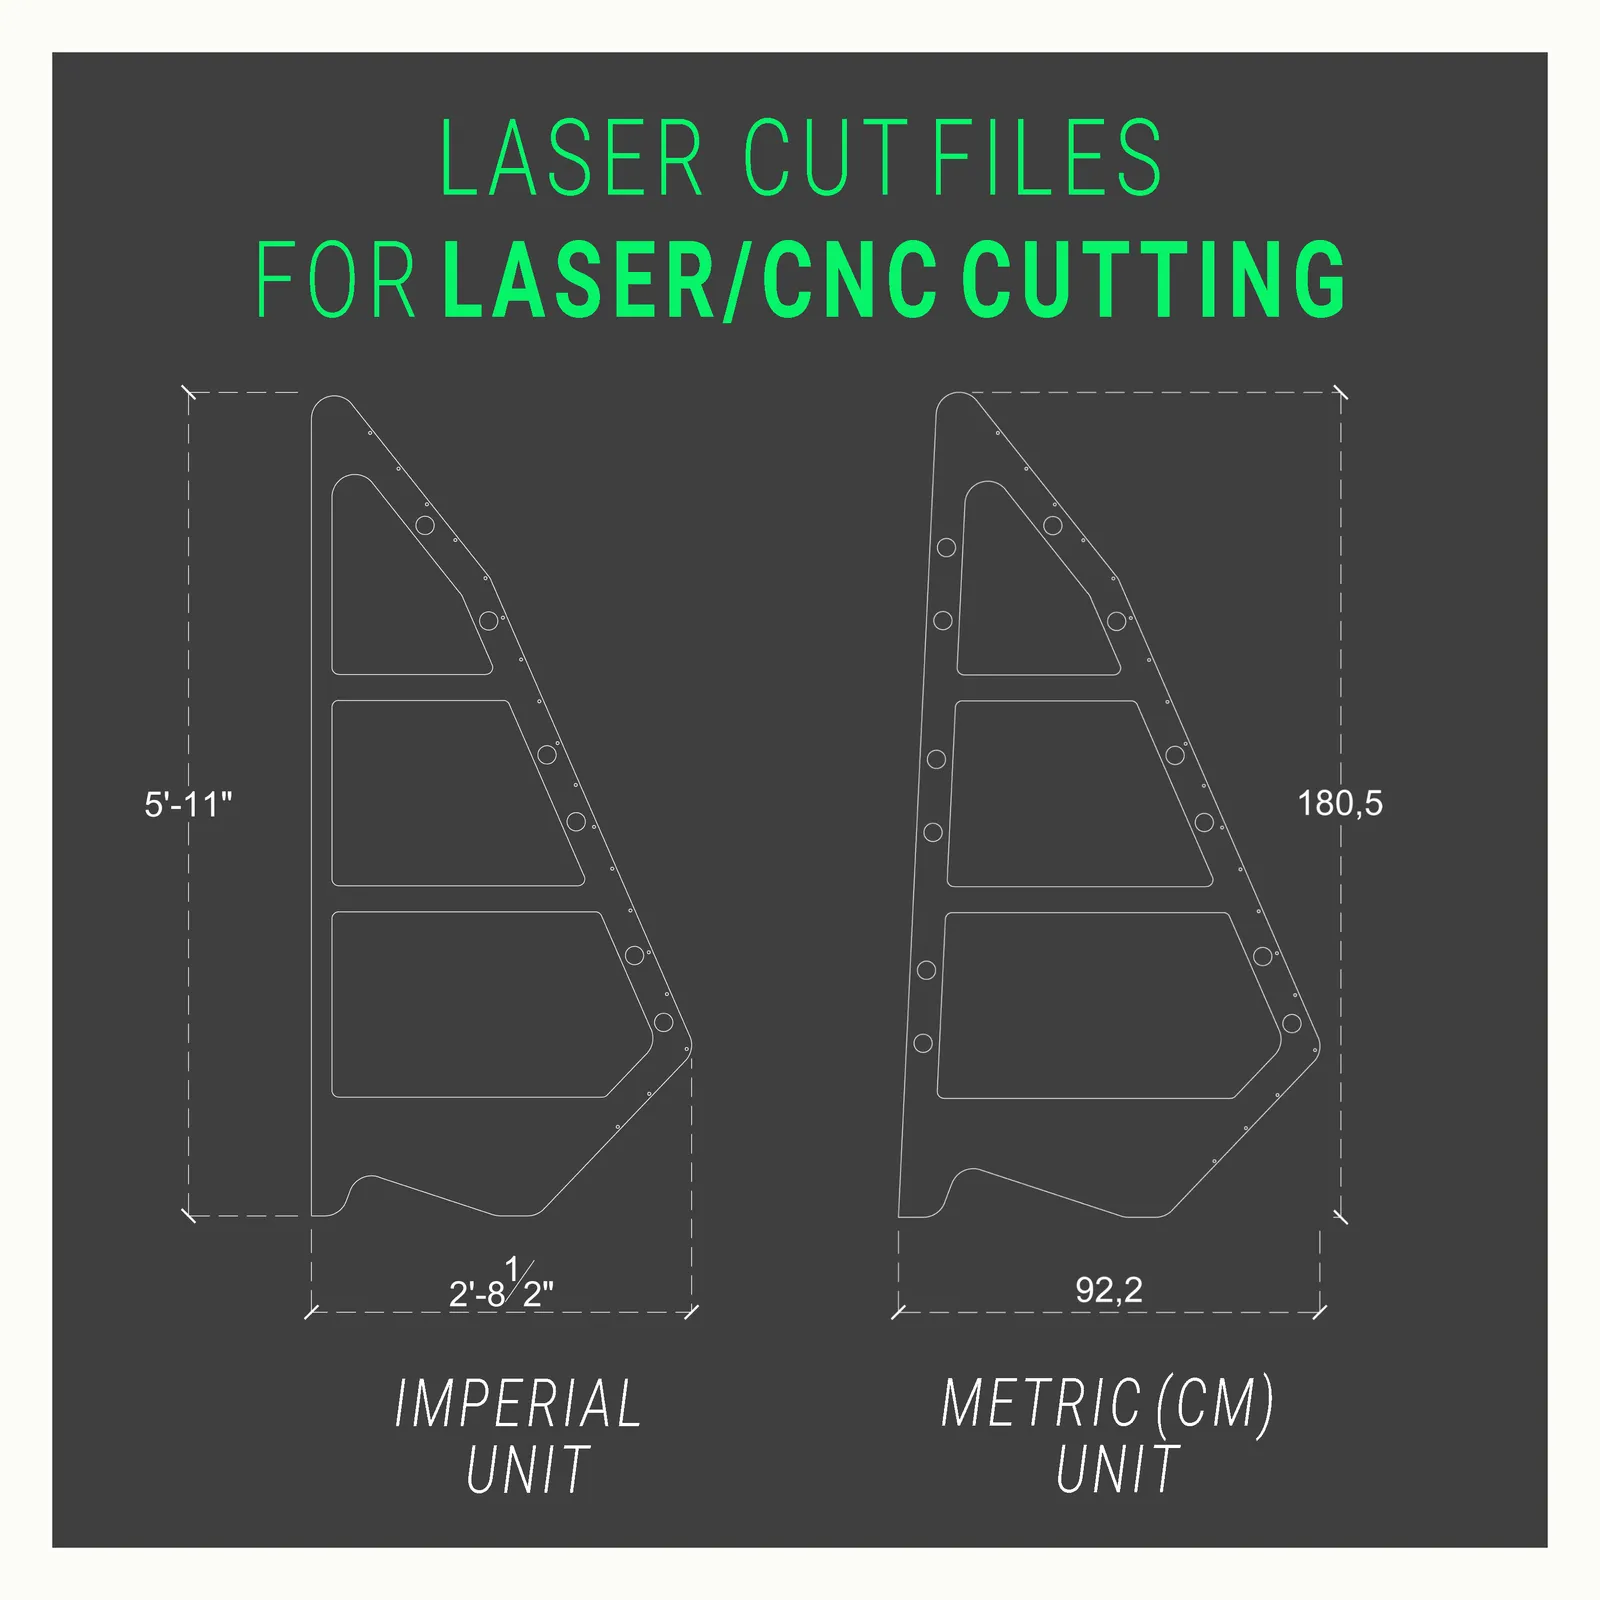
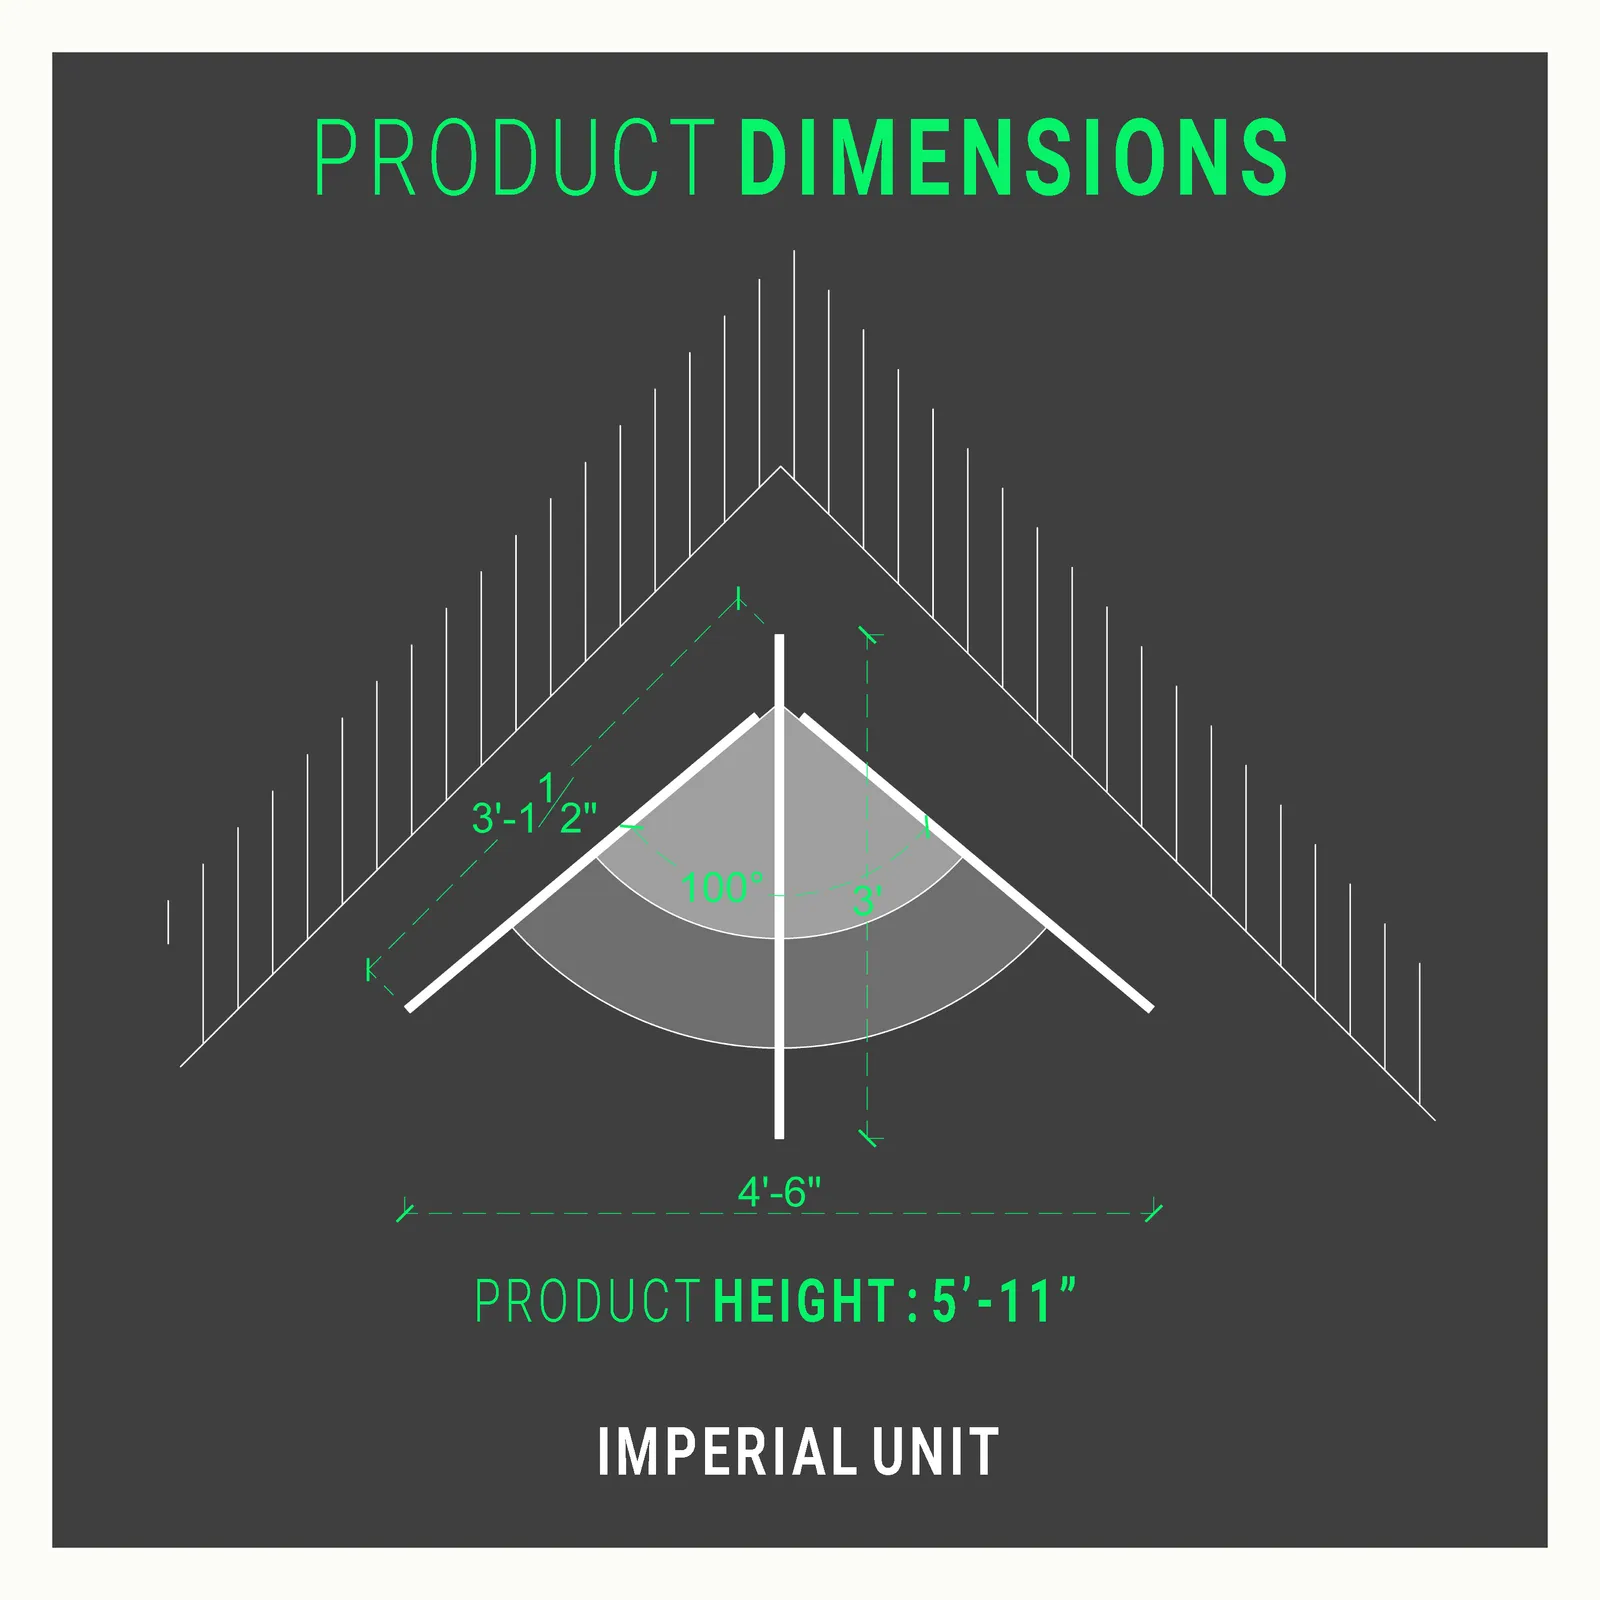
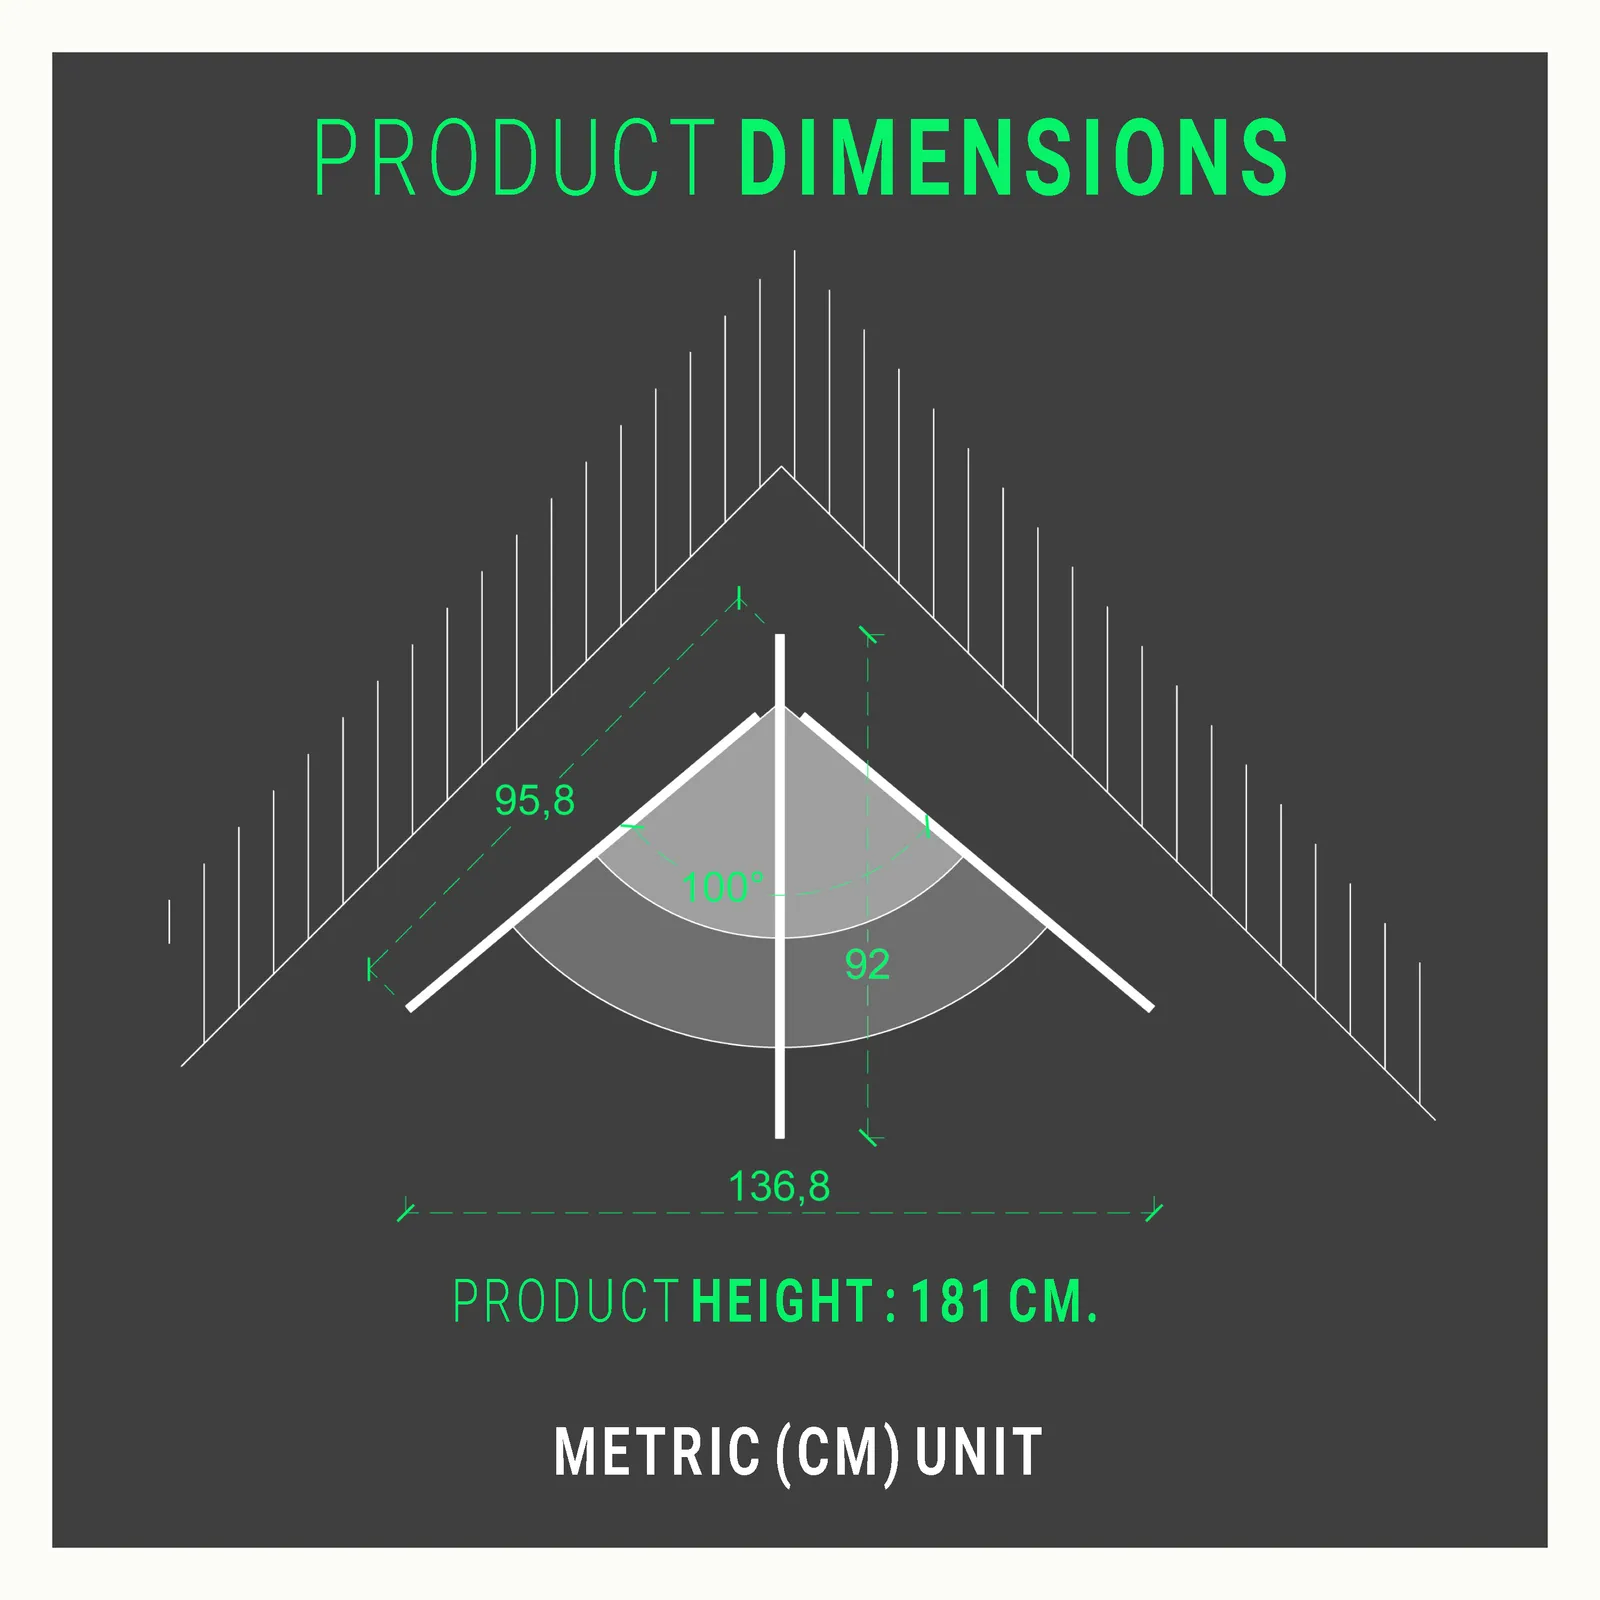
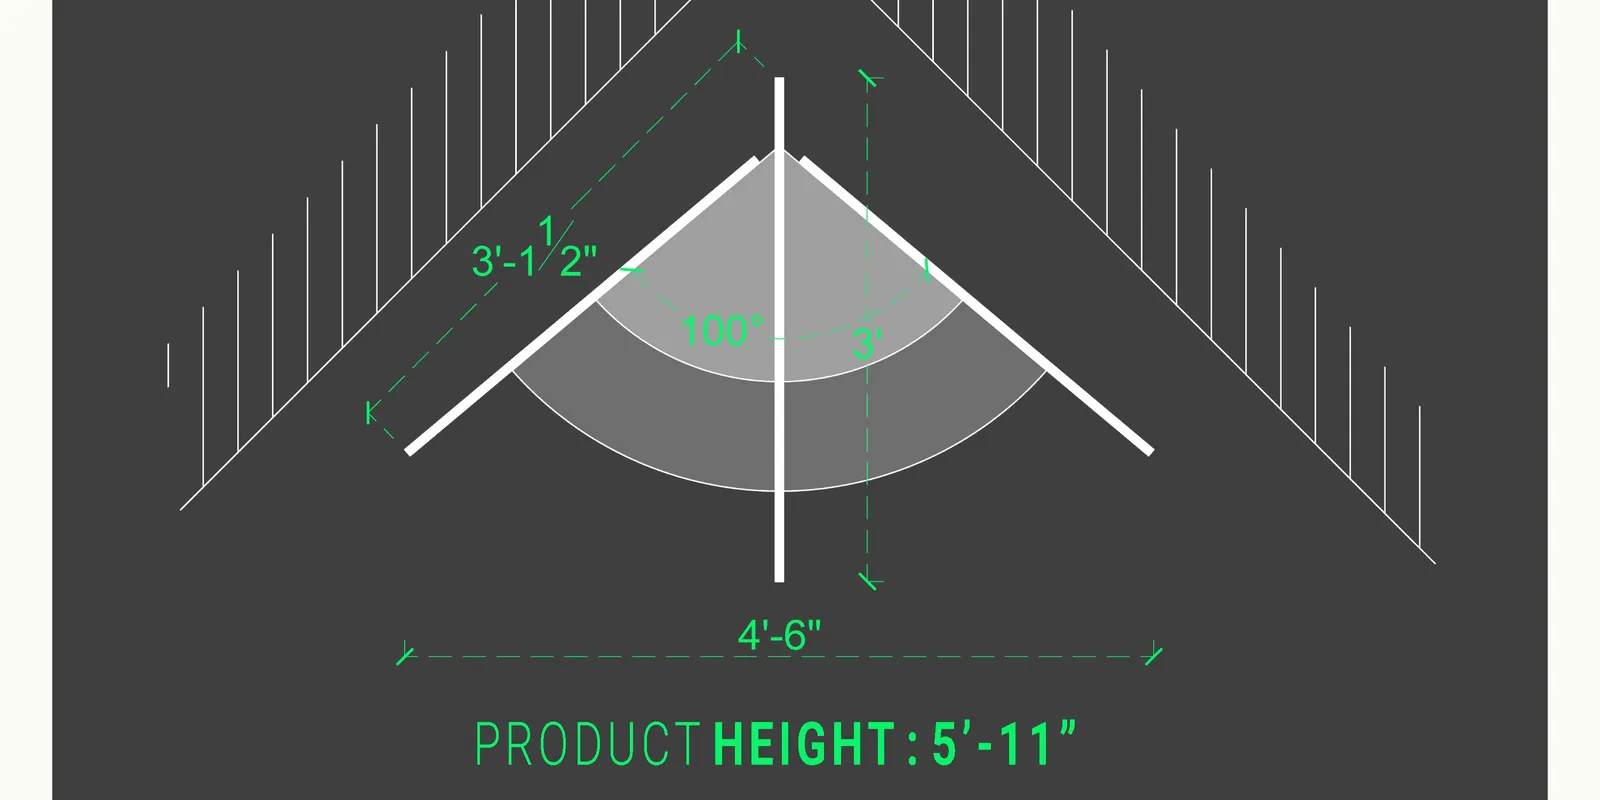
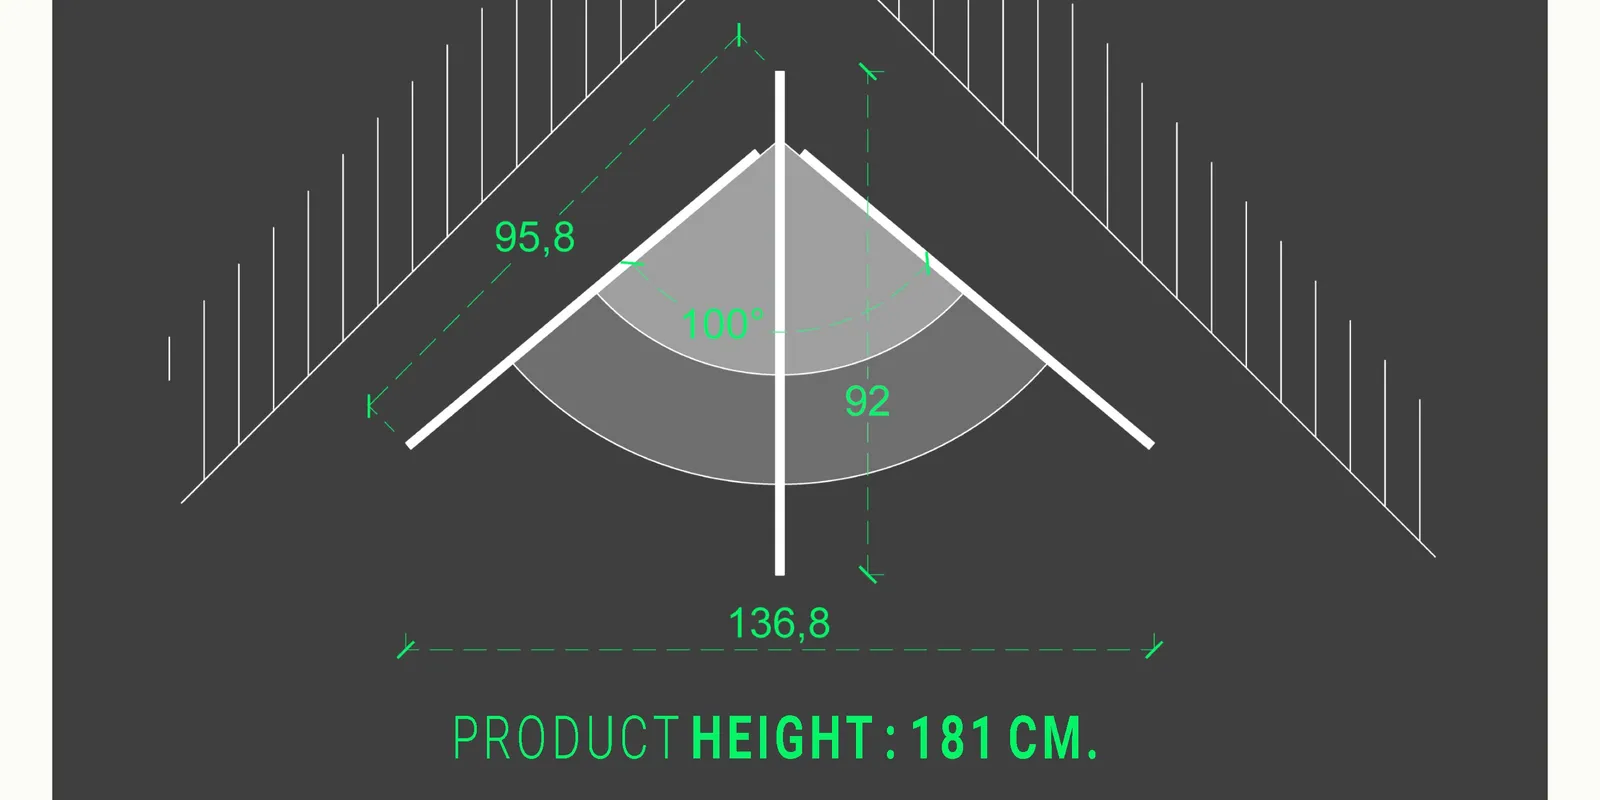
Finished, the reference dimensions are 54" (137 cm) wide × 71" (180 cm) tall — that's the size stated on the Etsy listing, based on the styled look in the photos with garland and a tree topper. The panels' and shelves' own net dimensions are given to scale in the CNC file.
This is a corner design: the structure is built to sit into a 90° room corner. The center panel sits into the corner itself, and the two side panels open outward, parallel to the two walls.
It has fewer tiers than my circular stand (3 versus 6), but each shelf runs deeper — a better fit if you'd rather display fewer, larger village pieces. The lighting doesn't take up any shelf space; it stays entirely within the side panels.
You don't just have to take my word for these dimensions — the guide you're buying shows every one of them measured out directly on the design's own drawings.
3 SVG, DWG, and DXF format CNC files: all three carry the same cut plan — I prepared them in three formats purely for compatibility with different software. You don't need paid software to open them: LibreCAD (free, open-source) and QCAD (free community edition) both run on Windows and Mac. If you want a Windows-only option, Autodesk's own free viewer DWG TrueView is available. That said, if you're having it CNC-cut, you don't need to open the file yourself — just hand it off to whoever's doing the cutting.
1 PDF format build guide: a 10-page guide, explained through drawings — a parts diagram, center-panel dimension detail, shelf and side-panel assembly steps, the lighting-panel detail, and the full materials list. The guide prints cleanly at either A4 or A3.
This is one of 5 variants in the corner stand family. They all share the same skeleton — the only difference between them is the pattern cut into the side panels and whether lighting is built in. This variant is one of the two I designed pre-lit from the start; the other is pine-tree patterned.
This is an indoor project, so what matters is appearance, weight, and how cleanly the cut edges come out.
I recommend birch plywood. Its face is smooth and its plies are tight, so cut edges come out clean — on this variant, edge quality matters most around the light window, since the panel stays largely flat.
- Baltic birch plywood — every ply is birch with no internal voids. Ask for grade B/BB or BB/BB. The best choice.
- Birch-faced hardwood plywood — only the outer face is birch veneer. Fine, but the inner plies show a different color on the cut edge.
Avoid: cheap construction-grade plywood (CDX / "sheathing"). The internal voids look rough on an exposed edge and leave a rough finish along the light window's straight edge too.
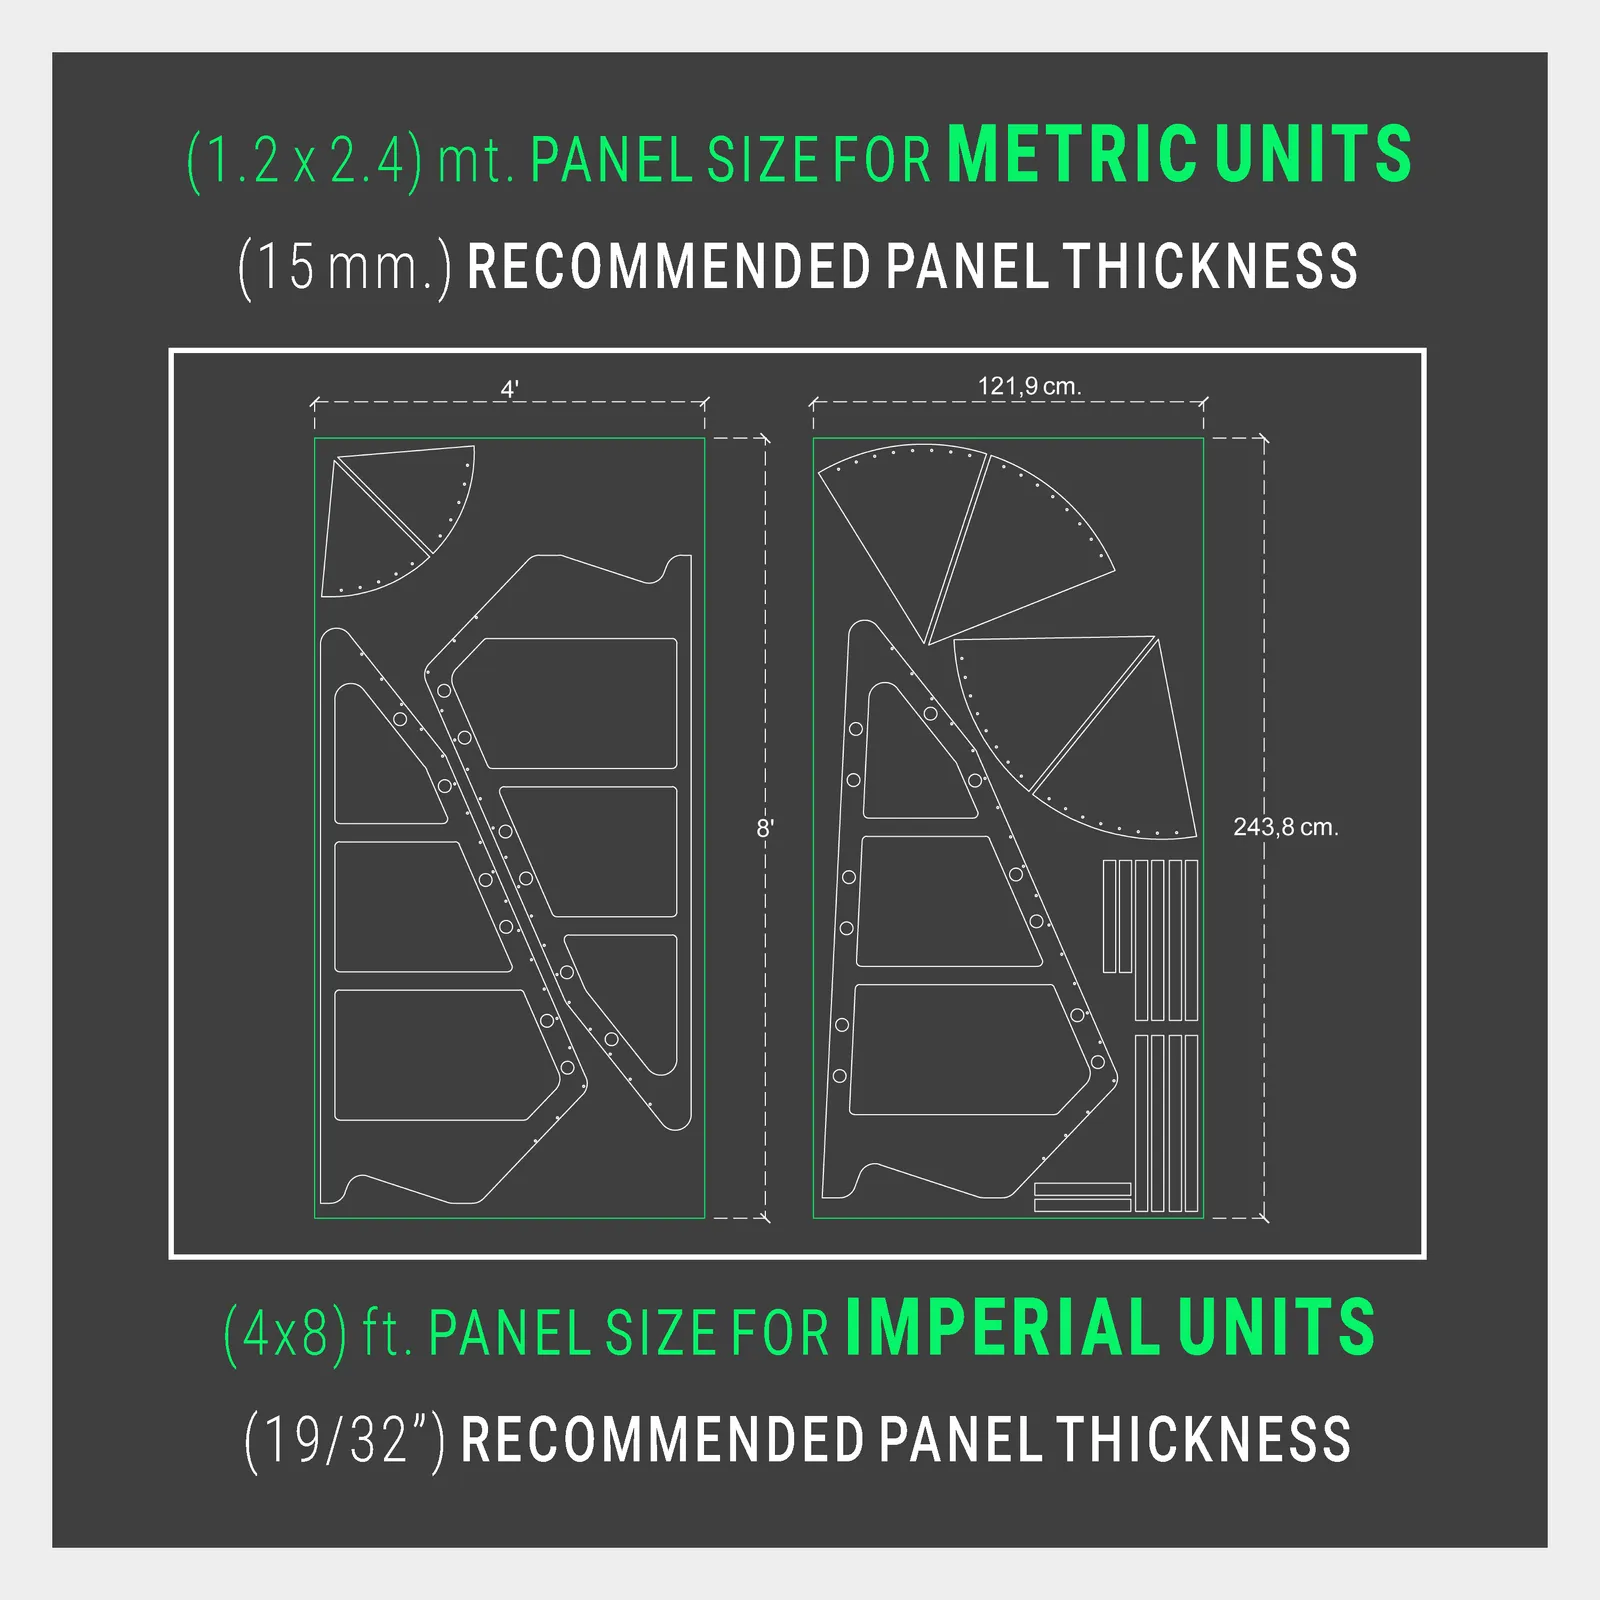
Every wooden part comes from a single thickness: 19/32" (about 15 mm). The panel referenced on the guide's materials page is this thickness, and 2 sheets of 4×8 ft (122 × 244 cm) panel is enough in total.
Main parts: the center panel (3° angled, with decorative holes), two side panels (each with the lighting window cut in), three pie-slice shelves, and the center/side holders that connect the shelves to the panels. All cut dimensions and quantities are given to scale in the CNC file.
Because I designed this variant to be lit, you'll also need 2 semi-opaque acrylic panels — here the acrylic covers a wide window rather than a small motif, so you use the full sheet with no need to trim it down. The full technical spec is in the Lighting section below.
Every dimension on the cut list is also marked directly on that part's own cutting diagram in the guide — you're never left translating a number out of a paragraph onto the panel; you read it straight off the drawing.
Screws: per the guide's materials list, you'll need 36 #8 × 1" (2.5 cm) and 45 #8 × 2" (5 cm) flat-head wood screws.
You'll also need 40 #12 × 3/4" (1.9 cm) hex washer-head screws for the acrylic window — since the acrylic here covers one wide window, spacing these screws evenly around its perimeter helps it sit flat and lets light escape evenly across the panel.
The acrylic itself belongs on this list too: the product referenced in the guide is a Plaskolite/OPTIX "cracked ice" pattern acrylic lighting panel — sold in the ceiling-tile/lighting aisle of most hardware stores as an acrylic ceiling light panel, cracked ice pattern. Standard size is 23.75" × 47.75" (60 × 121 cm), 0.097" (≈2.5 mm) thick, a non-yellowing, impact-resistant commercial-grade plastic — 2 needed, and since this variant's window is sized to match, you generally won't need to cut it down. A local supplier may carry the same product family under "frosted/opal acrylic" or "fluorescent fixture diffuser panel." See the Lighting section below for opacity guidance and full install detail.
Glue: not required, but I recommend it, particularly at the panel-to-holder joints. Ordinary wood glue (PVA) is plenty. If you're planning to take it apart at the end of the season, skip glue on the holder joints.
This is an indoor project. Don't use wall paint — it stays soft on a furniture surface and marks easily.
Natural wood look: if you used birch plywood, you can skip paint entirely. Water-based polyurethane varnish is the right call on light-colored wood.
One note specific to this variant: if you're painting the side panels, mask the edges of the light window while you paint — since the window is large, masking is actually easier here than on the small-motif variants.
For a painted finish: a shellac-based primer (e.g. Zinsser B-I-N), then a water-based acrylic furniture paint (trim & cabinet paint), in satin or semi-gloss.
This is one of the family's two simplest cutting geometries. With no fine, detailed motif in the side panels — just the light window's wide, straight-edged opening — cutting here is about as easy as the plain-panel variant.
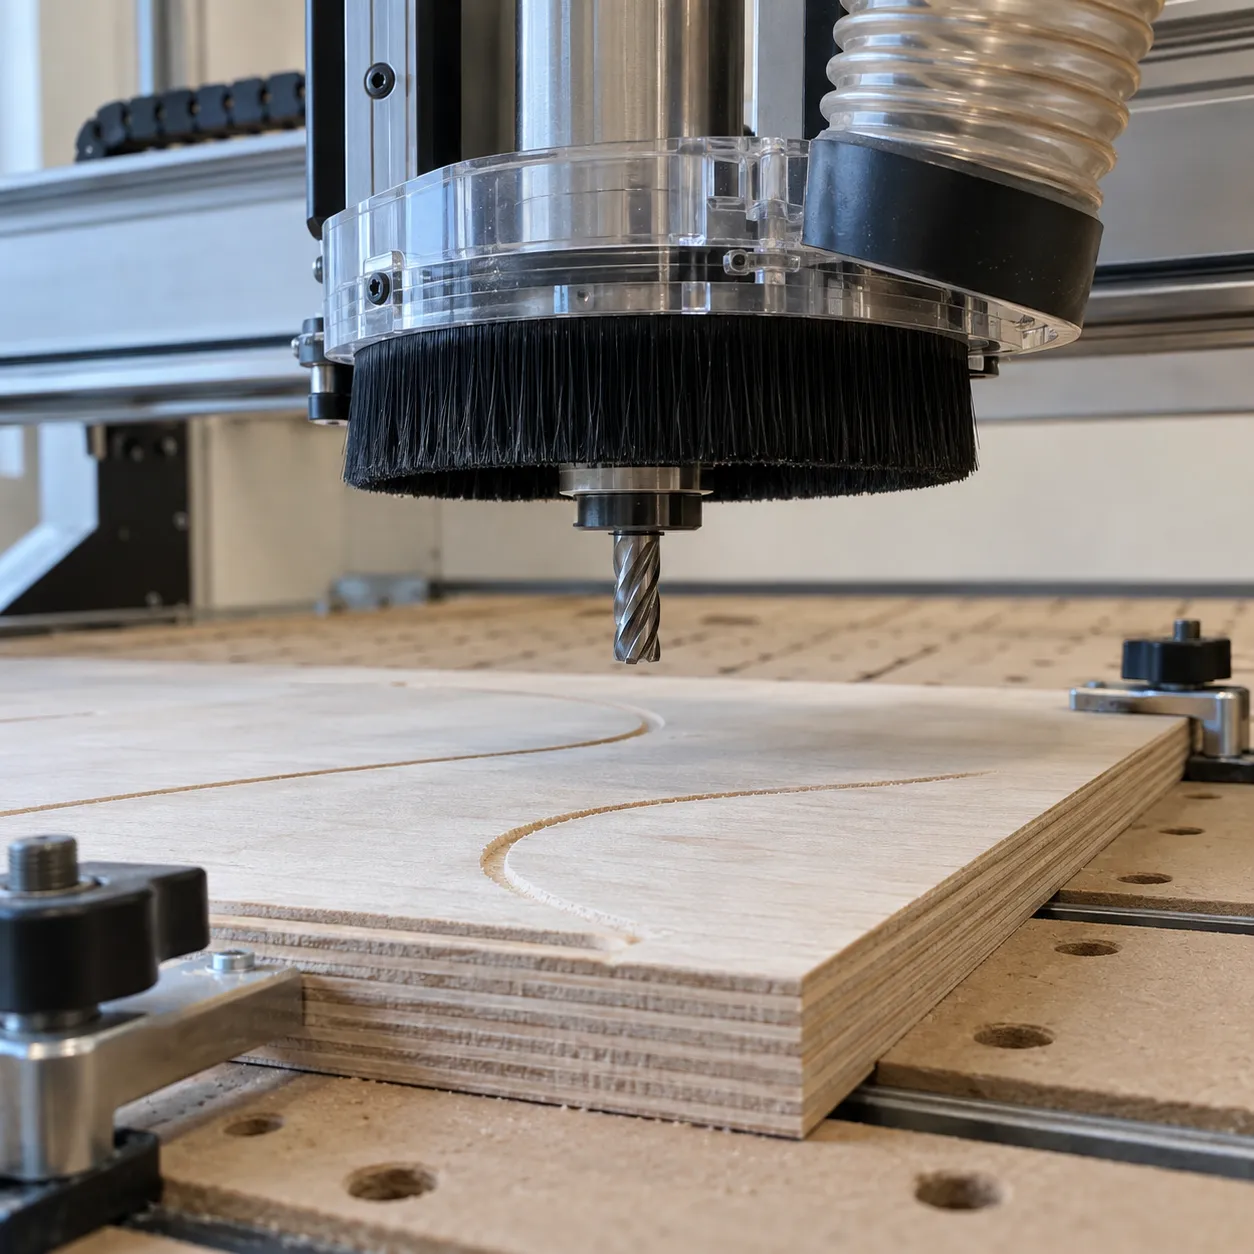
- CNC / laser cutting — hand the DWG, DXF, or SVG file straight to a CNC shop. The fastest and most accurate route, especially for getting the window edges to match the acrylic exactly.
- Cutting by hand with a jigsaw — since the window opening is large and straight-edged, hand-cutting is realistic here: drill a hole in each corner and start the jigsaw blade from there.
Whichever method you use, make sure all four edges of the window come out straight and square — the acrylic panel seats against that edge, and a crooked edge either lets light leak or leaves the acrylic sitting loose.
Start assembly with the center panel. Unlike the two side panels, it's wider and carries decorative holes for hanging ornaments, and it's cut with a slight 3° closing angle so it seats flush into the corner.
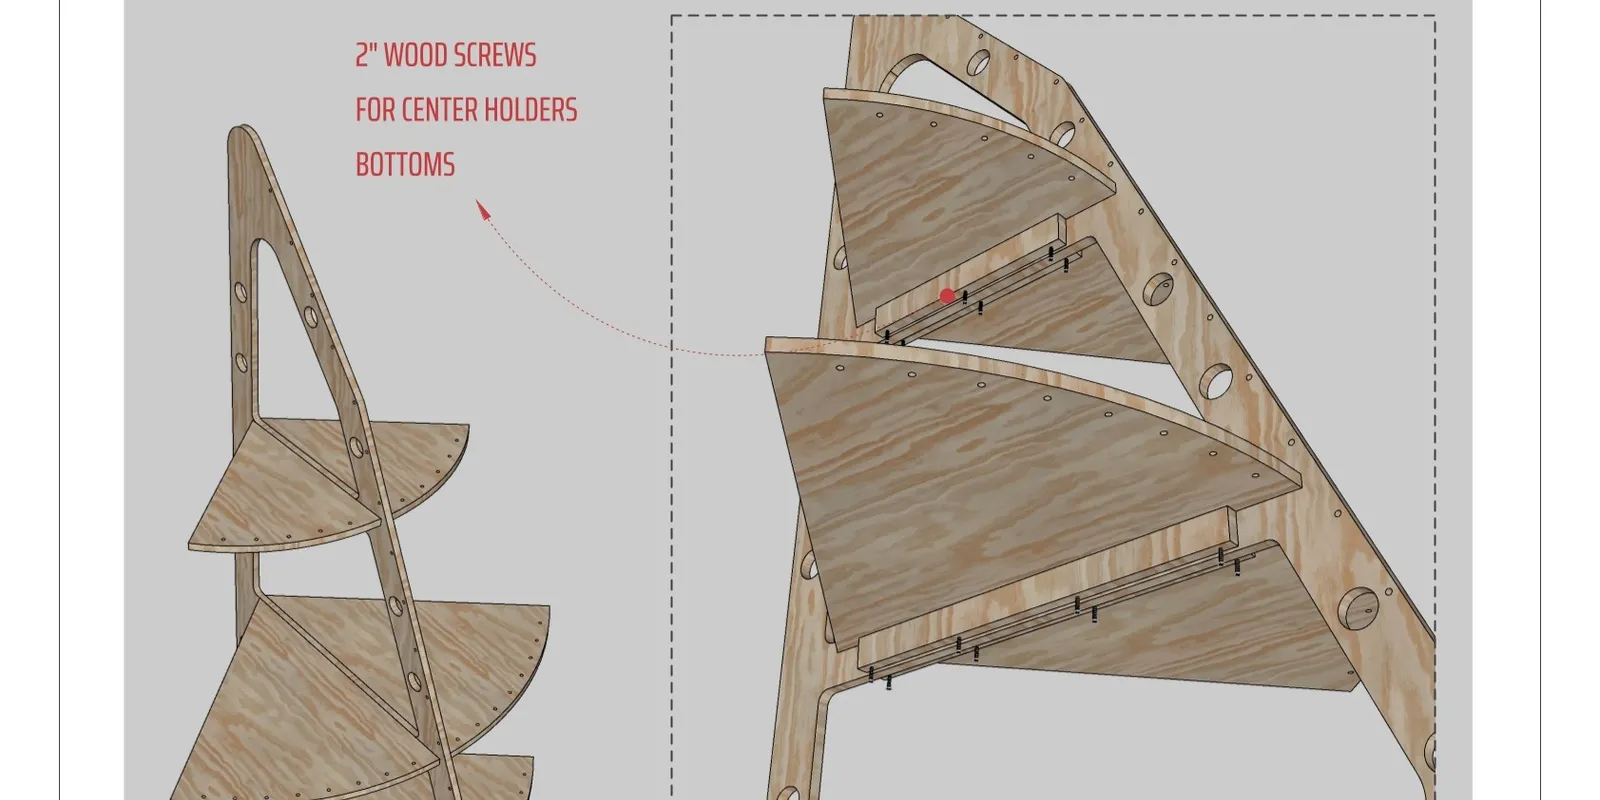
Before going further, screw the center holders that will carry all three shelves onto the panel using 1" (2.5 cm) screws — leaving a 19/32" (15 mm) gap at the top of the slots, equal to the shelf thickness.
The spacing between the three holders is fixed at 1-15/16" (5 cm). Follow the guide's dimension drawing and all three land at the right height, level and aligned. Every dimension and gap here is also marked visually on the guide's own step page — once you have the center panel in hand, you can check where each screw and gap goes straight from the drawing, not the text.
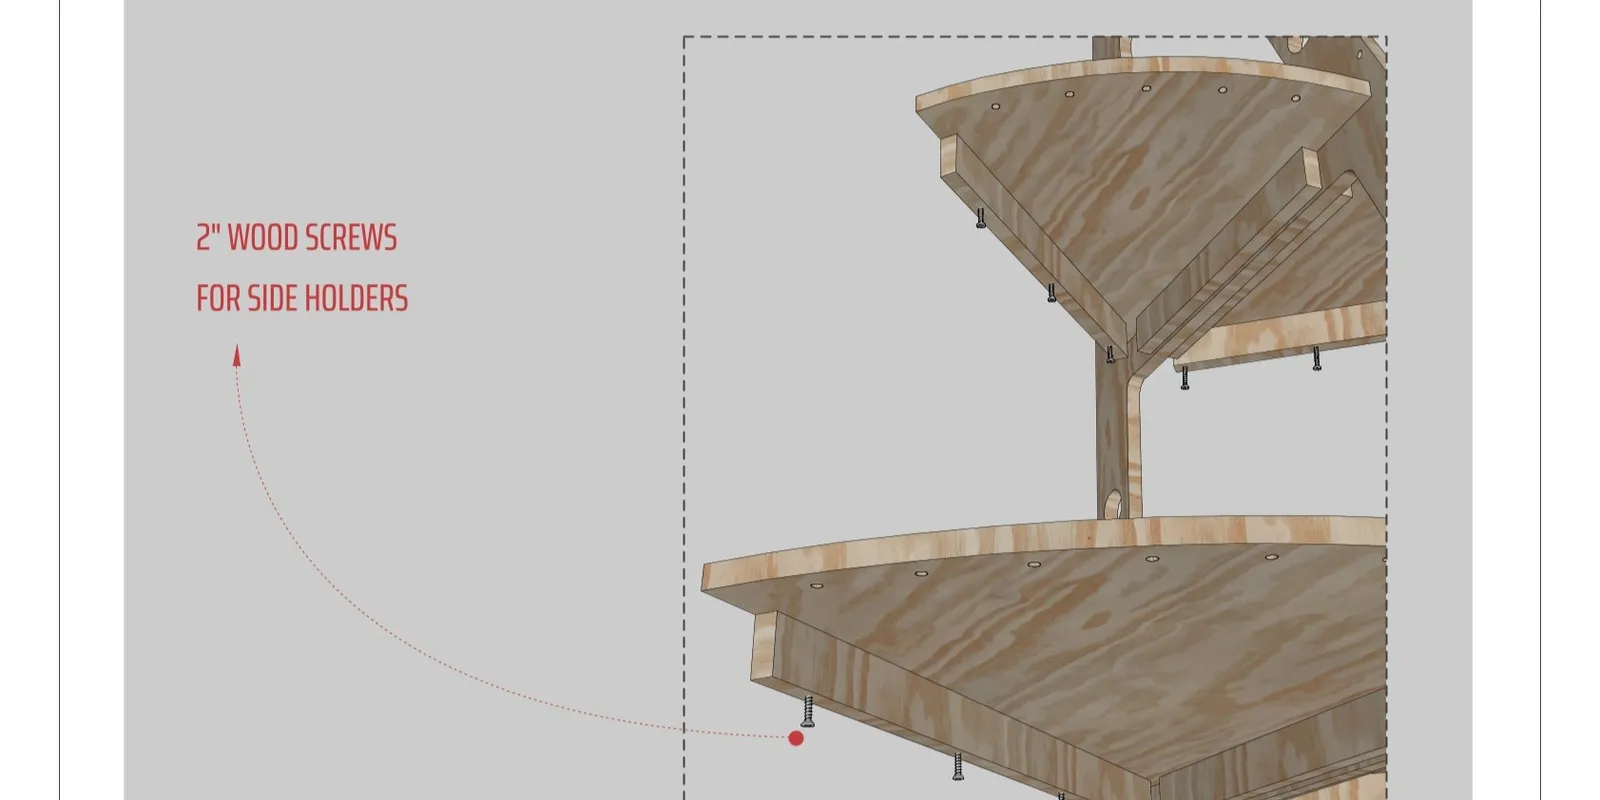
Fasten the shelves from underneath onto the center holders with 2" (5 cm) screws — the three shelves' starting points should line up.
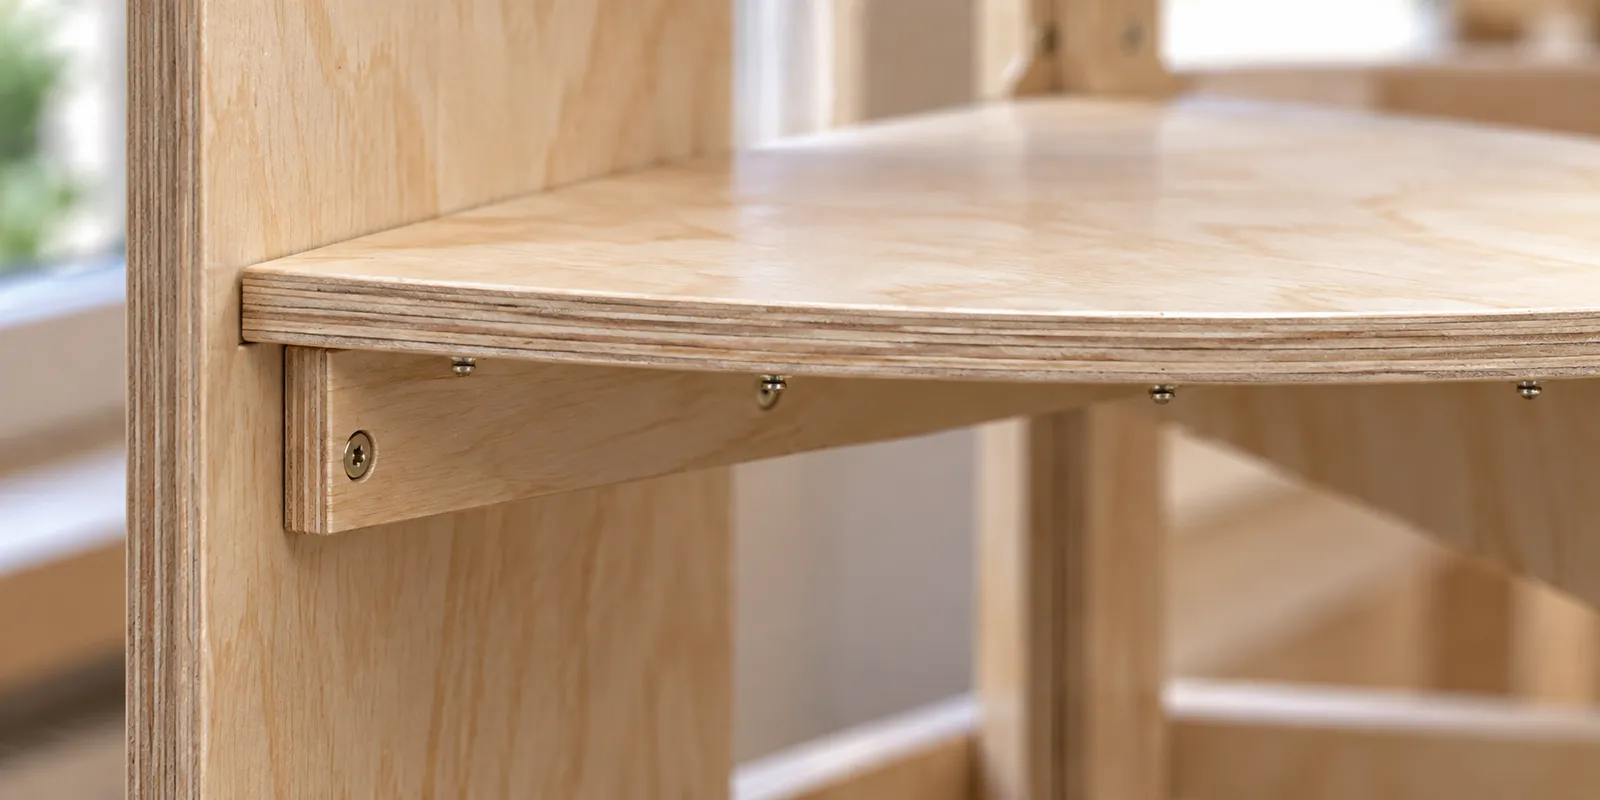
Next, fit the side holders underneath each shelf — 1-3/16" (3 cm) in from the shelf's starting point, again with 2" screws.
As the final step, slide the two side panels over the already-mounted side holders and screw them in from the outside with 1" (2.5 cm) screws. Once this step is done, the structure stands on its own as a three-panel corner frame. These dimensions are also marked on the guide's own page, right on the part itself.
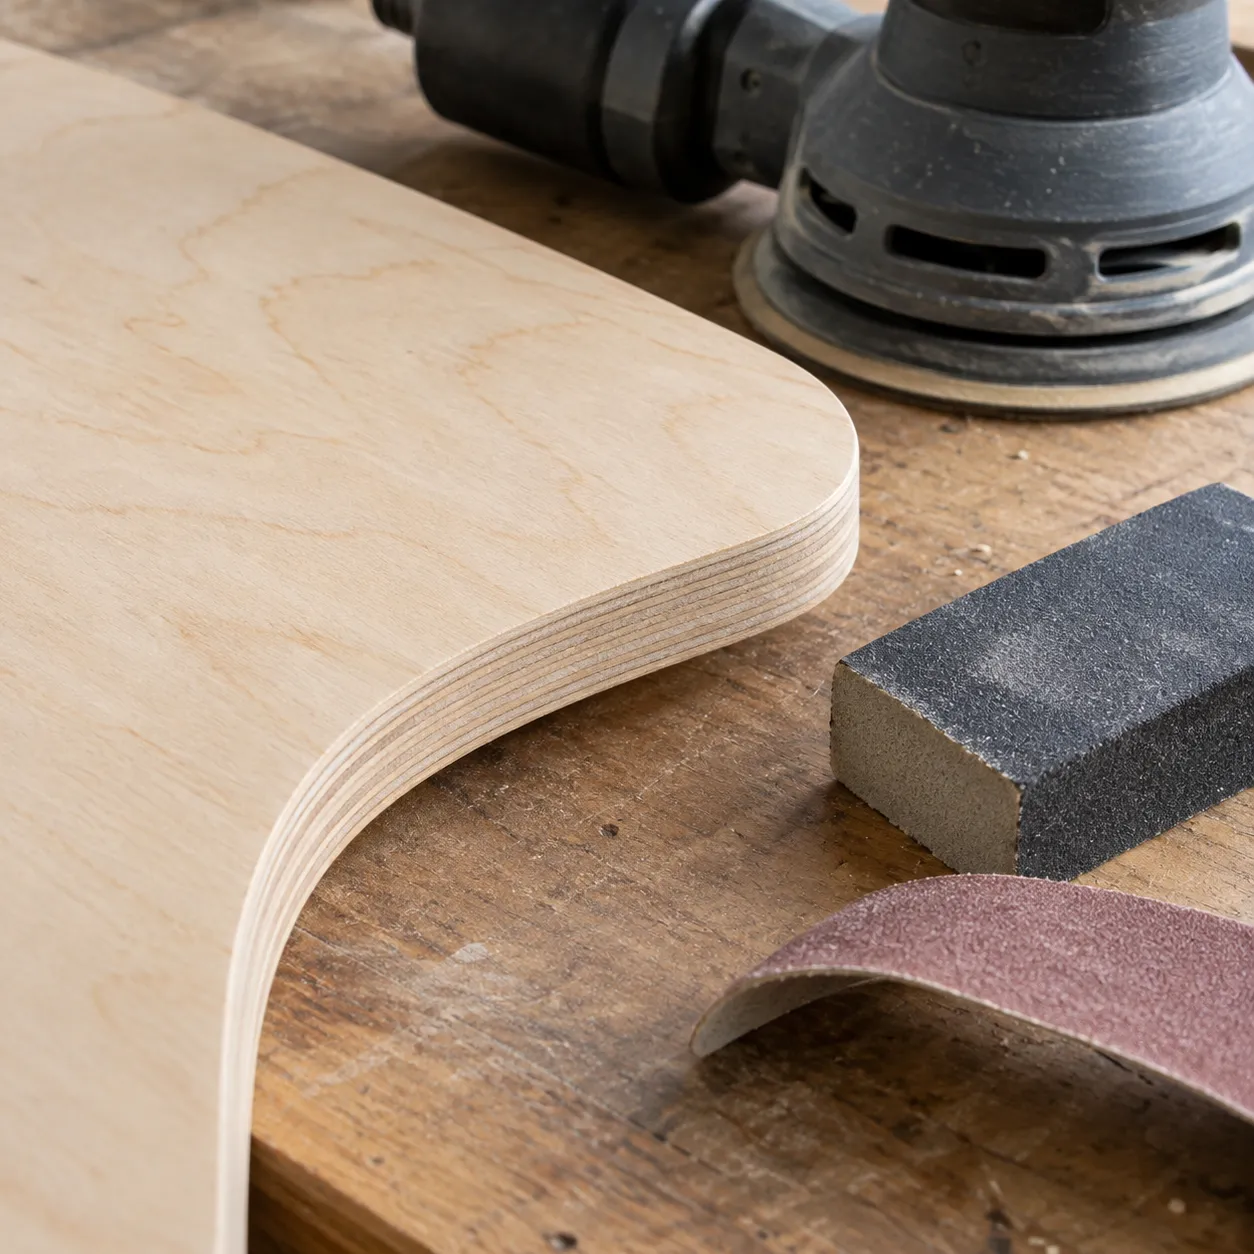
Once cutting is done, sand every part: 80-120 grit on the edges and rough spots, finishing with 150-220 grit. Pay particular attention to the edge the acrylic window seats against — leaving it rough there is the one thing that can make the acrylic sit visibly crooked.
Sanding and painting before assembly, while the parts are still separate, makes the job significantly easier.
I designed this variant to be lit from the start — lighting isn't an optional add-on, it's part of the design itself. The guide's final step covers it: the wide acrylic window is screwed to the panel with hex washer screws, with a thin-wire LED strip behind it.
The guide's referenced material is a Plaskolite/OPTIX "cracked ice" pattern acrylic lighting panel — search for it as an acrylic ceiling light panel or prismatic lighting panel, cracked ice pattern. Standard size is 23.75" × 47.75" (60 × 121 cm, roughly 2×4 ft) — the same size as drop-ceiling tiles, so it's usually in stock; this variant's window is sized to match, so you'll generally use the full sheet with no trimming. It's 0.097" (≈2.5 mm) thick, a non-yellowing, impact-resistant commercial-grade plastic. Locally, "frosted/opal acrylic" or "fluorescent fixture diffuser panel" points to the same product family.
Opacity matters: the guide recommends 10-20% opacity — a fully clear panel shows the LED strip exactly as it is, a fully opaque one smothers too much of the light. Since this variant's window is wide, getting the opacity right matters more here than elsewhere — a tone difference you'd never notice on a small motif becomes obvious across a surface this large.
Choose warm white (2700-3000K). Spread the LED strip evenly across the window's full width — bunch it to one side and the light reads noticeably brighter there and dimmer on the other.
Battery or plug-in: a battery-powered set with a built-in timer switches itself on and off with no cord to route. If you use a plug-in set, run the cord down the back of the center panel.
Layer it with decoration: this variant's wide, full light is already the dominant layer; adding a thin-wire fairy-light string up front, or lighting the village houses themselves, layers a steady warm glow from behind with a sparkling, moving layer up front. Keeping everything at warm white keeps the layers reading as one coherent look.
This structure is built to be genuinely hard to tip over. Four feet, at the base of the three panels, sit in a wide triangle on the floor, and the body itself narrows upward from that triangular base into a prismatic (triangular cross-section) volume. A wide base narrowing to a point is one of the most stable geometric forms in engineering and architecture — the same balance logic that's kept pyramids standing for thousands of years. This stand stays solidly put even freestanding on its own four feet, with no wall to lean on.
That said, as with any tall piece of furniture, if there are small children or pets in the house, securing it lightly to the wall with an anti-tip kit adds an extra margin of safety — the decorative holes in the center panel are already well positioned for this.
Put heavy and fragile village pieces on the lower shelf, lighter ones up top. This isn't about the stand's own stability — it's about keeping any fall short, whether from an earthquake or a piece tipping over on its own, so the damage stays minimal.
Rescaling the CNC files in CAD software is technically possible, but this is a load-bearing structure: panel thickness, screw lengths, shelf-holder joints, and the acrylic panel size are all sized to the dimensions I give. If you want a different size, message me on Etsy before rescaling anything yourself.
This corner stand family is 5 separate listings — each is its own purchase with its own cut file. I designed this variant without a pattern, fully illuminated from the start; the other 4 (pine-tree patterned/pre-lit, plain panel, Scandinavian snowflake knit-pattern, and a dense geometric pattern) share the same skeleton and are all in my shop.
Yes — this is a standard, platform-wide Etsy feature. The download link doesn't expire; you can re-access your files anytime from the "Purchases and Reviews" page in your Etsy account, with no limit on how many times you download.
Of course — I make every plan myself, and you're welcome to reach out to me directly through Etsy with any question, before or after your purchase. I stand behind every design I share.
No — these files are for personal use only. Selling what you make from them, or using the design or files for any other commercial purpose, isn't included in this purchase.
I don't offer refunds once the files have been downloaded — this is standard practice given the nature of digital goods. That said, if you run into an actual problem with the files (won't open, something's missing), reach out and I'll help sort it out.
Please select a heading above to see the project details.
Other Christmas Village Stands Projects

7 ft. Tiered Christmas Village Tree Display Stand Plans (6 Shelves)
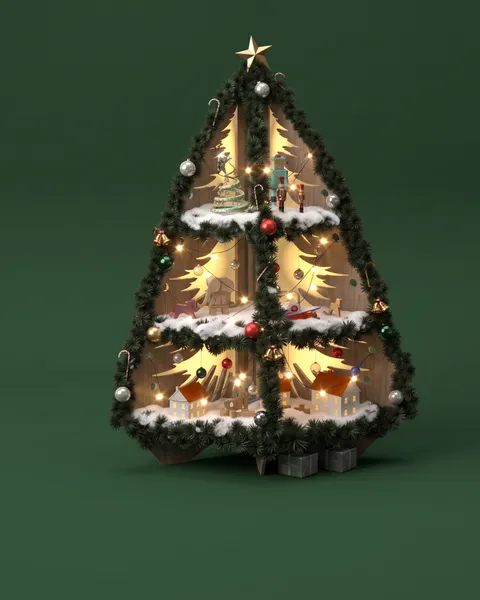
Illuminated Pine-Tree Pattern, 6 ft. Corner Christmas Village Tree Stand CNC Files and Assembly Plans (3 Shelves)
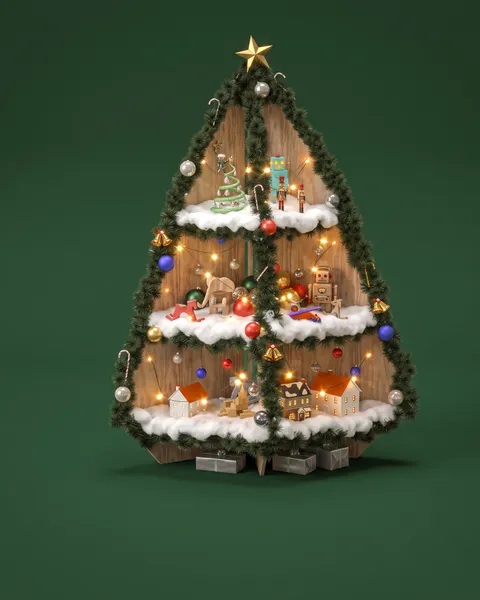
Plain-Panel, 6 ft. Corner Christmas Village Tree Stand CNC Files and Assembly Plans (3 Shelves)
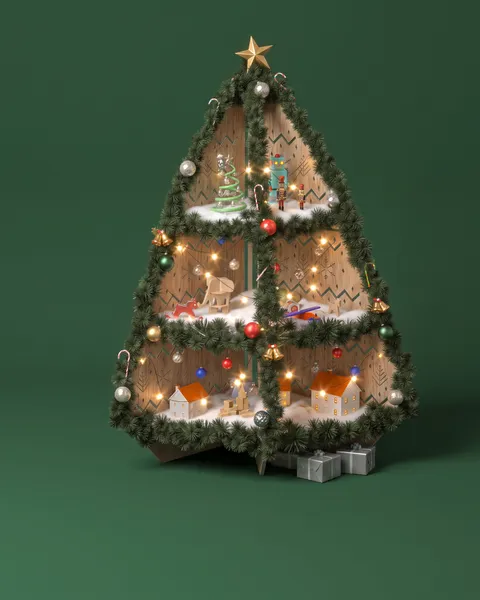
Scandinavian Snowflake Knit-Pattern, 6 ft. Corner Christmas Village Tree Stand CNC Files and Assembly Plans (3 Shelves)
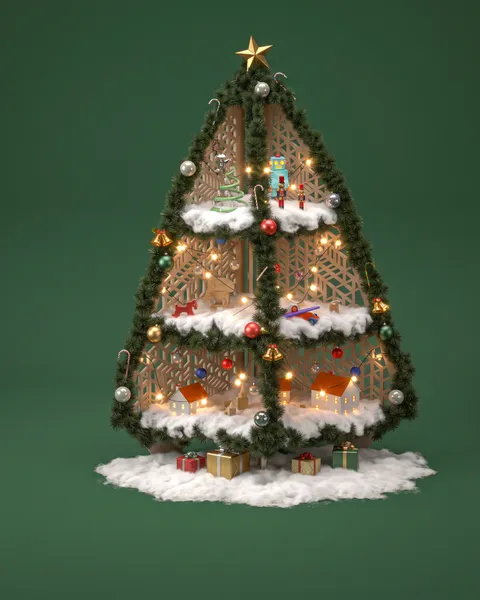
Christmas Pattern, 6 ft. Corner Christmas Village Tree Stand CNC Files and Assembly Plans (3 Shelves)
7 ft. Tiered Christmas Village Tree Display Stand Plans (6 Shelves)
Illuminated Pine-Tree Pattern, 6 ft. Corner Christmas Village Tree Stand CNC Files and Assembly Plans (3 Shelves)
Plain-Panel, 6 ft. Corner Christmas Village Tree Stand CNC Files and Assembly Plans (3 Shelves)
Scandinavian Snowflake Knit-Pattern, 6 ft. Corner Christmas Village Tree Stand CNC Files and Assembly Plans (3 Shelves)