Project:
Scandinavian Snowflake Knit-Pattern, 6 ft. Corner Christmas Village Tree Stand CNC Files and Assembly Plans (3 Shelves)
Package:
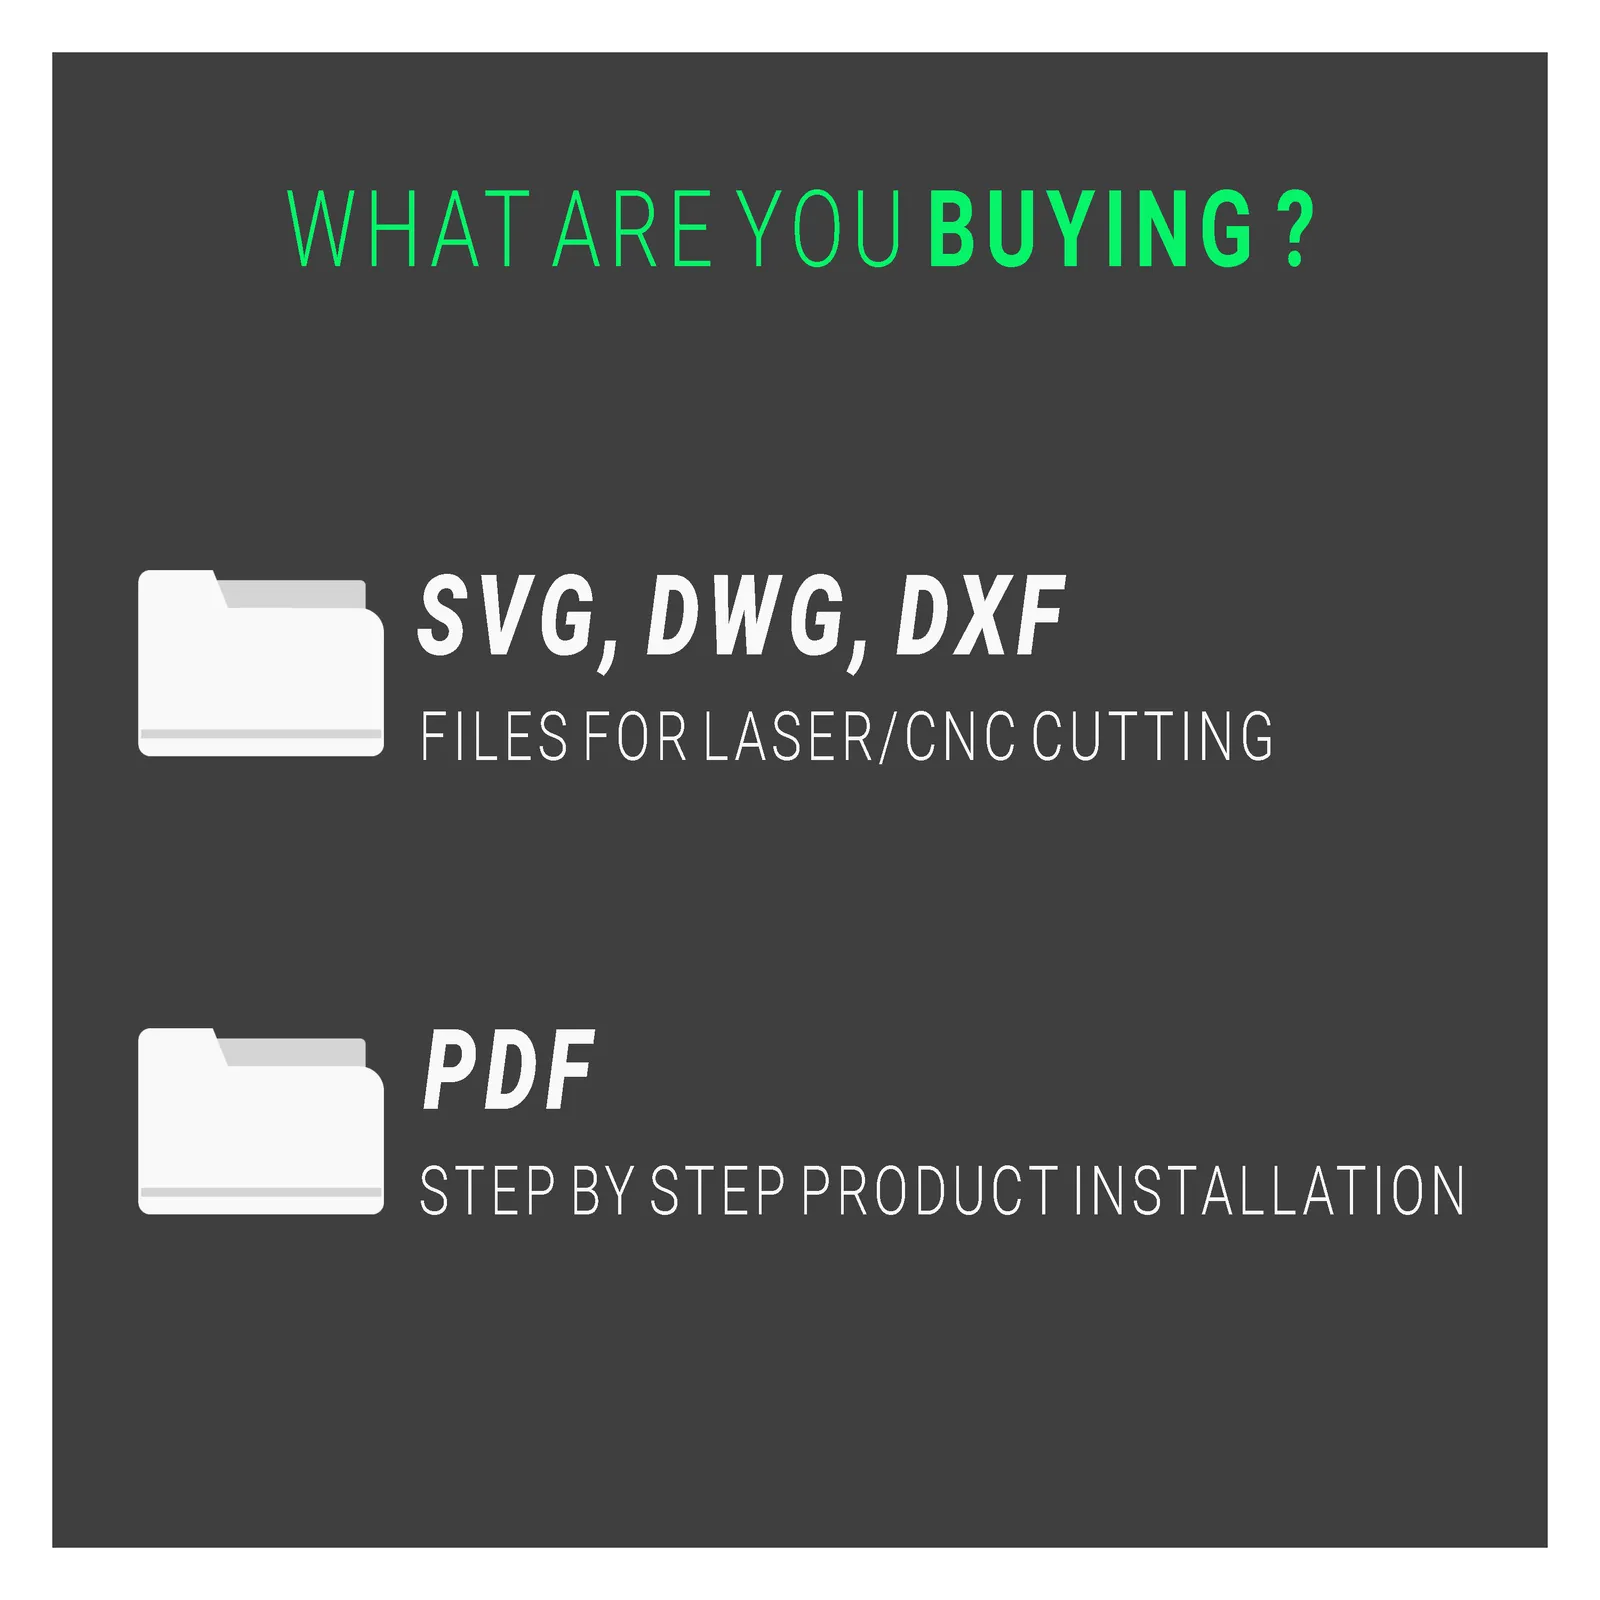
3 CNC Cut Files (SVG, DXF, DWG) + 1 PDF Guide
Laser/CNC-Ready Cut Files with a PDF Production Guide Covering Step-by-Step Assembly, Dimensions and Material Notes
What This Estimate Covers
Plywood Panel
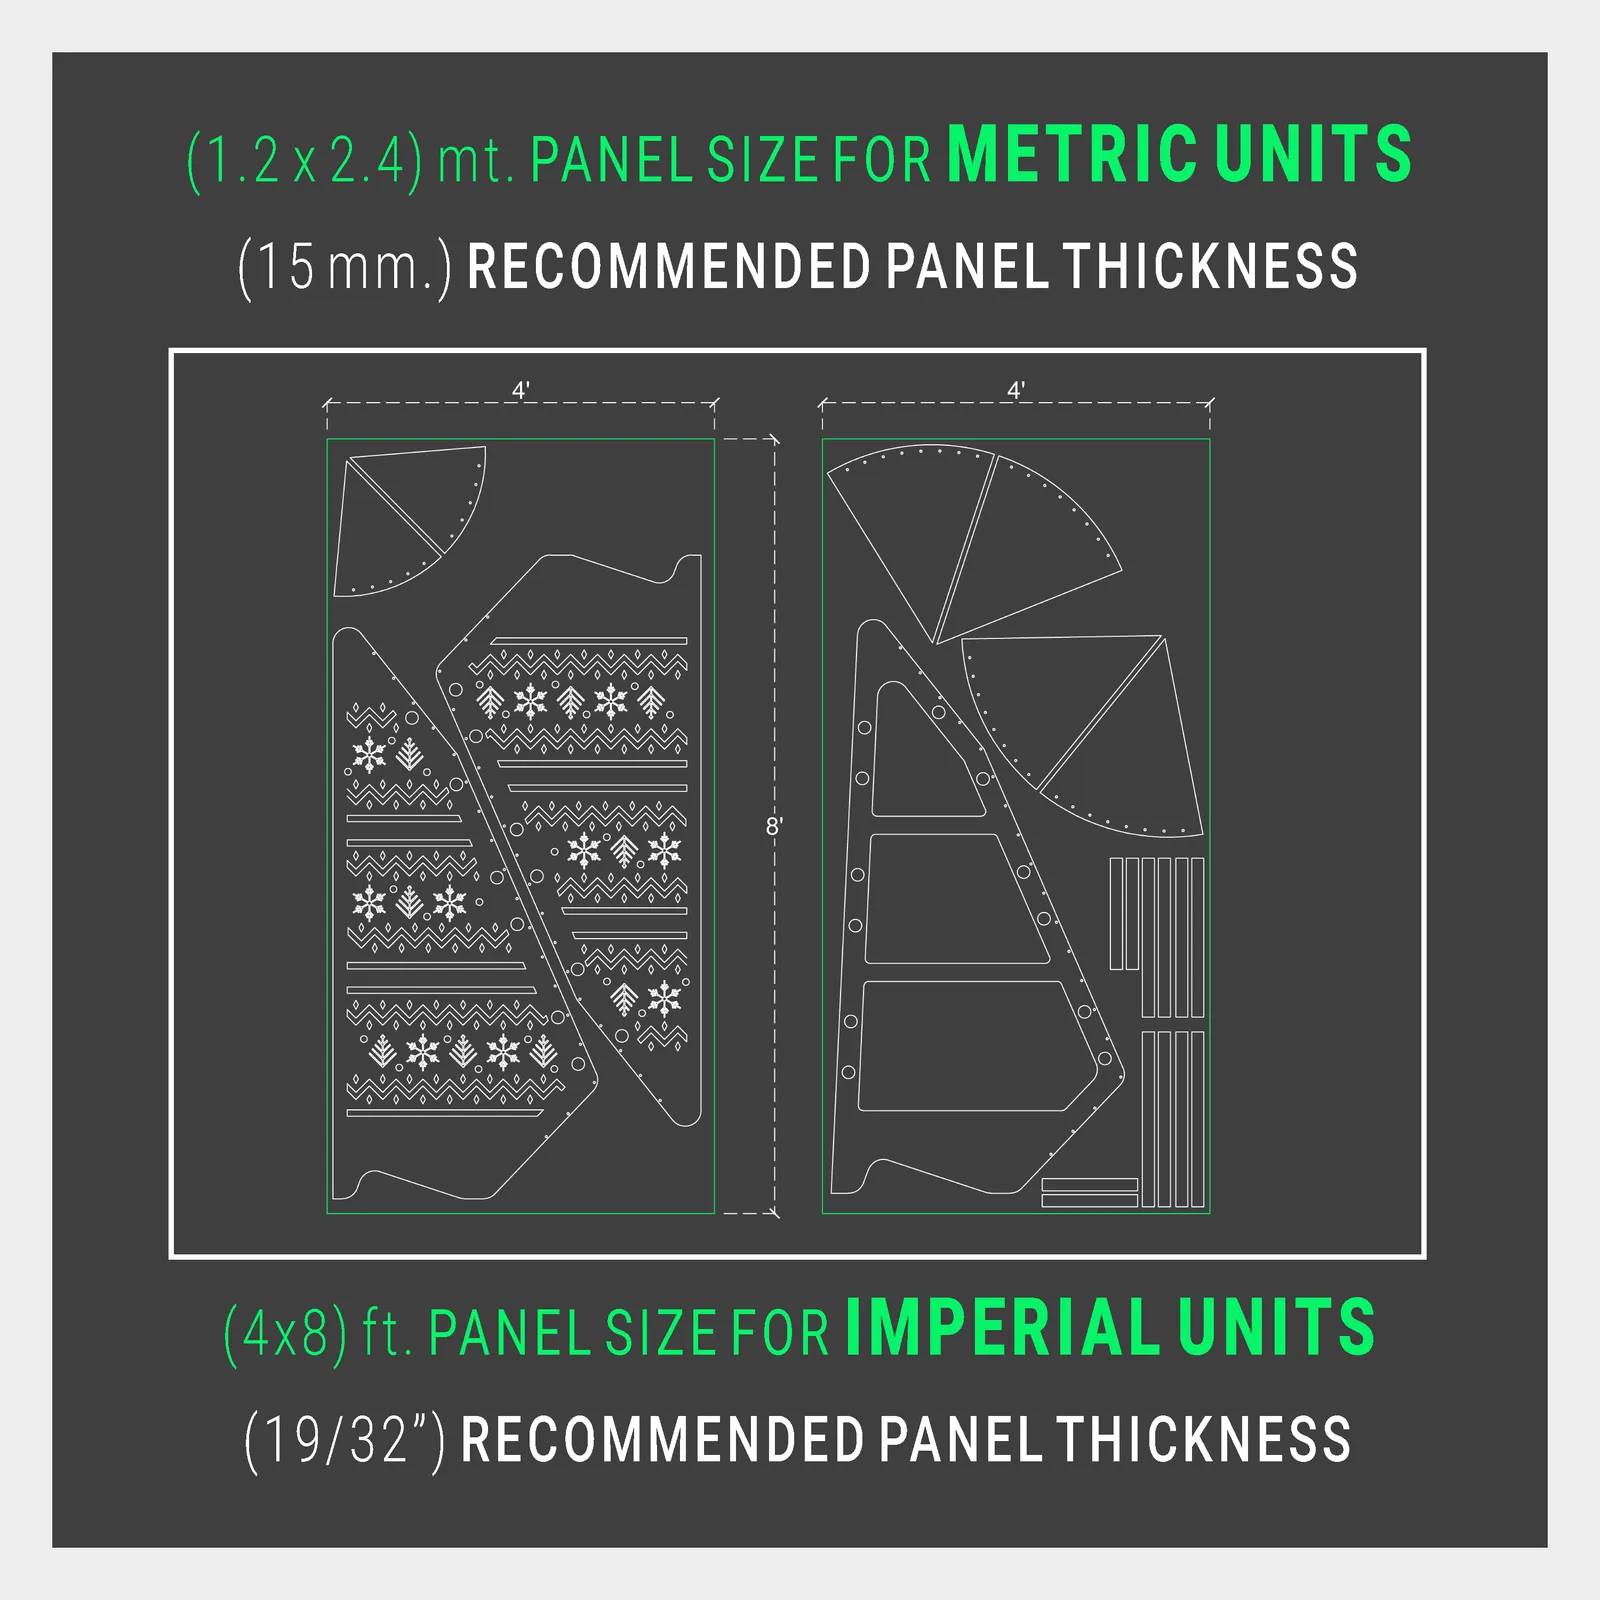
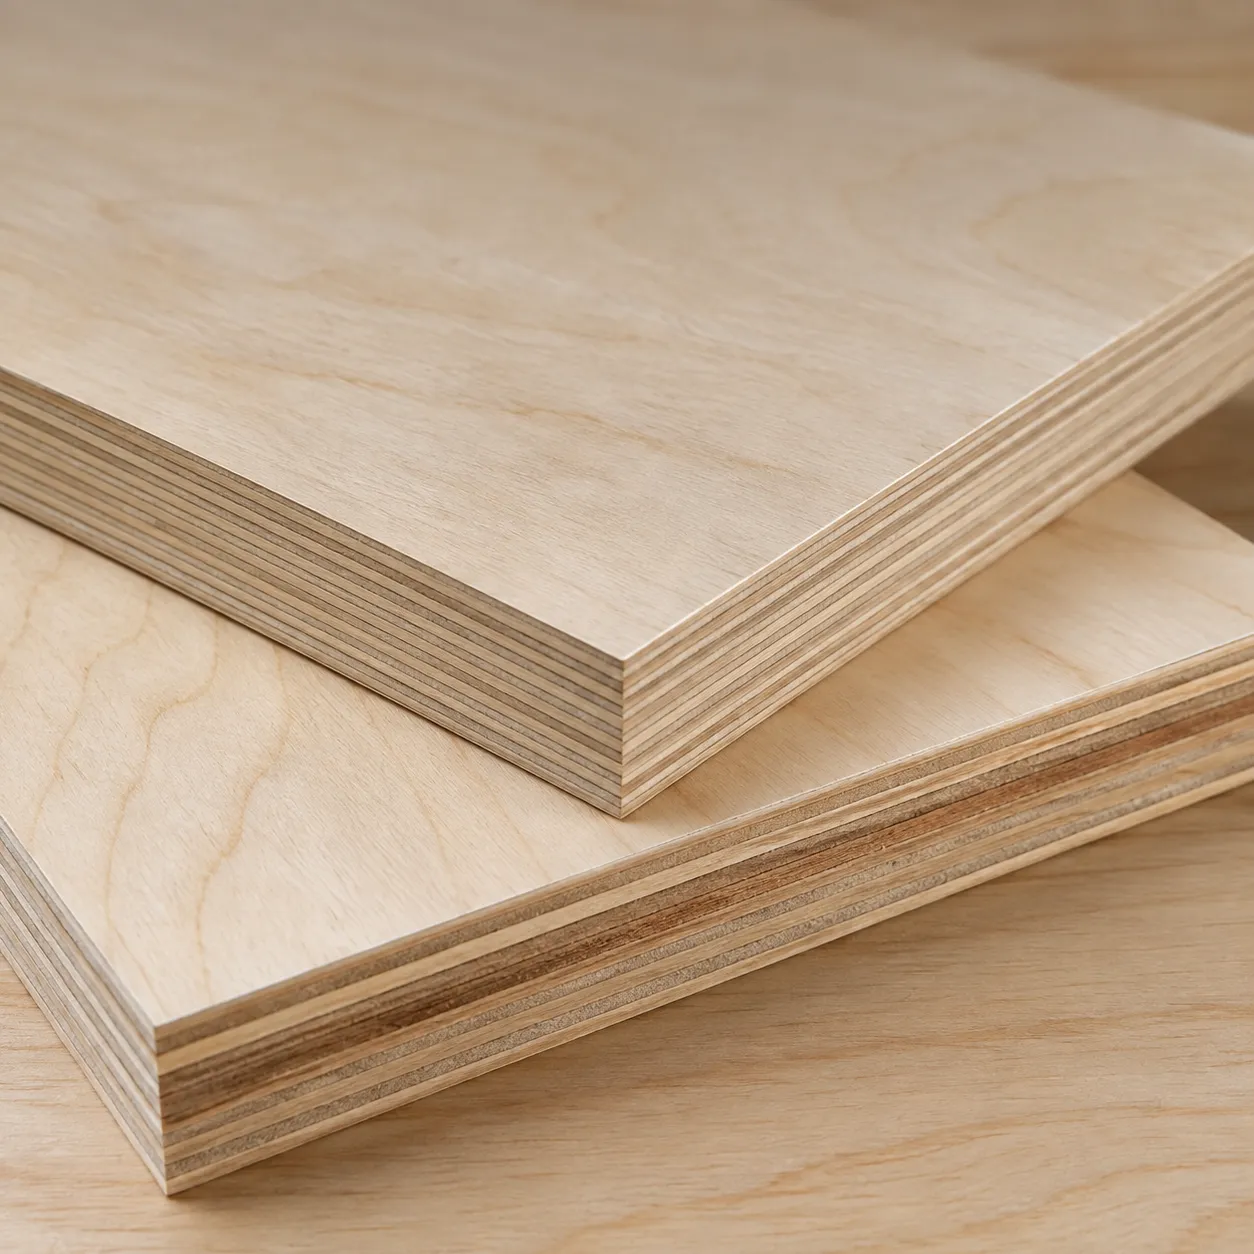
2 sheets of 19/32" (15 mm) hardwood-faced (birch) plywood — this estimate uses the hardwood-faced option, which is cheaper than Baltic birch.
Screws & Hardware
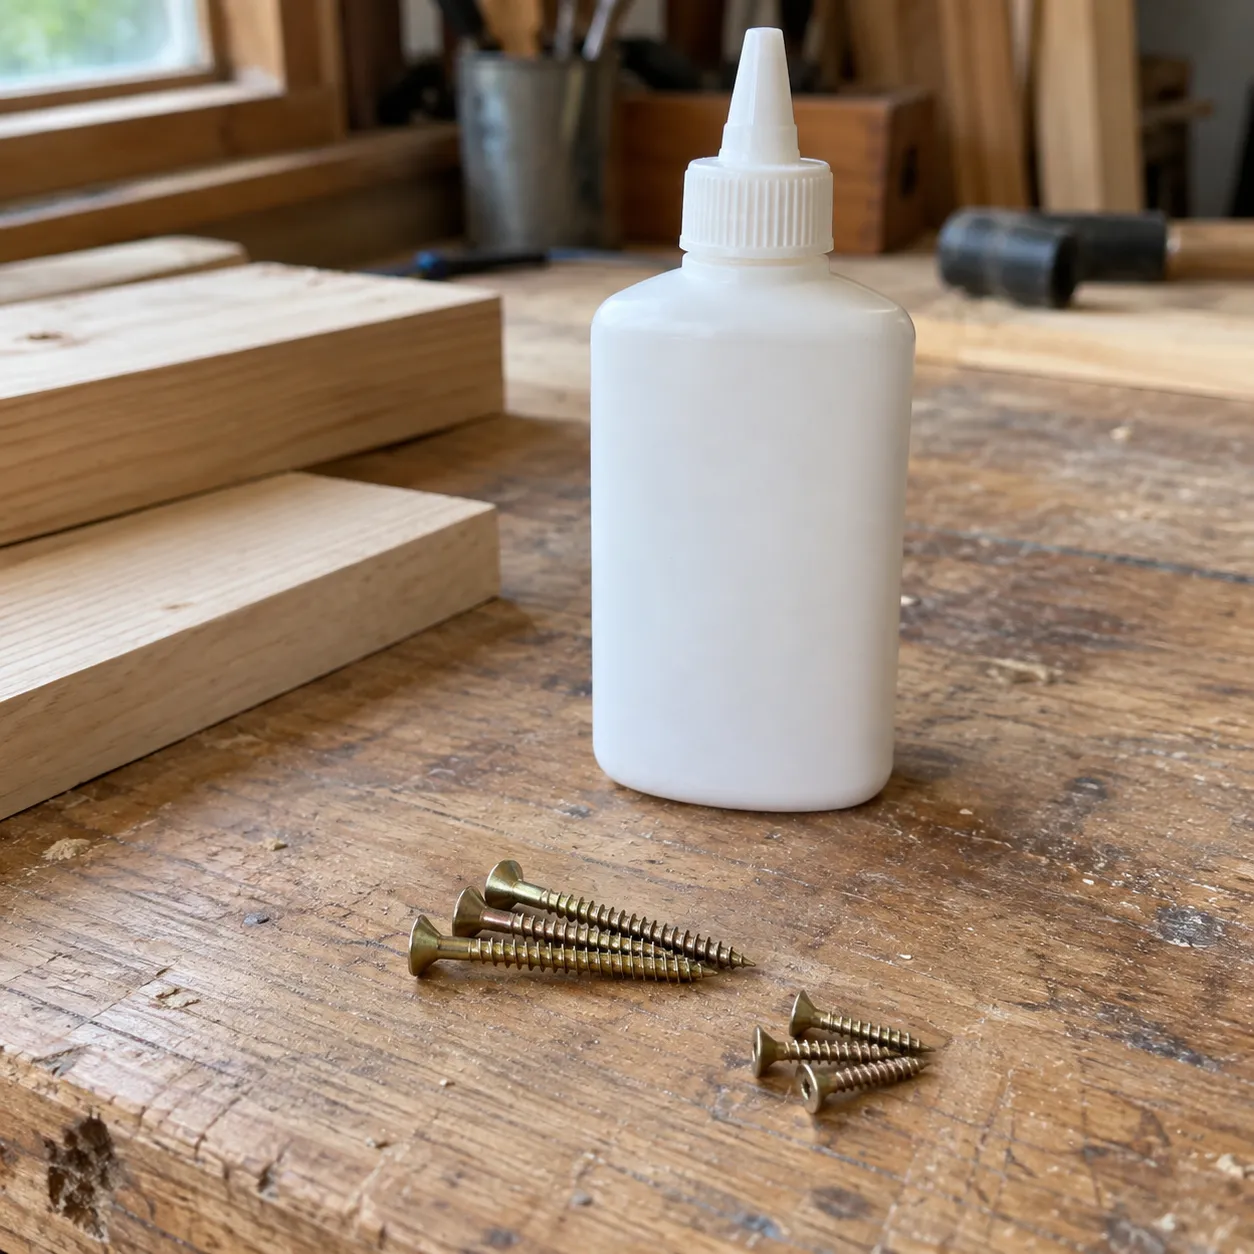
The #8 x 1" and #8 x 2" flat-head wood screws for the panel and holder joints (about 80 total) — sold in 100-count packs, so a little extra is unavoidable.
Finish (Varnish/Paint)
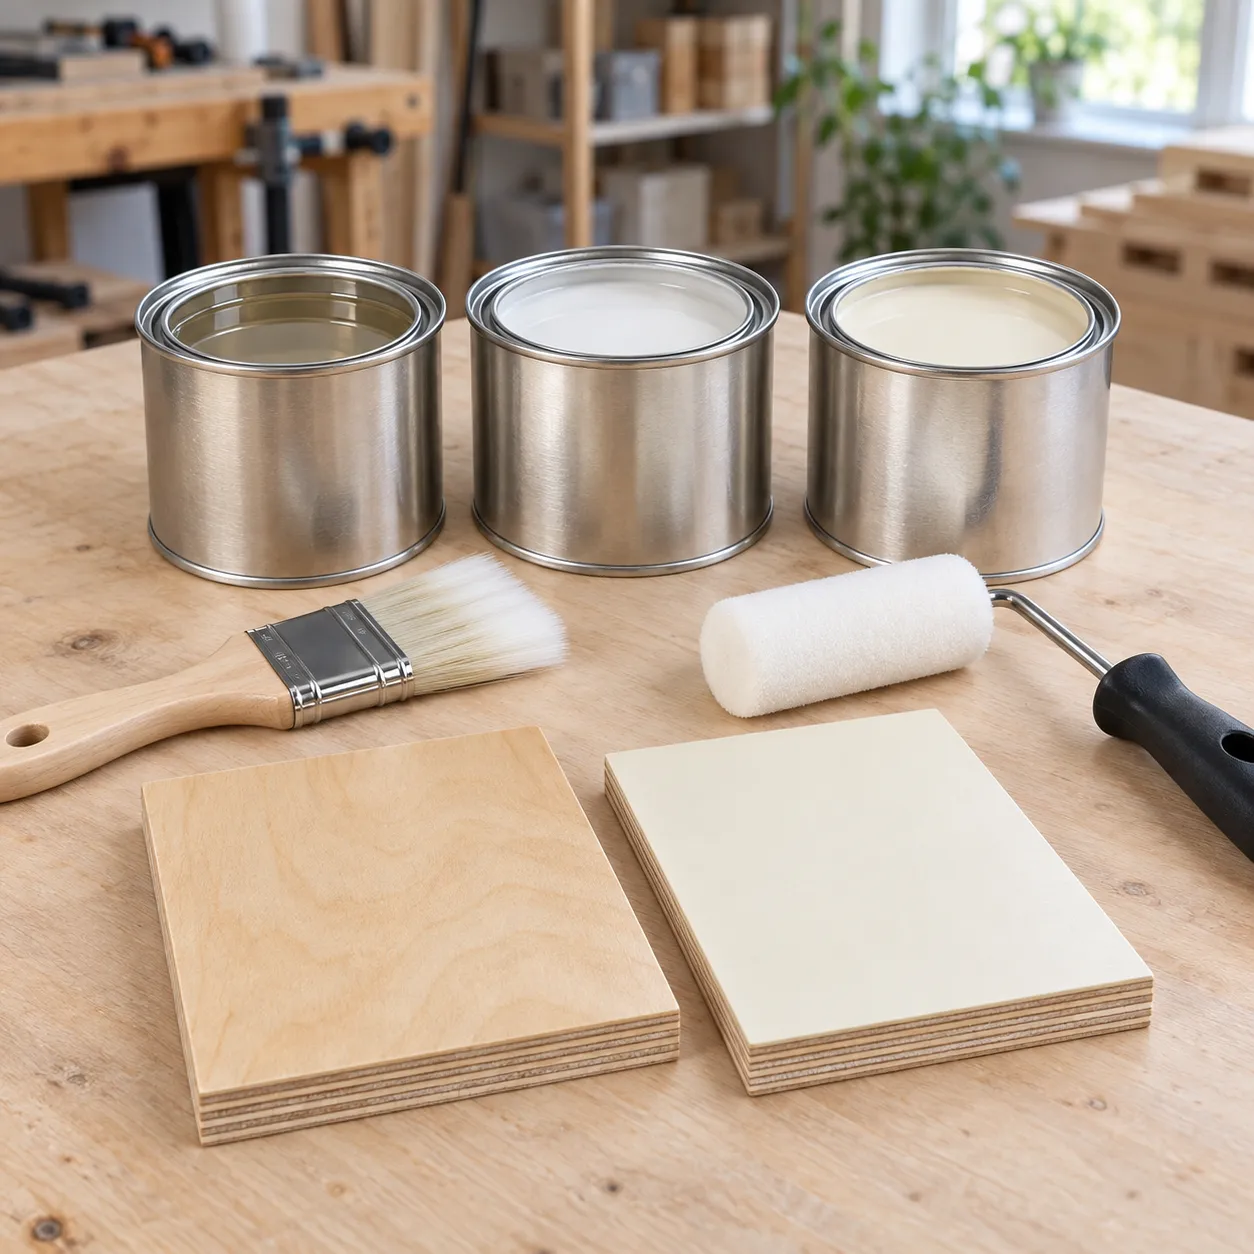
Water-based polyurethane varnish (1 quart) for the natural birch look, priced here; a fully painted finish costs differently based on the primer/paint you choose.
Acrylic Lighting Panel & Screws
This model doesn't need acrylic or special screws — thin-wire LED lights wrapped around the front are enough if you want to light the stand, so it's not included in this estimate.
LED Strip
Price varies by length, wire type, and brand, so it's not included in this estimate.
Wall Anchor Hardware (Anti-tip Kit)
An optional safety measure; whether you use one and which kit you pick varies by person, so it's not included.
CNC/Laser Cutting Labor
If you have the cutting done by a shop, labor pricing varies significantly between local providers, so it's not included in this estimate.
Fast processing. Help was offered.
Oct 16, 2025 · Martina B*
I haven't made it yet, but the instructions are clear and easy to read. Will post pictures after it is made. Didn't need customer service. Thank you!
Aug 6, 2025 · Jacquelynn O*
Great design, I'll try to build it as soon as possible.
Nov 13, 2024 · Giuseppe S*
Great plans! Very easy to understand and suggestions are right on!
Oct 31, 2024 · Deborah
Directions are easy to understand.
Feb 3, 2024 · Courtney
Fast processing. Help was offered.
Oct 16, 2025 · Martina B*
I haven't made it yet, but the instructions are clear and easy to read. Will post pictures after it is made. Didn't need customer service. Thank you!
Aug 6, 2025 · Jacquelynn O*
Great design, I'll try to build it as soon as possible.
Nov 13, 2024 · Giuseppe S*
Great plans! Very easy to understand and suggestions are right on!
Oct 31, 2024 · Deborah
Directions are easy to understand.
Feb 3, 2024 · Courtney
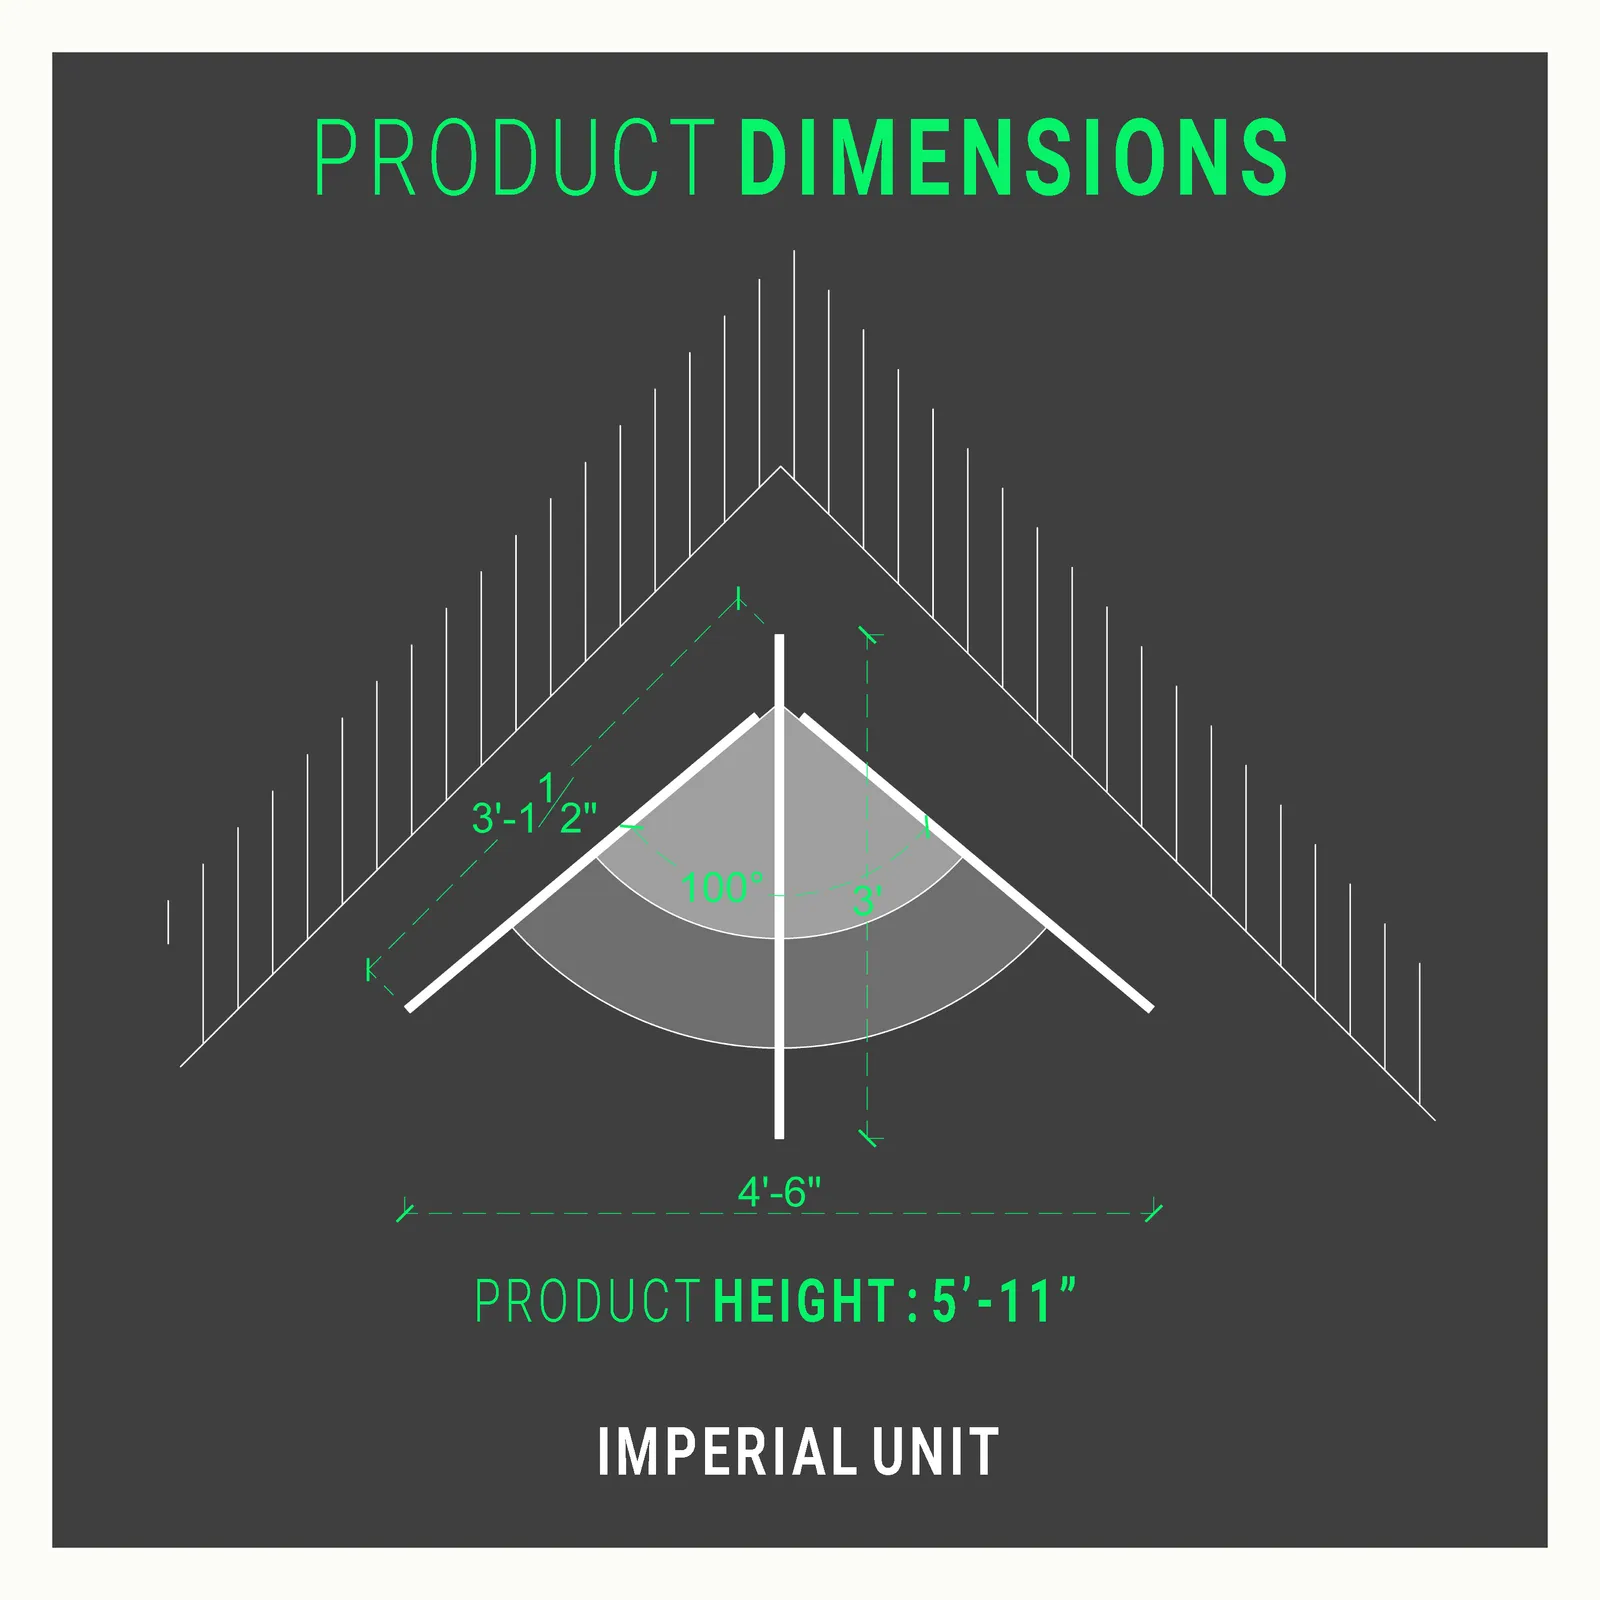
This project shares the corner stand family's common skeleton: a center panel that sits into the room corner, and two side panels that open out from it, parallel to the walls. Each of the three shelves is a pie-slice (quarter-circle) filling the 90° angle between the two side panels.
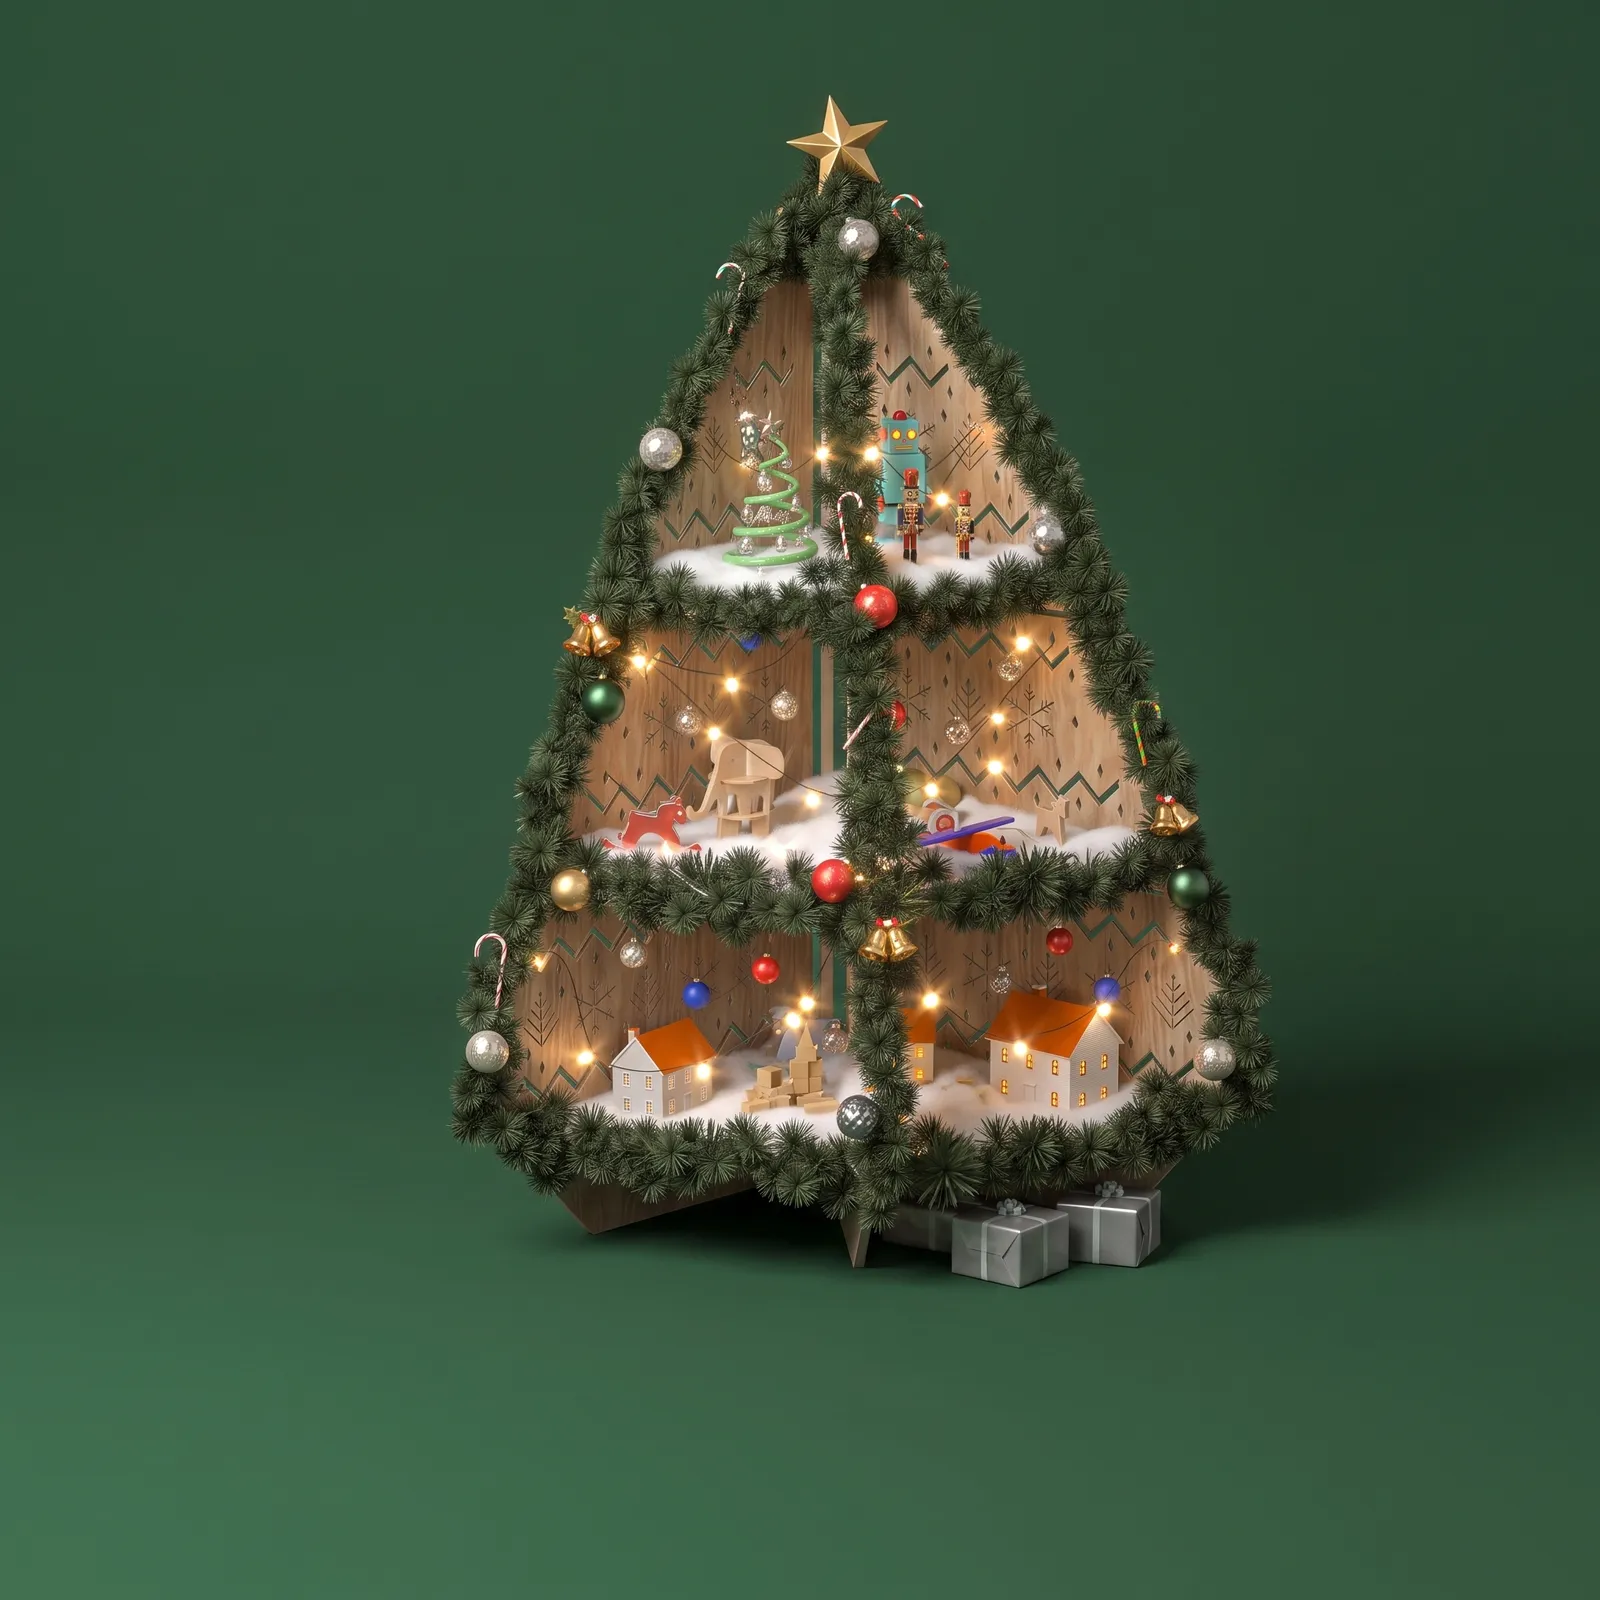
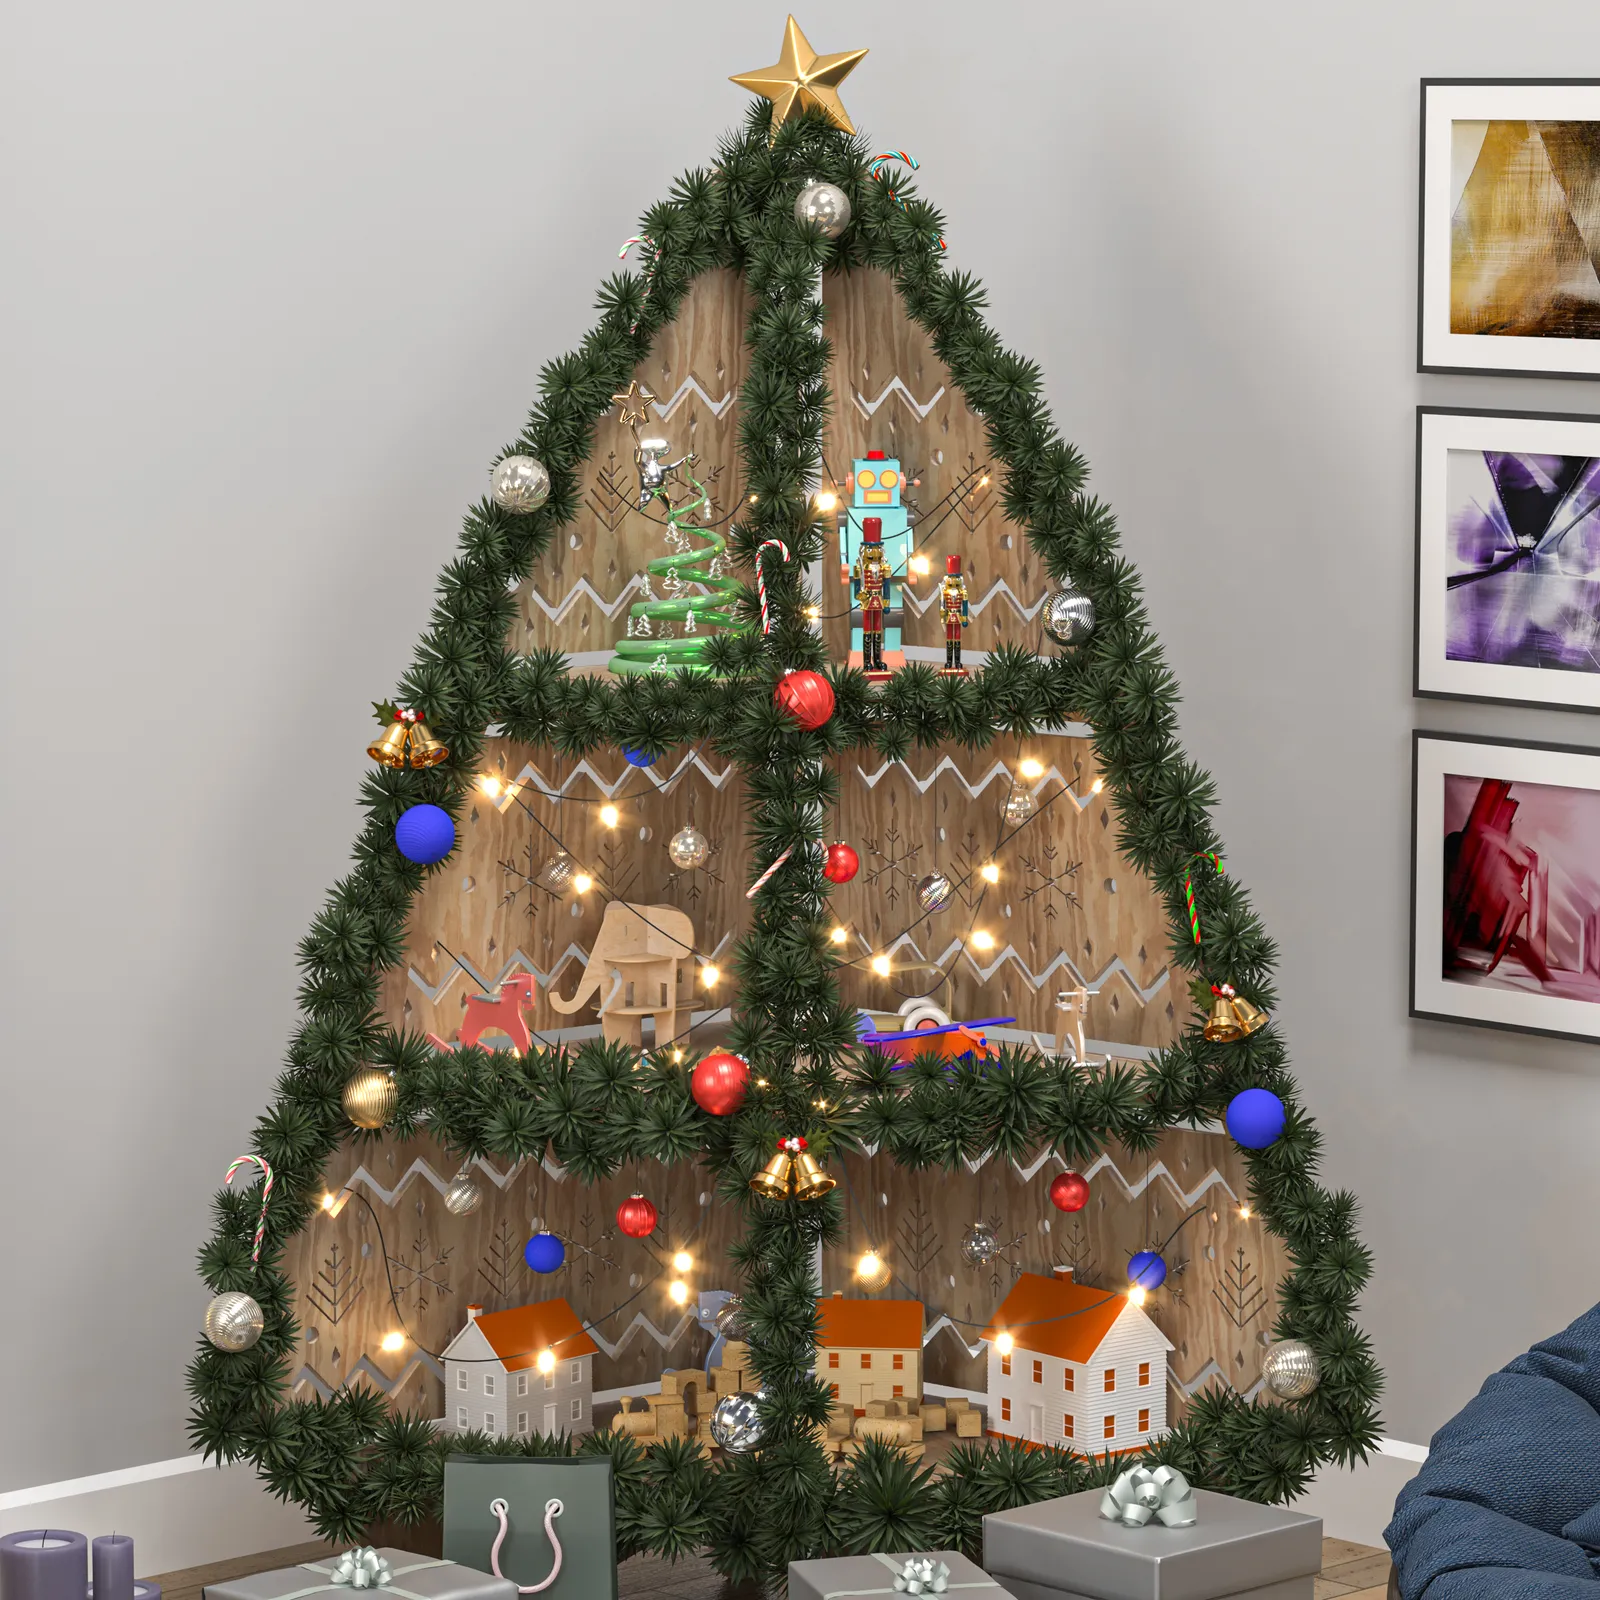
What sets this variant apart is a Scandinavian knit pattern that covers the side panels edge to edge — the kind of Fair-Isle banding you'd recognize from a Christmas sweater, translated into wood. The pattern is built from horizontal bands: repeating zigzag stripes, with rows of small six-pointed snowflakes, stylized firs, diamonds, and dots arranged between them. I left plain, pattern-free bands between the rows of motifs — these are where the pattern breathes and the eye gets a rest. The motifs are cut all the way through the panel (through-cut), so they're openings. In the family's dense geometric-pattern member, the pattern covers the panel surface edge to edge in one tightly woven texture; here, plain wood bands remain between the motif bands — the pattern reads more clearly, and less of the panel is cut away.
I designed this model to go without lighting — by day or under room light, the panel simply reads as a quiet textured surface with the wall showing faintly through behind the cut lines. Because the motifs are cut all the way through the panel, light passes through this cut pattern repeating along the bands, but I didn't design this variant to be backlit: in the family, only the dense geometric-pattern variant offers the acrylic backlighting option. I finish this stand with thin-wire LED lights run across the front of the panel (see the Lighting section below).
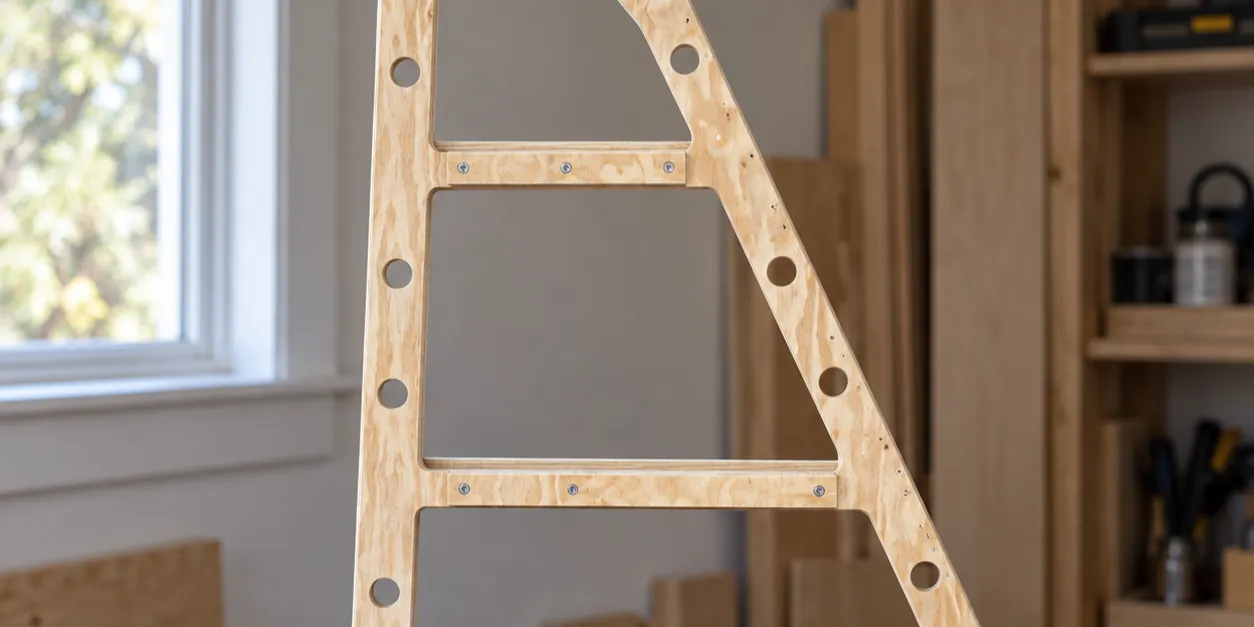
Unlike the two side panels, the center panel carries a row of decorative holes for hanging ornaments and is cut with a slight 3° closing angle toward the back — a small engineering detail that lets the whole structure sit flush into the corner.
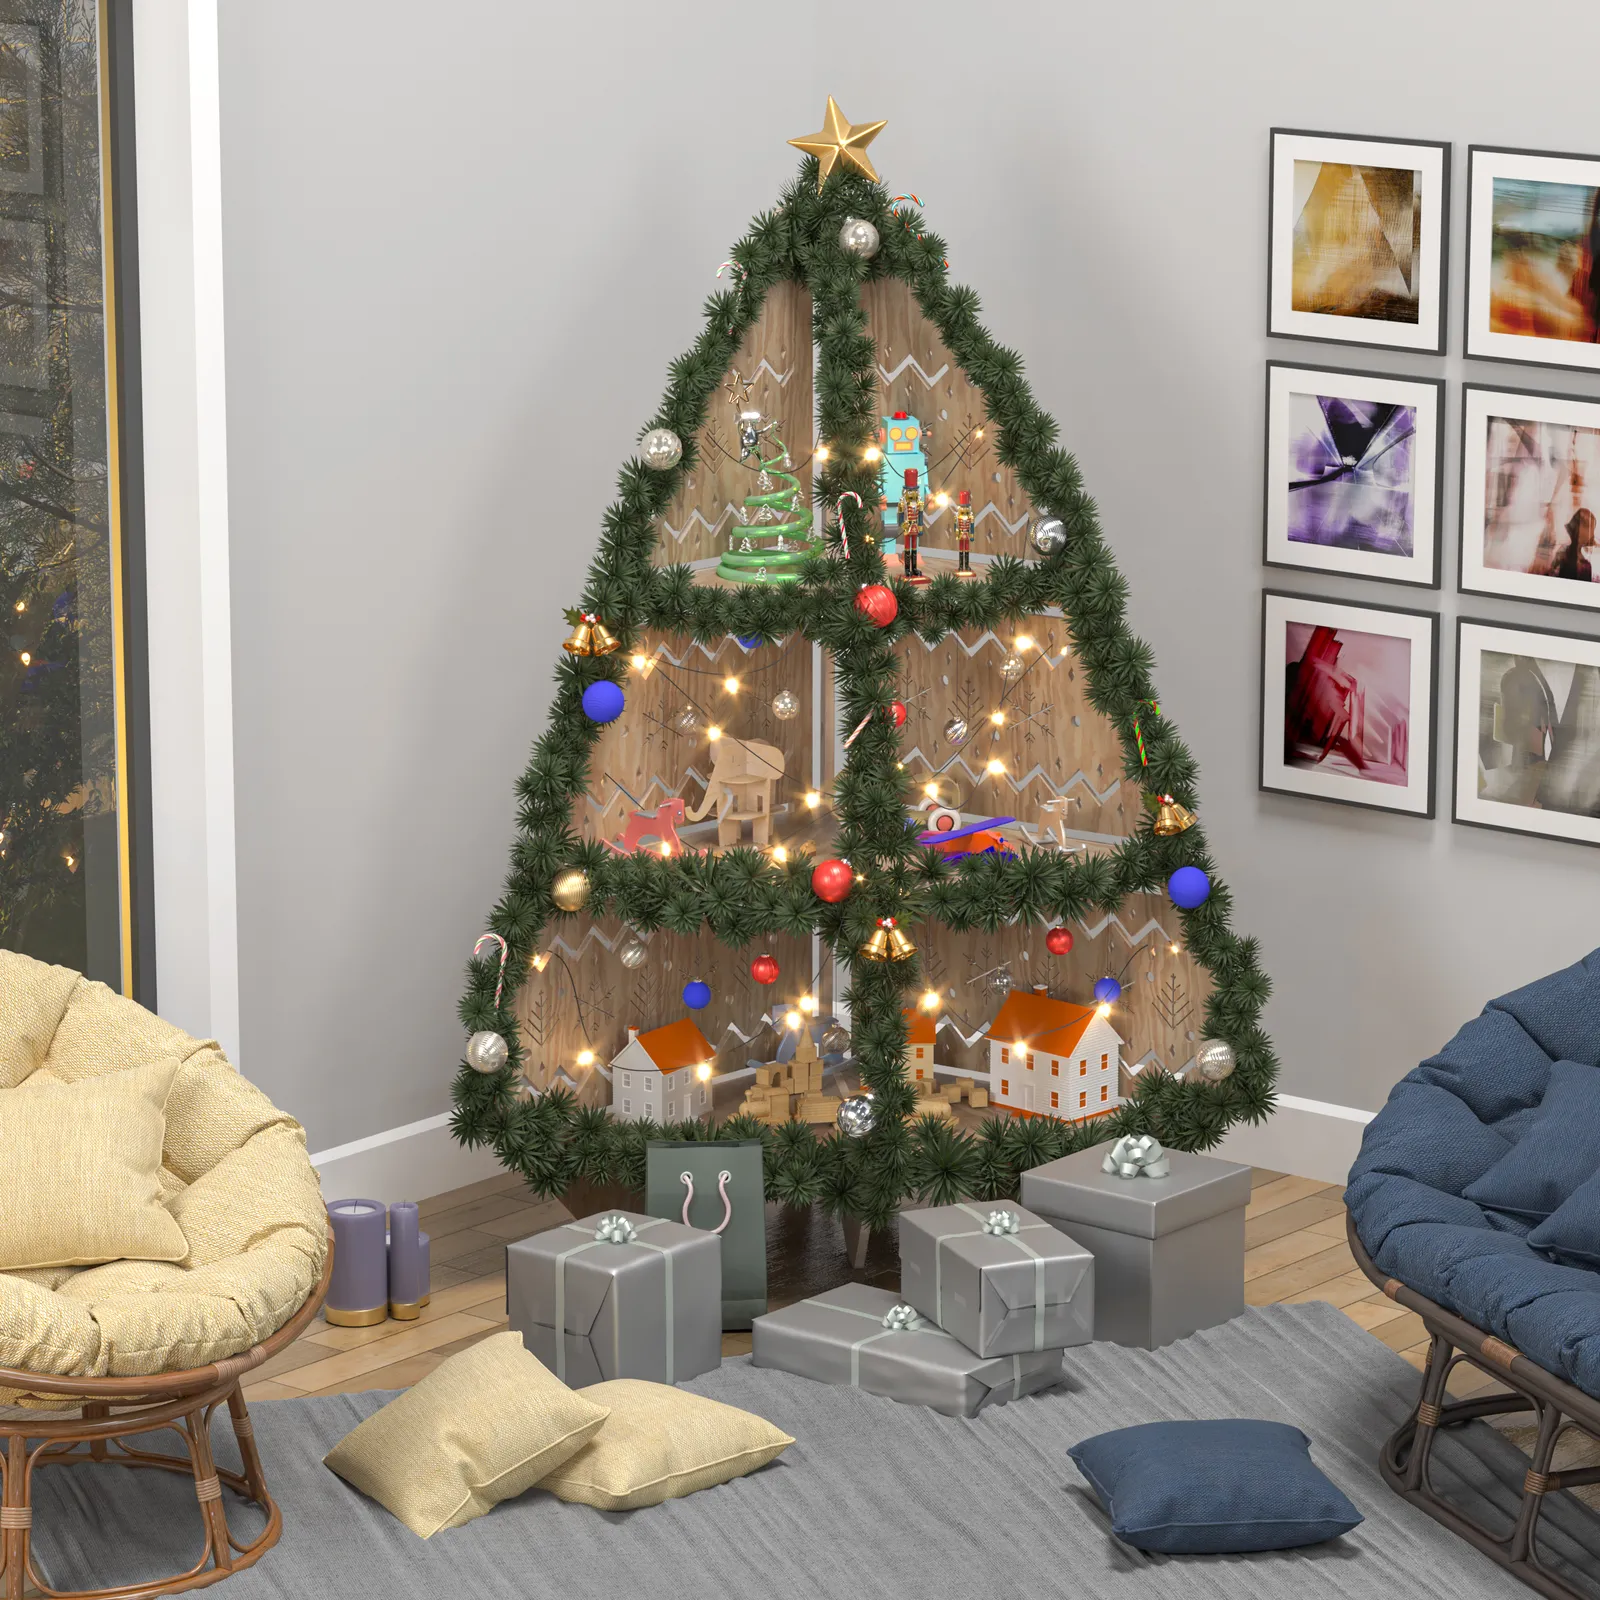
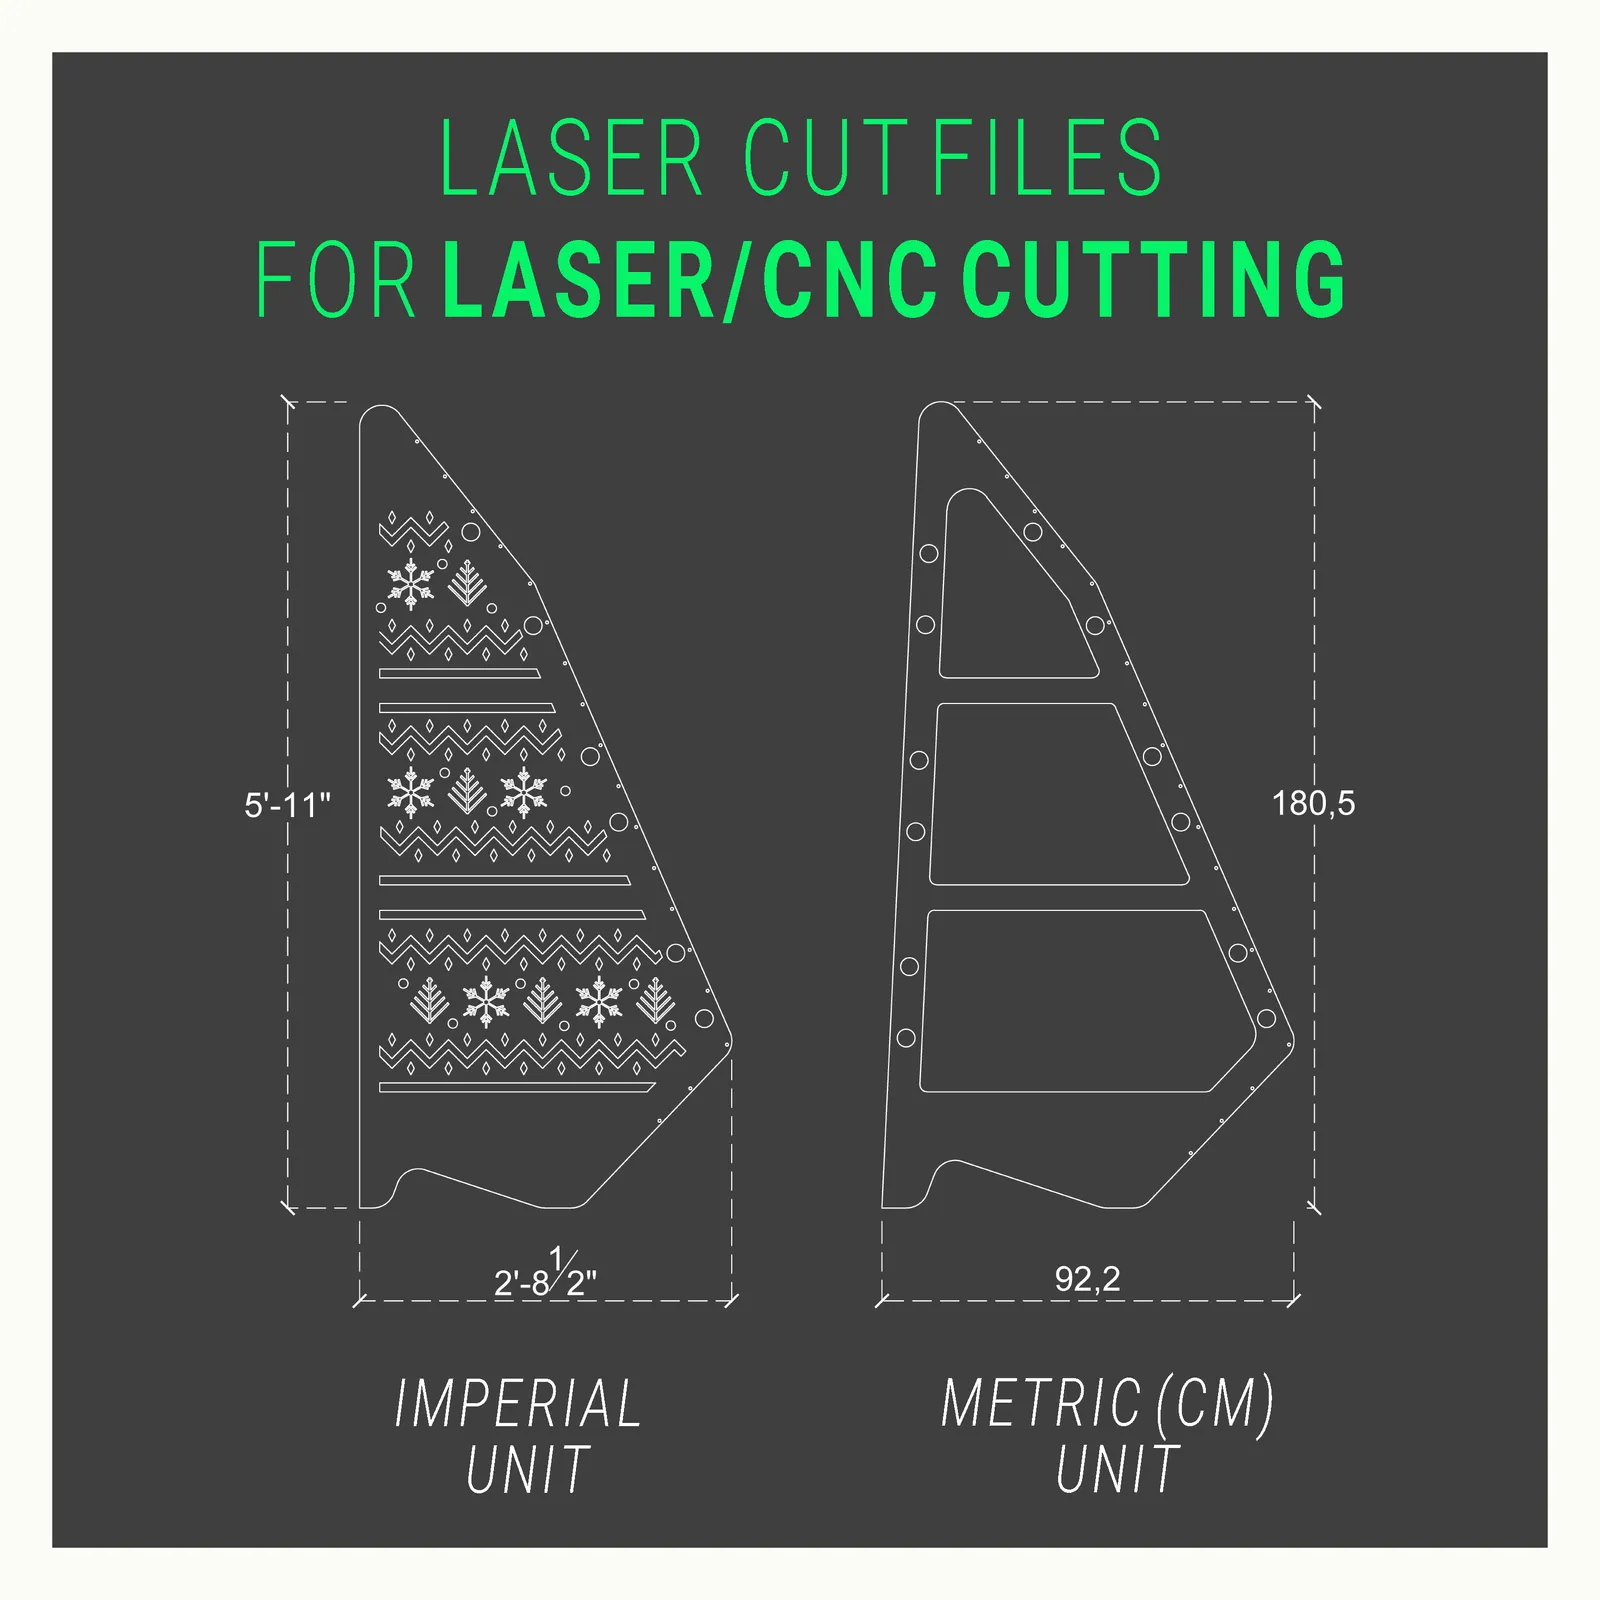
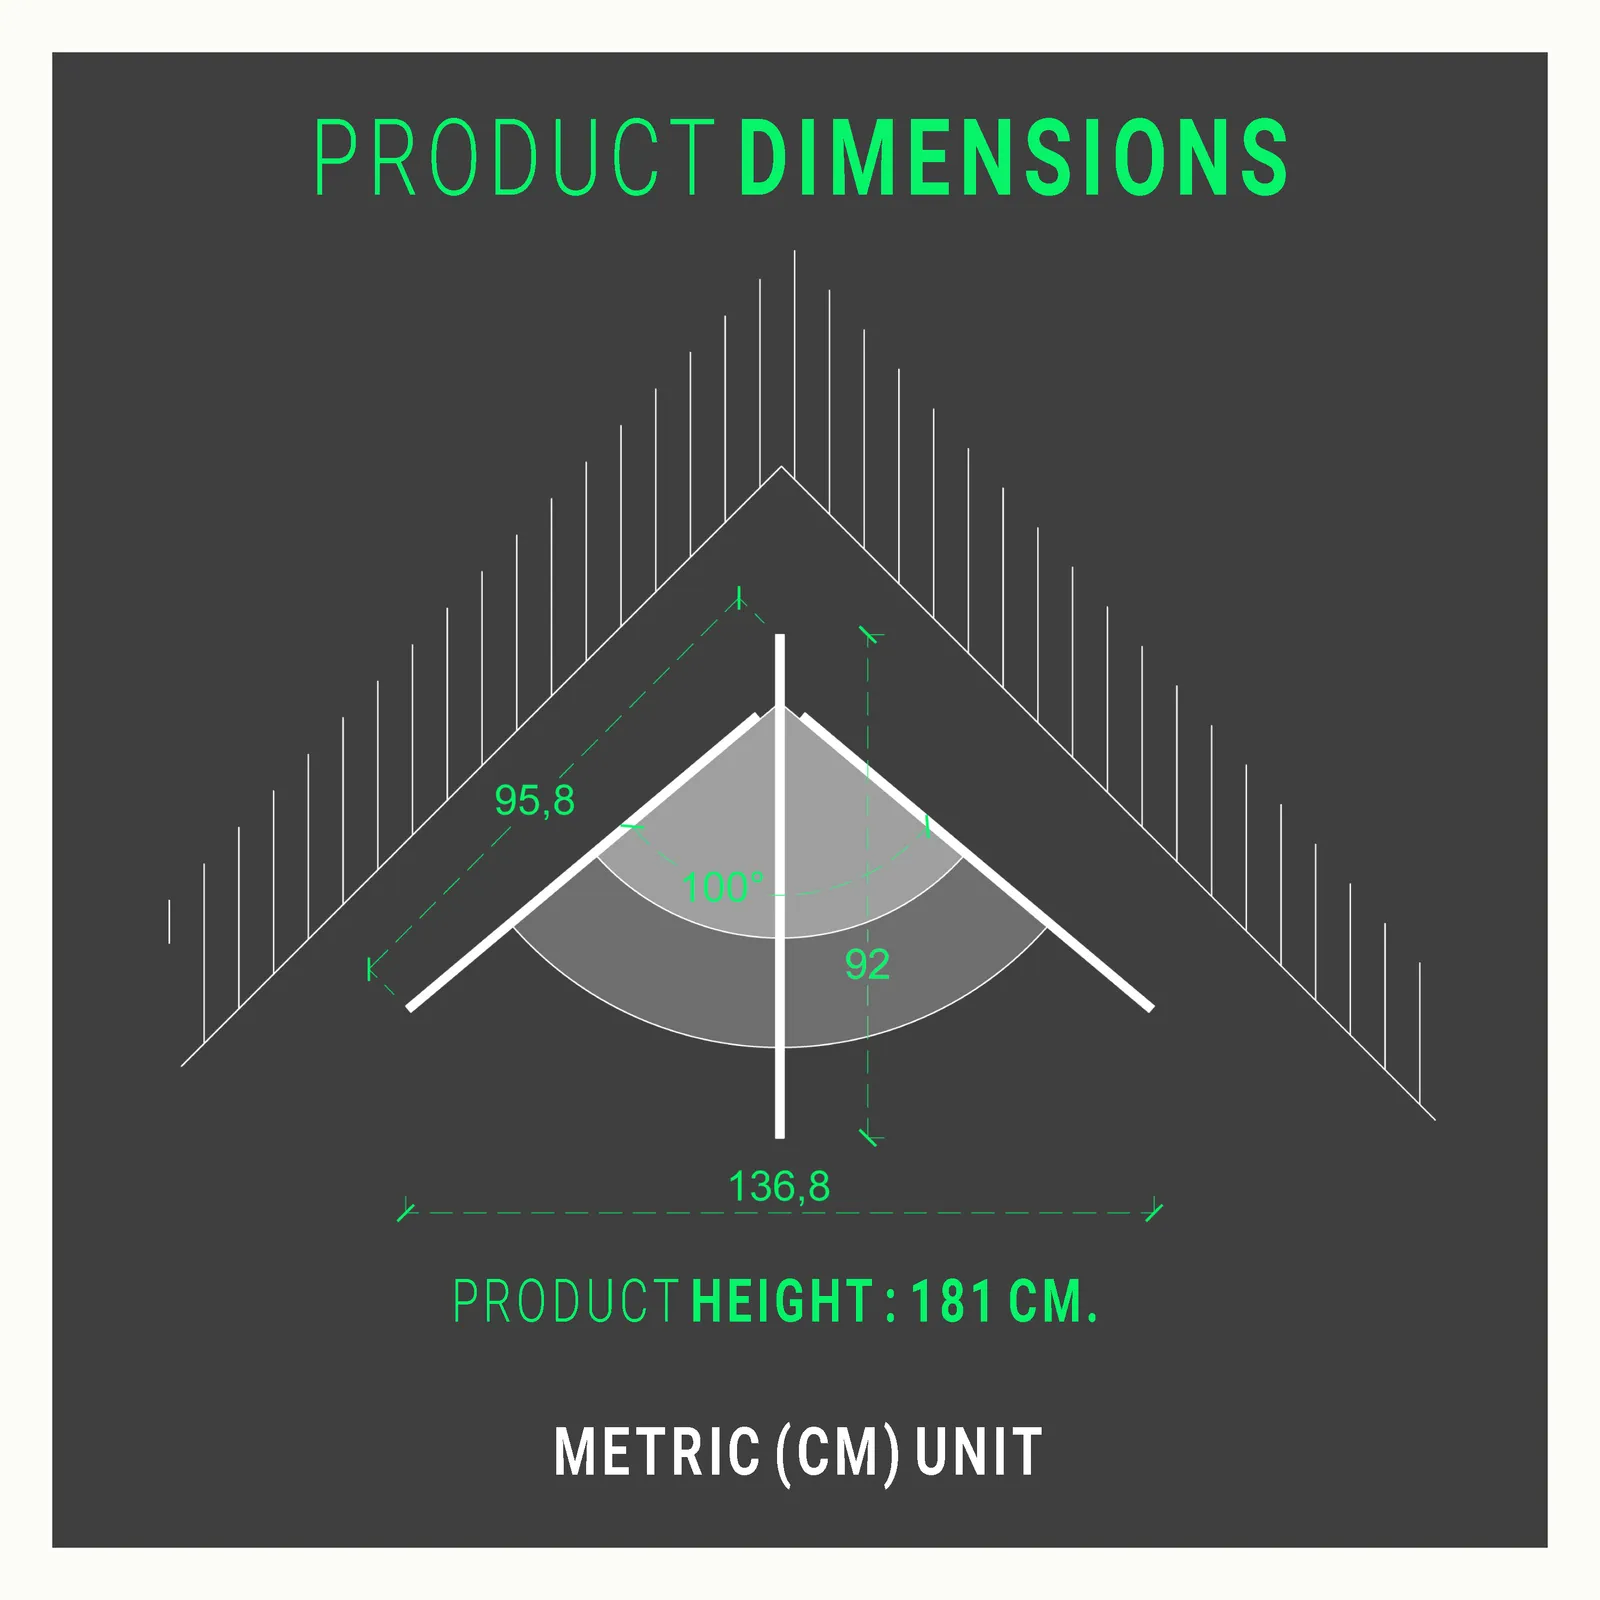
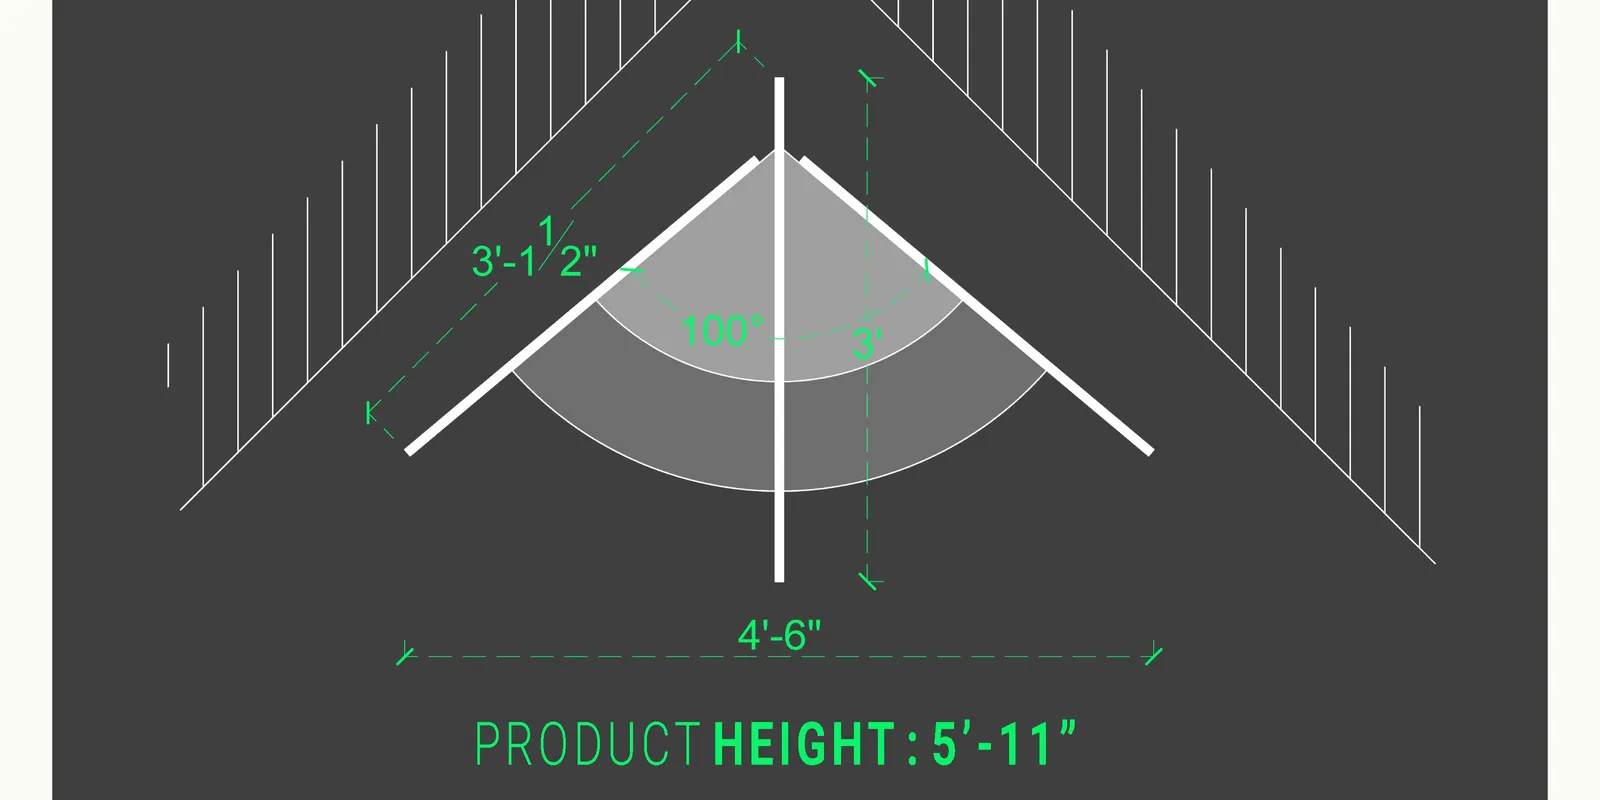
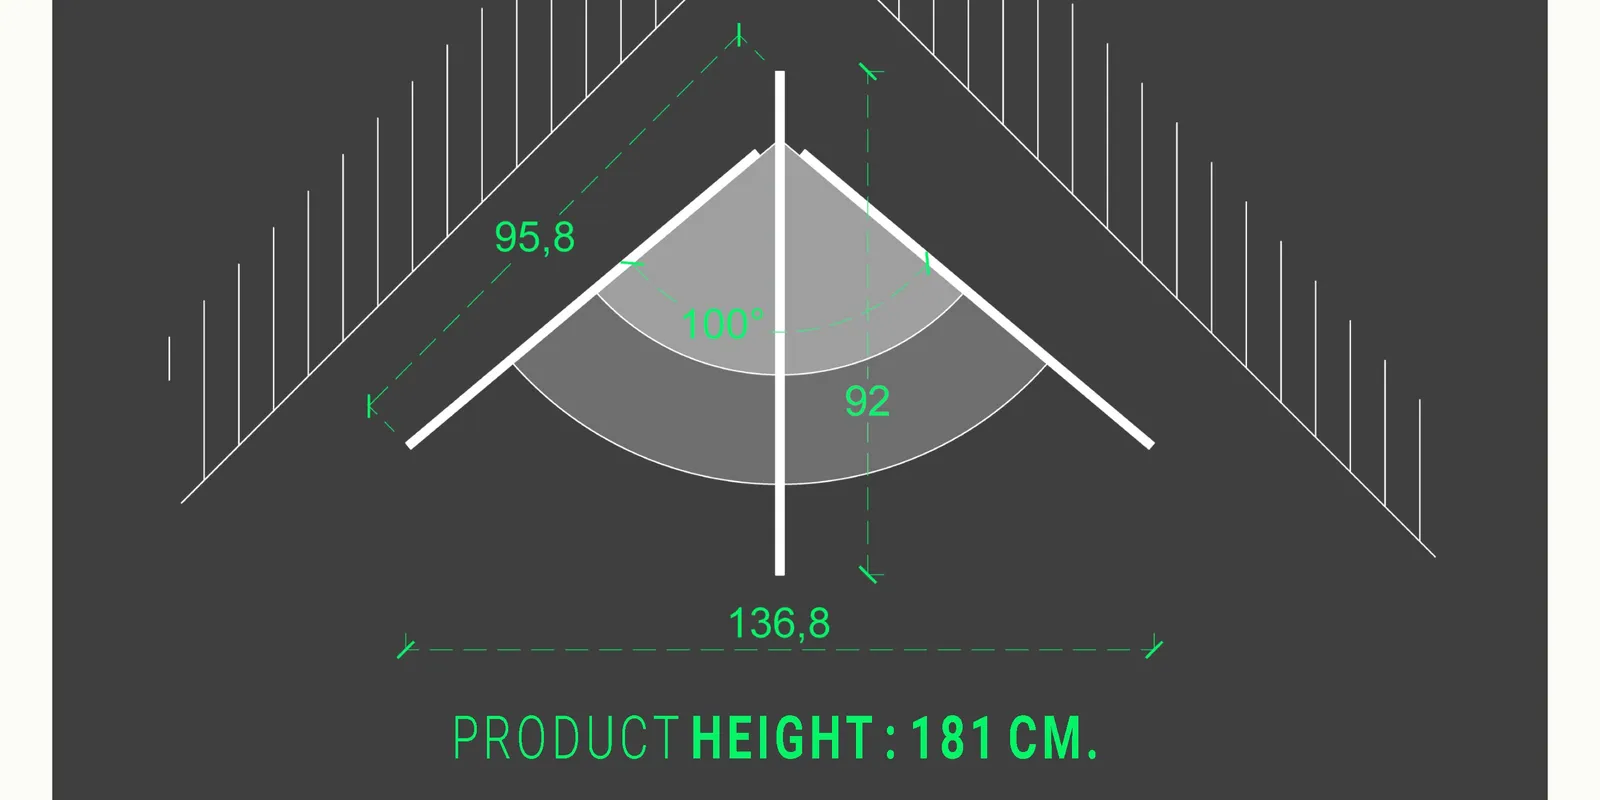
Finished, the reference dimensions are 54" (137 cm) wide × 71" (180 cm) tall — that's the size stated on the Etsy listing, based on the styled look in the photos with garland and a tree topper. The panels' and shelves' own net dimensions are given to scale in the CNC file.
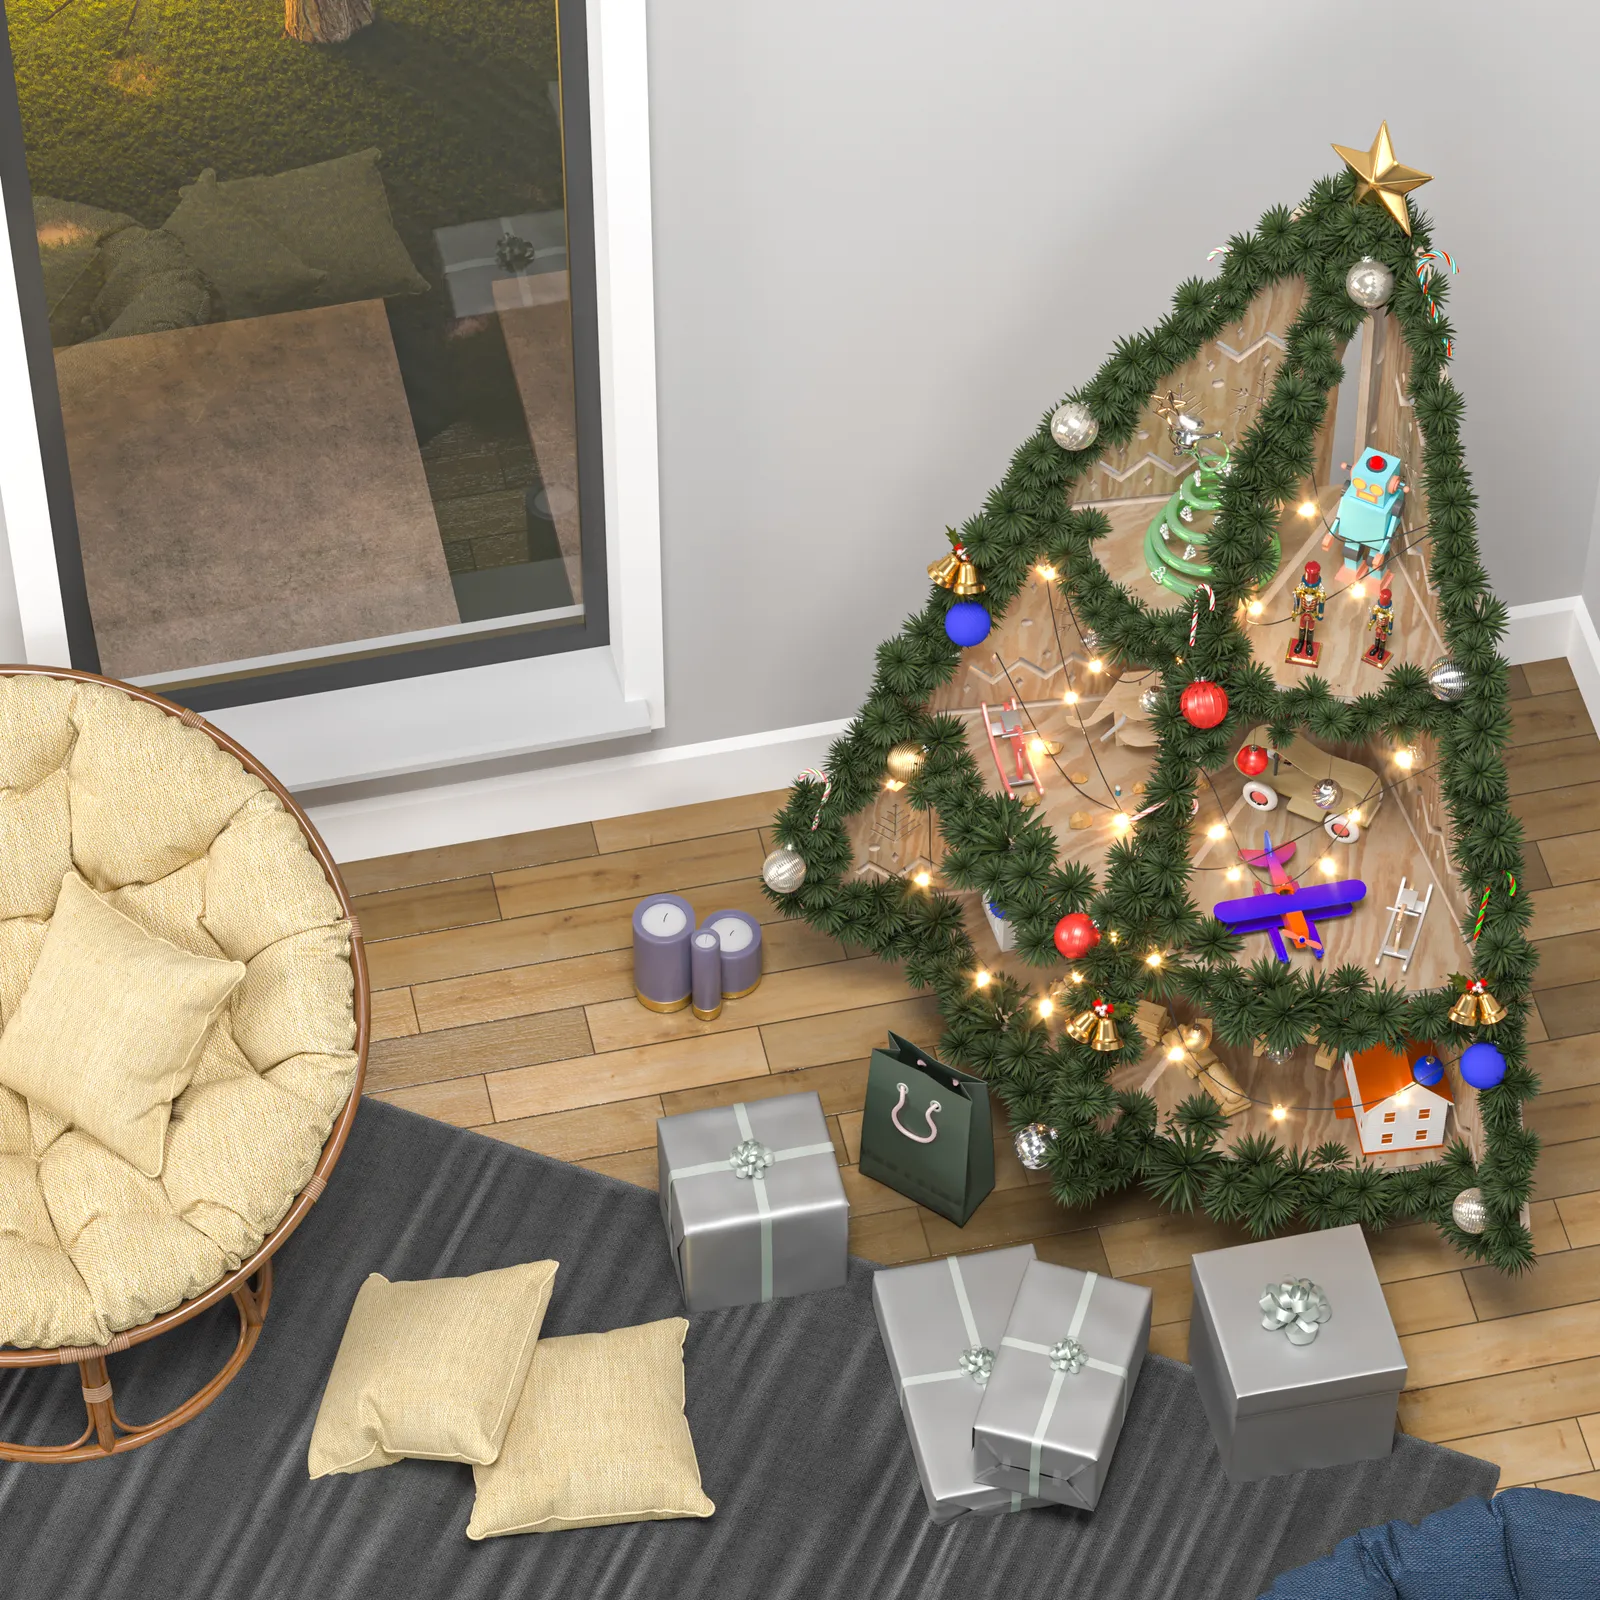
This is a corner design: the structure is built to sit into a 90° room corner. The center panel sits into the corner itself, and the two side panels open outward, parallel to the two walls.
It has fewer tiers than my circular stand (3 versus 6), but each shelf runs deeper — a better fit if you'd rather display fewer, larger village pieces.
You don't just have to take my word for these dimensions — the guide you're buying shows every one of them measured out directly on the design's own drawings.
3 SVG, DWG, and DXF format CNC files: all three carry the same Scandinavian knit pattern and the same cut plan — I prepared them in three formats purely for compatibility with different software. You don't need paid software to open them: LibreCAD (free, open-source) and QCAD (free community edition) both run on Windows and Mac. If you want a Windows-only option, Autodesk's own free viewer DWG TrueView is available. That said, if you're having it CNC-cut, you don't need to open the file yourself — just hand it off to whoever's doing the cutting.
1 PDF format build guide: a 10-page guide, explained through drawings — a parts diagram, center-panel dimension detail, shelf and side-panel assembly steps, an optional lighting detail, and the full materials list.
I deliberately simplified this in the guide's own drawings — to keep the step-by-step instructions from getting cluttered, the technical drawings show the side panels plain, with no motif. But the SVG, DXF, and DWG files you receive already carry the pattern made up of snowflakes, firs, and zigzag bands; the shelf-holder slot positions and dimensions are identical to the guide.
This is one of 5 variants in the corner stand family. They all share the same skeleton — the only difference between them is the pattern cut into the side panels and whether lighting is built in.
This is an indoor project, so what matters is appearance, weight, and how cleanly the cut edges come out.
I recommend birch plywood — the pattern is made up of fine zigzag cut lines and small motifs with fine arms, and a lower-quality, void-filled panel puts those fine sections at greater risk of chipping.
- Baltic birch plywood — every ply is birch with no internal voids. Ask for grade B/BB or BB/BB. The safest choice.
- Birch-faced hardwood plywood — only the outer face is birch veneer. Fine, but the inner plies show a different color on the cut edge.
Avoid: cheap construction-grade plywood (CDX / "sheathing"). The internal voids can cause breakage along the zigzag stripes' fine sections and the small motifs' arms.
Every wooden part comes from a single thickness: 19/32" (about 15 mm). The panel referenced on the guide's materials page is this thickness, and 2 sheets of 4×8 ft (122 × 244 cm) panel is enough in total.
Main parts: the center panel (3° angled, with decorative holes), two side panels (with the Scandinavian knit pattern cut in), three pie-slice shelves, and the center/side holders that connect the shelves to the panels. All cut dimensions and quantities are given to scale in the CNC file.
This model needs no extra lighting material (acrylic panel, special screws) — the cut list is wood parts only; if you want to light the stand, thin-wire LED lights wrapped around the front are enough (see the Lighting section below). Every dimension is also marked directly on that part's own cutting diagram in the guide.
Screws: per the guide's materials list, you'll need 36 #8 × 1" (2.5 cm) and 45 #8 × 2" (5 cm) flat-head wood screws. Make sure they're flat head.
Glue: not required, but I recommend it, particularly at the panel-to-holder joints. Ordinary wood glue (PVA) is plenty. If you're planning to take it apart at the end of the season, skip glue on the holder joints.
This is an indoor project. Don't use wall paint — it stays soft on a furniture surface and marks and stains easily.
Natural wood look: if you used birch plywood, you can skip paint entirely — the pattern's cut edges look especially clean against natural wood. Water-based polyurethane varnish is the right call on light-colored wood.
If you're painting, reaching the zigzag stripes' turns and the small motifs' fine arms with a brush gives more controlled results than a roller; a light spray coat is another option.
For a painted finish: a shellac-based primer (e.g. Zinsser B-I-N), then a water-based acrylic furniture paint (trim & cabinet paint), in satin or semi-gloss.
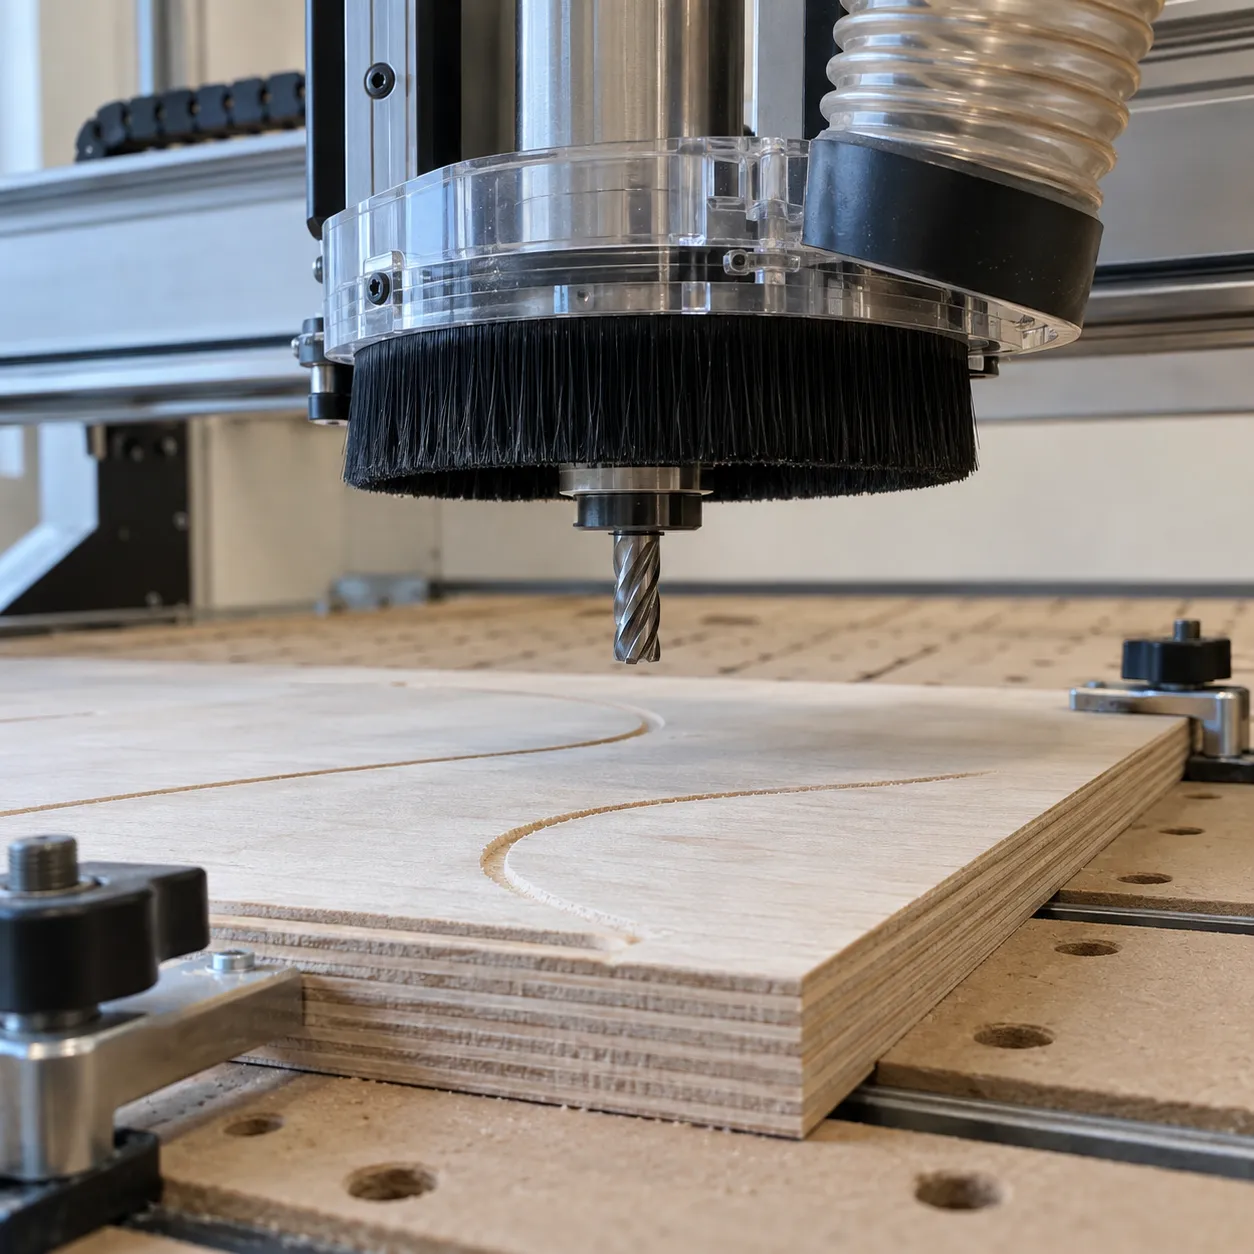
The pattern is made up of zigzag stripes repeating in horizontal bands, with rows of small motifs arranged between them — all with fine, sharp-angled arms. Reproducing these by hand with a scroll saw is possible: you might cut a single snowflake skillfully enough, but the hard part is repeating that same motif at the same size all the way along the row. The first thing to break down in hand-cutting is the band's regular repetition, and the eye catches that break instantly in motifs sitting side by side. CNC or laser cutting is by far the more practical route on this variant, both for speed and for keeping the bands' pattern and the motifs' symmetry intact.
Hand the DWG, DXF, or SVG file straight to a CNC or laser shop. I'd recommend telling them the motifs need to be cut all the way through (through-cut) — the file is already set up that way, but stating it clearly avoids any mix-up.
Start assembly with the center panel. Unlike the two side panels, it's wider and carries decorative holes for hanging ornaments, and it's cut with a slight 3° closing angle so it seats flush into the corner.
Before going further, screw the center holders that will carry all three shelves onto the panel using 1" (2.5 cm) screws — leaving a 19/32" (15 mm) gap at the top of the slots, equal to the shelf thickness.
The spacing between the three holders is fixed at 1-15/16" (5 cm). Follow the guide's dimension drawing and all three land at the right height, level and aligned. Every dimension and gap here is also marked visually on the guide's own step page.
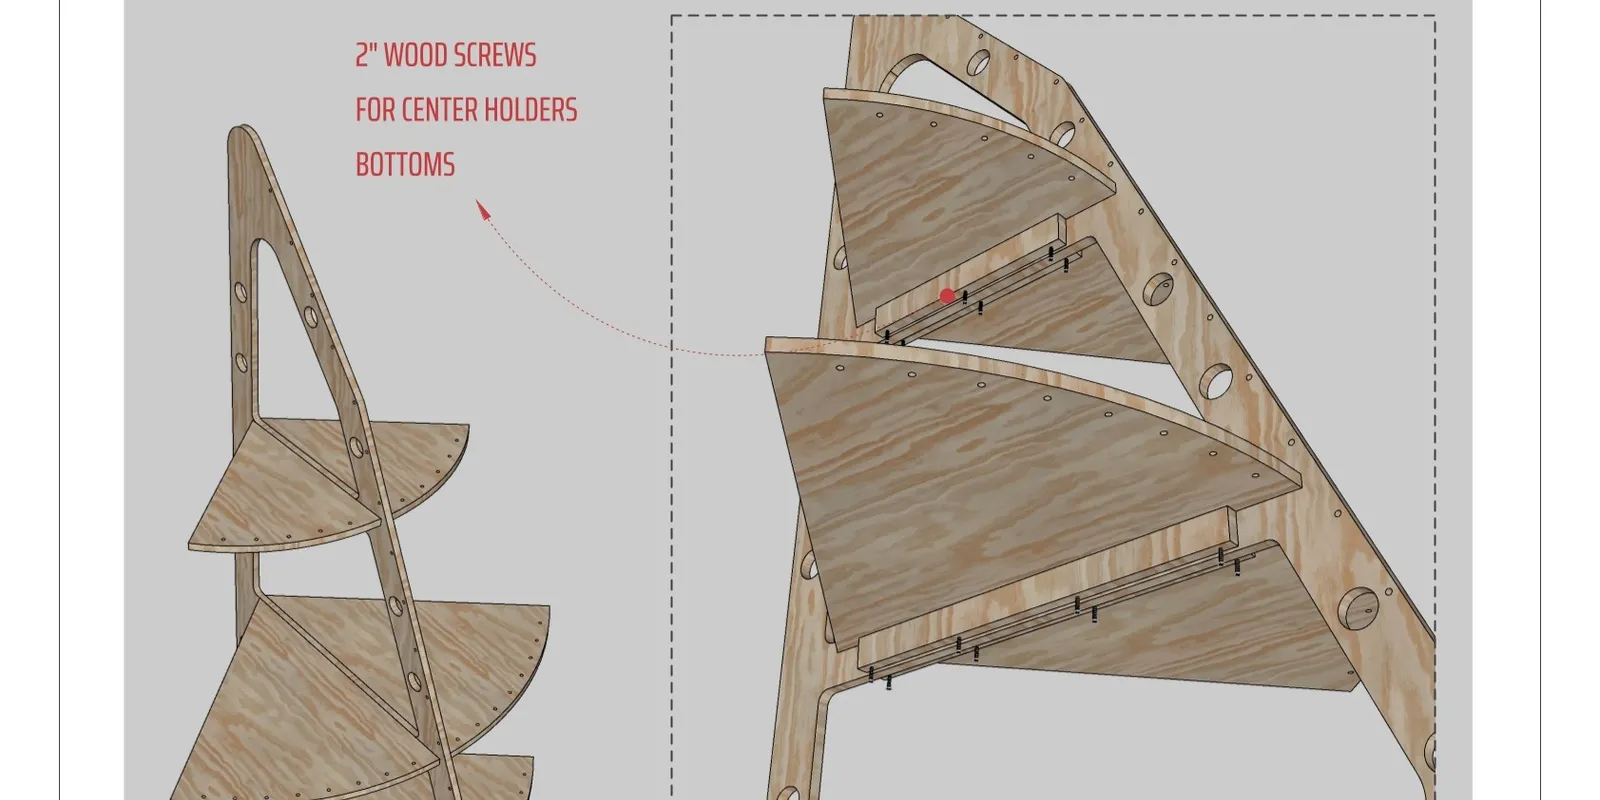
Fasten the shelves from underneath onto the center holders with 2" (5 cm) screws — the three shelves' starting points should line up.
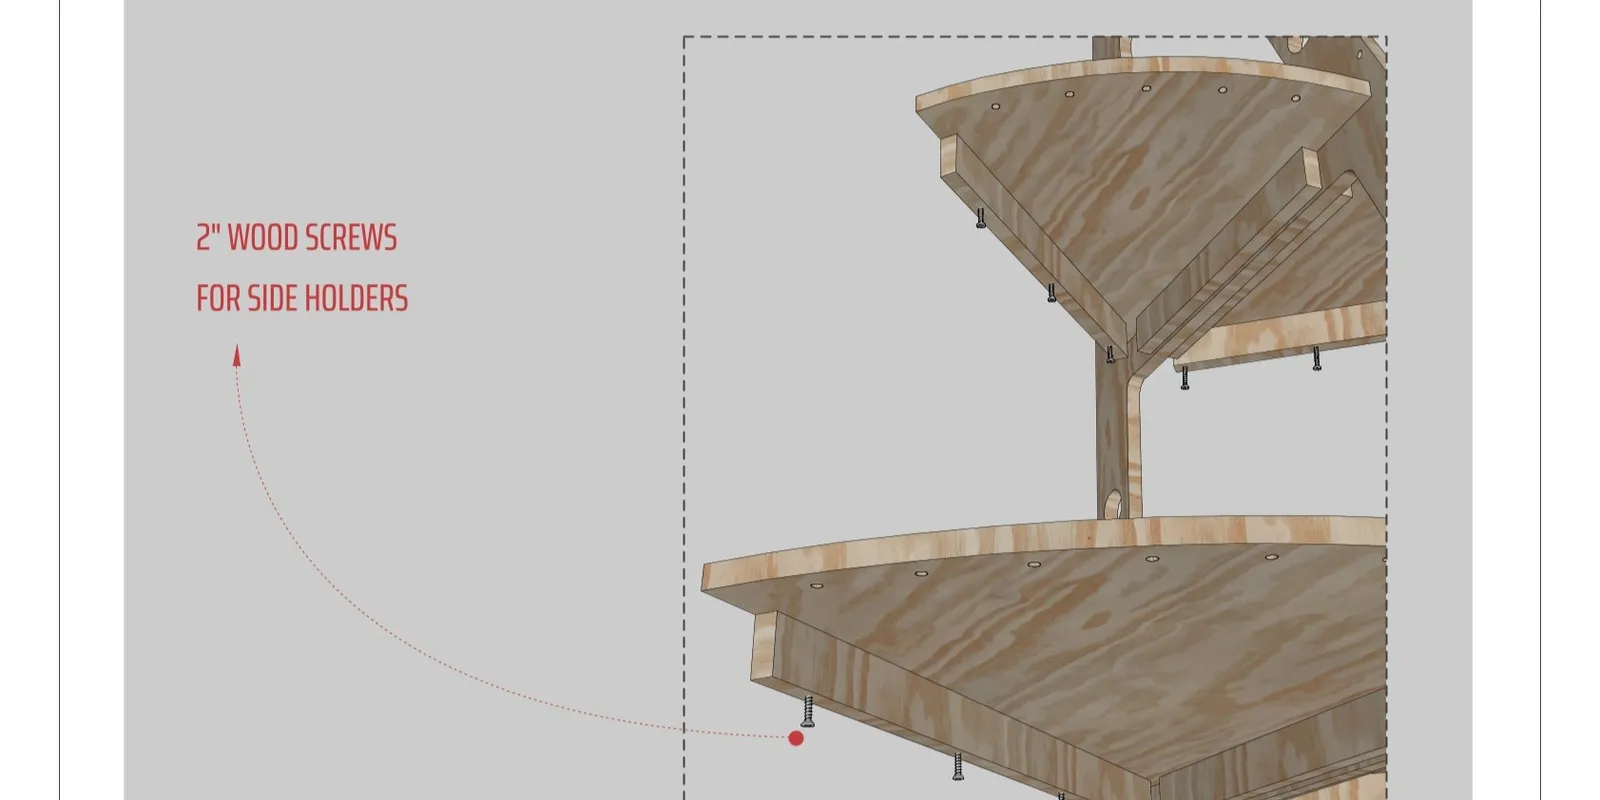
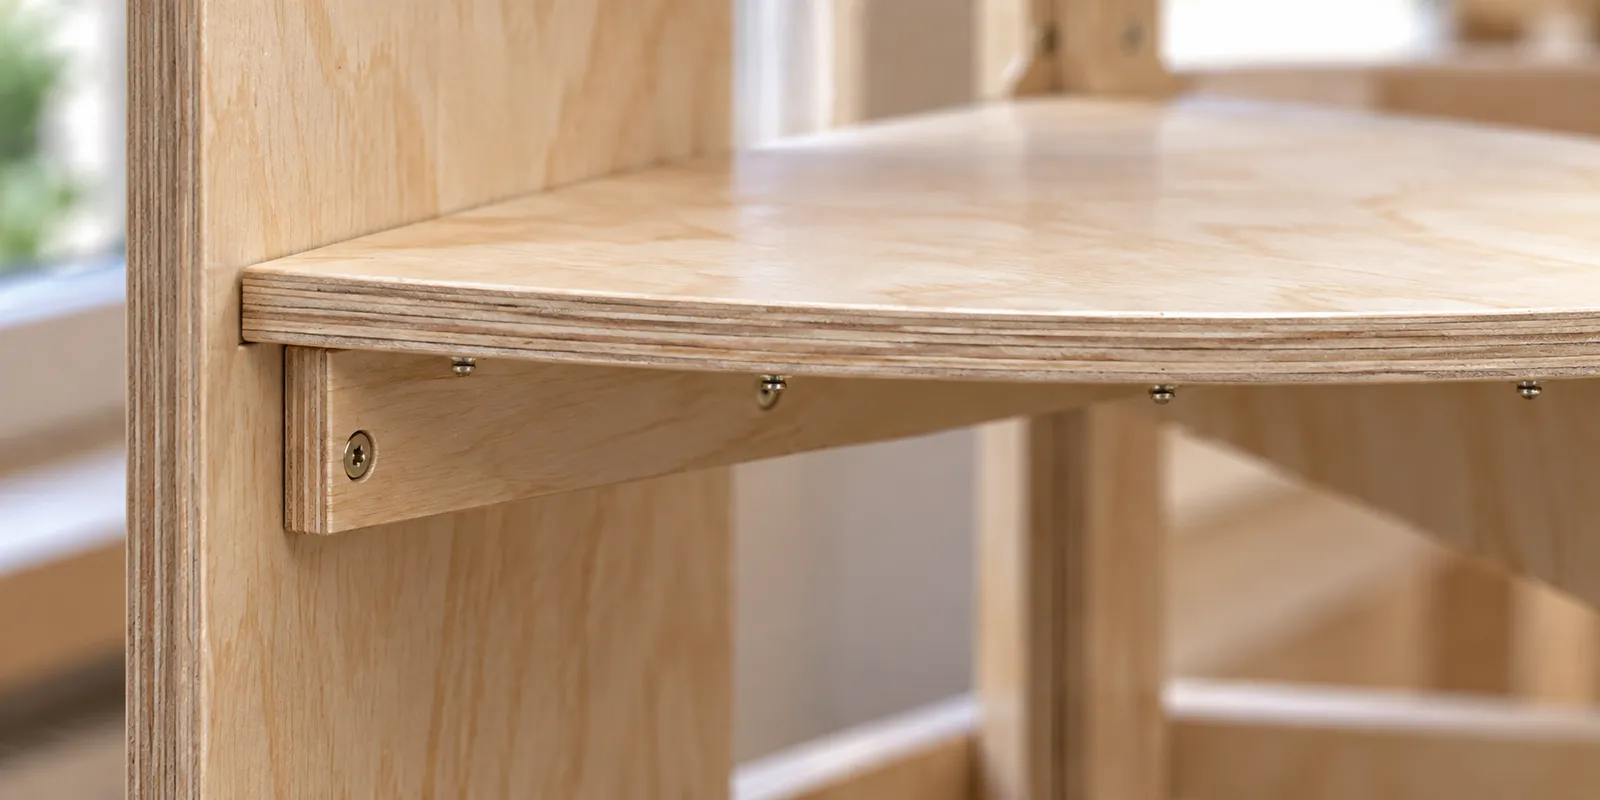
Next, fit the side holders underneath each shelf — 1-3/16" (3 cm) in from the shelf's starting point, again with 2" screws.
As the final step, slide the two side panels over the already-mounted side holders and screw them in from the outside with 1" (2.5 cm) screws. Take care while driving these screws — miss a holder and you'll open an unnecessary hole in the side panel. Once this step is done, the structure stands on its own as a three-panel corner frame. These dimensions are also marked on the guide's own page, right on the part itself.
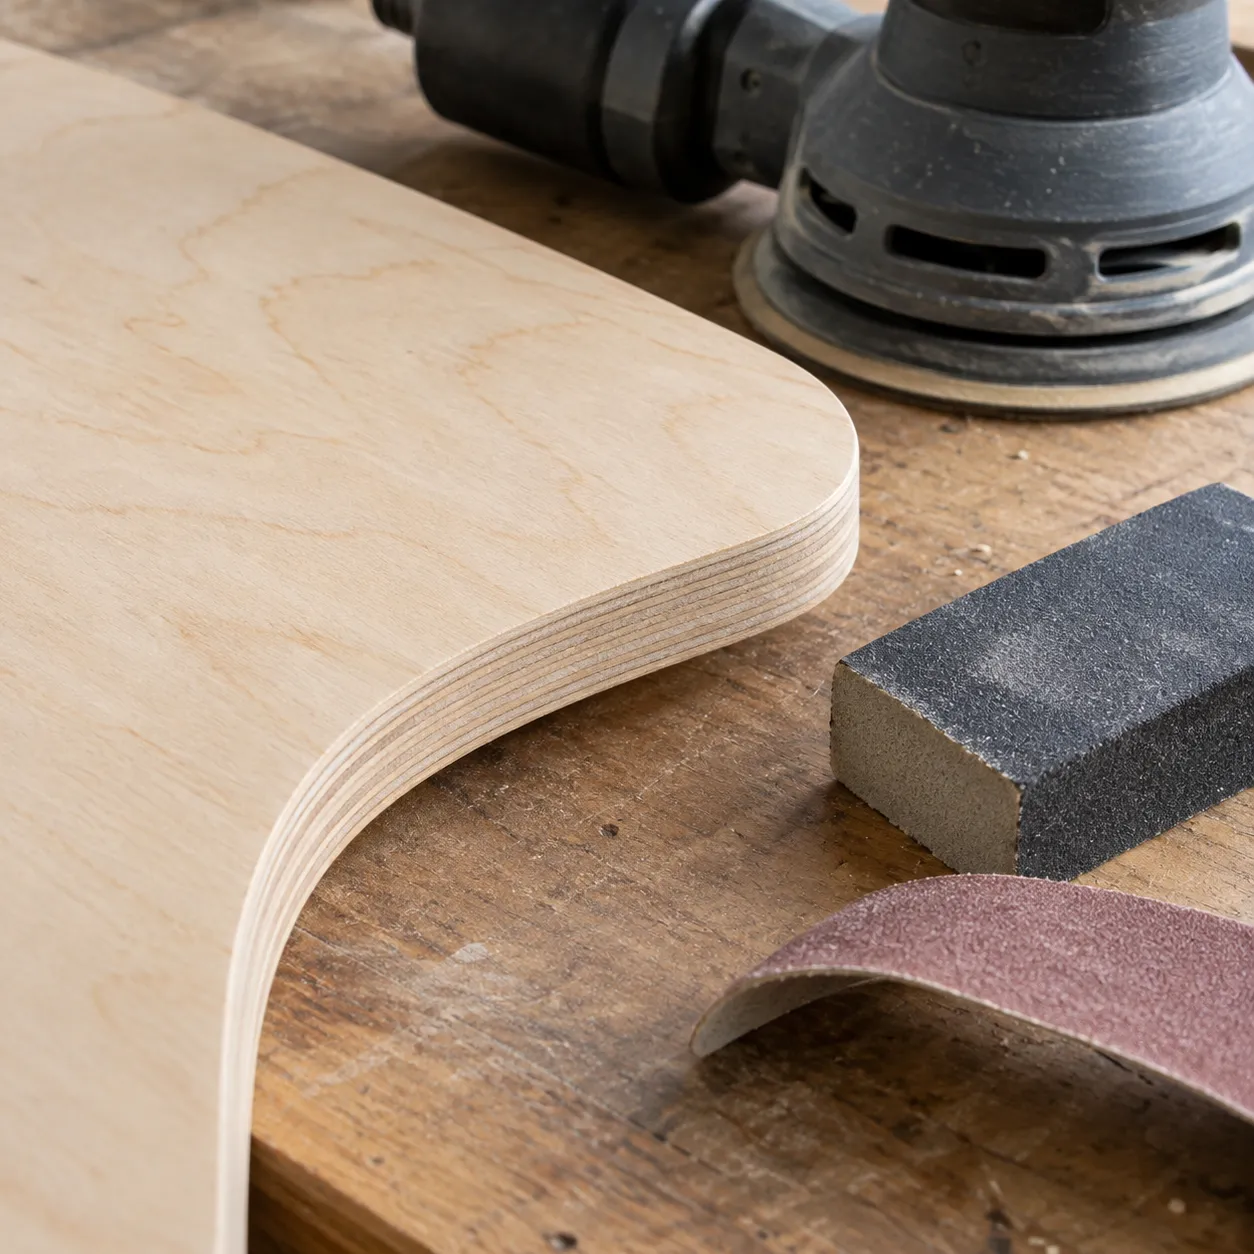
Once cutting is done, sand every part: 80-120 grit on the edges and rough spots, finishing with 150-220 grit. On the zigzag stripes' sharp turns and the small motifs' corners, use a small hand sander instead of a random orbital sander — removing material at a fine tip can distort the motif's shape.
Sanding and painting before assembly, while the parts are still separate, makes the job significantly easier.
On this model the pattern is cut all the way through the panel, but I didn't design this variant to be backlit. The pattern runs in horizontal bands, with wide, plain wood strips left between the bands; putting acrylic and LEDs behind it wouldn't give you a glow spread across the whole panel, but light broken up band by band. I solved backlighting in the family's dense geometric-pattern variant — there the pattern covers the entire surface, so the light spreads over the whole panel. And if you want a model where lighting is built into the design, I designed the pine-tree patterned and the fully-illuminated variants exactly for that.
What suits this model, as shown in the reference photos, is thin-wire LED lights wrapped around the front. Sold as copper wire fairy lights, micro LED string lights, or seed lights — any of those search terms gets you exactly the right product. Choose warm white (2700-3000K). Running the wire across the front of the panel catches the cut edges of the motifs from the side, so the pattern's bands read at night just as clearly as they do in daylight.
Battery or plug-in: a battery-powered set with a built-in timer is a practical, cord-free solution. Running the cord down the back of the center panel keeps it completely hidden from the front.
Layer it with your decorations: you can use these wires on their own, or run the village houses' own interior lights alongside the lights you've wrapped into the garland — as long as both are warm white, light coming from different heights adds depth to the scene without clashing.
This structure is built to be genuinely hard to tip over. Four feet, at the base of the three panels, sit in a wide triangle on the floor, and the body itself narrows upward from that triangular base into a prismatic (triangular cross-section) volume. A wide base narrowing to a point is one of the most stable geometric forms in engineering and architecture — the same balance logic that's kept pyramids standing for thousands of years. This stand stays solidly put even freestanding on its own four feet, with no wall to lean on.
That said, as with any tall piece of furniture, if there are small children or pets in the house, securing it lightly to the wall with an anti-tip kit adds an extra margin of safety — the decorative holes in the center panel are already well positioned for this.
Put heavy and fragile village pieces on the lower shelf, lighter ones up top. This isn't about the stand's own stability — it's about keeping any fall short, whether from an earthquake or a piece tipping over on its own, so the damage stays minimal.
Rescaling the CNC files in CAD software is technically possible, but this is a load-bearing structure: panel thickness, screw lengths, and shelf-holder joints are all sized to the dimensions I give. If you want a different size, message me on Etsy before rescaling anything yourself.
This corner stand family is 5 separate listings — each is its own purchase with its own cut file. This variant has a Scandinavian snowflake knit pattern; the other 4 (pine-tree patterned/pre-lit, plain panel, a dense geometric pattern, and a fully-illuminated version) share the same skeleton and are all in my shop.
Yes — this is a standard, platform-wide Etsy feature. The download link doesn't expire; you can re-access your files anytime from the "Purchases and Reviews" page in your Etsy account, with no limit on how many times you download.
Of course — I make every plan myself, and you're welcome to reach out to me directly through Etsy with any question, before or after your purchase. I stand behind every design I share.
No — these files are for personal use only. Selling what you make from them, or using the design or files for any other commercial purpose, isn't included in this purchase.
I don't offer refunds once the files have been downloaded — this is standard practice given the nature of digital goods. That said, if you run into an actual problem with the files (won't open, something's missing), reach out and I'll help sort it out.
Please select a heading above to see the project details.
Other Christmas Village Stands Projects
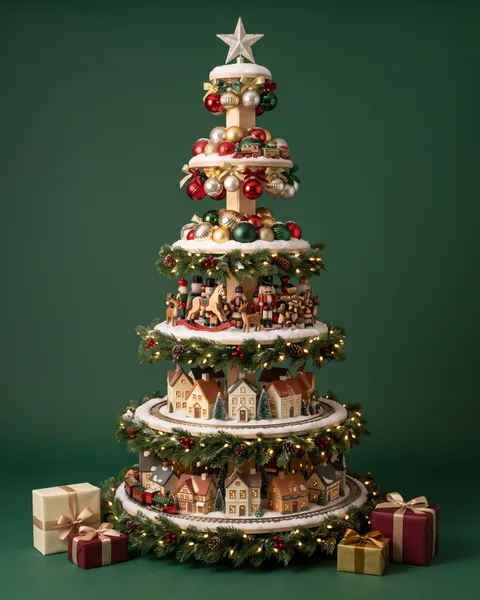
7 ft. Tiered Christmas Village Tree Display Stand Plans (6 Shelves)
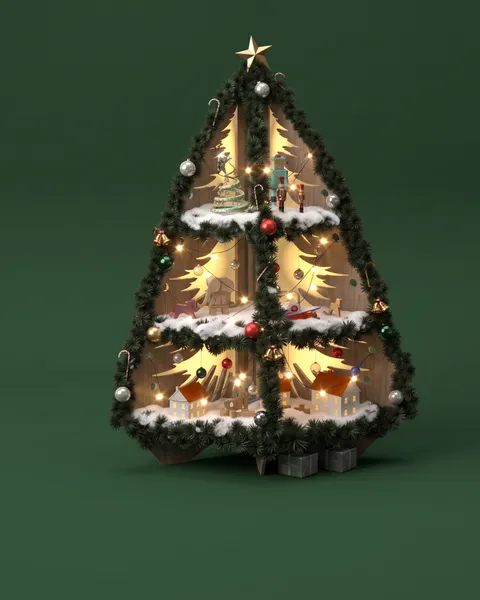
Illuminated Pine-Tree Pattern, 6 ft. Corner Christmas Village Tree Stand CNC Files and Assembly Plans (3 Shelves)
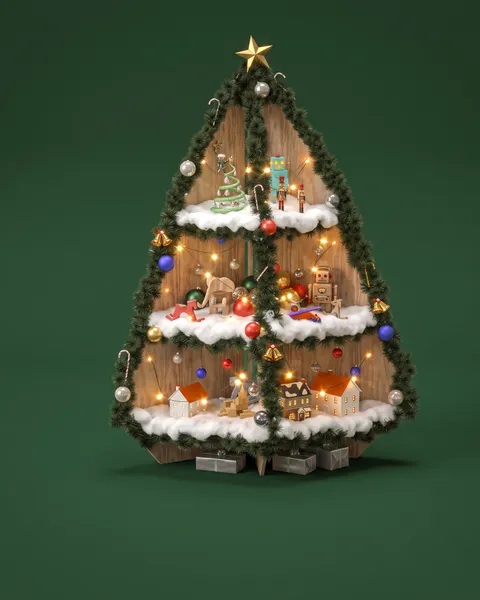
Plain-Panel, 6 ft. Corner Christmas Village Tree Stand CNC Files and Assembly Plans (3 Shelves)
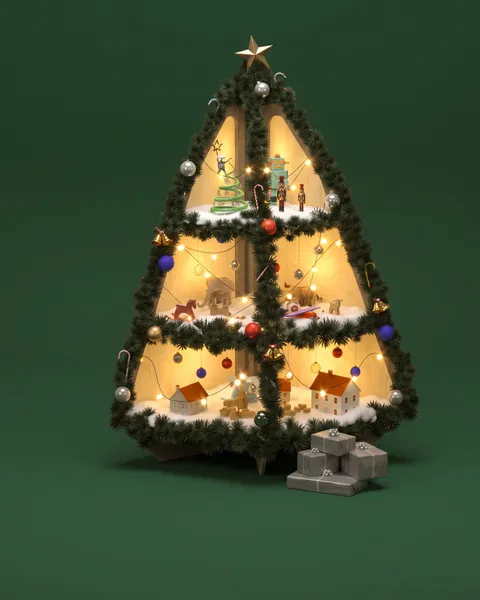
Fully-Illuminated, 6 ft. Corner Christmas Village Tree Stand CNC Files and Assembly Plans (3 Shelves)
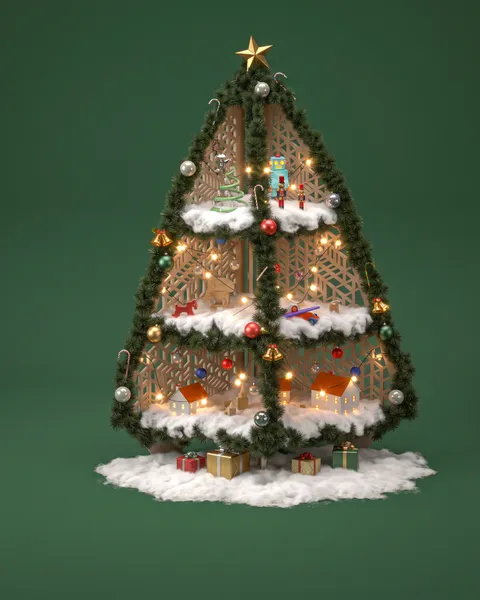
Christmas Pattern, 6 ft. Corner Christmas Village Tree Stand CNC Files and Assembly Plans (3 Shelves)
7 ft. Tiered Christmas Village Tree Display Stand Plans (6 Shelves)
Illuminated Pine-Tree Pattern, 6 ft. Corner Christmas Village Tree Stand CNC Files and Assembly Plans (3 Shelves)
Plain-Panel, 6 ft. Corner Christmas Village Tree Stand CNC Files and Assembly Plans (3 Shelves)
Fully-Illuminated, 6 ft. Corner Christmas Village Tree Stand CNC Files and Assembly Plans (3 Shelves)