Project:
Santa's Sleigh, Reindeer and Pine Silhouette Trio Yard Decor Plans
Package:
3 CNC Cut Files (DXF, SVG, DWG) + 1 PDF Trace-and-Cut Template
Both Laser/CNC-Ready Cut Files and Printable PDF Templates for Tracing and Cutting by Hand
What This Estimate Covers
Plywood Panels
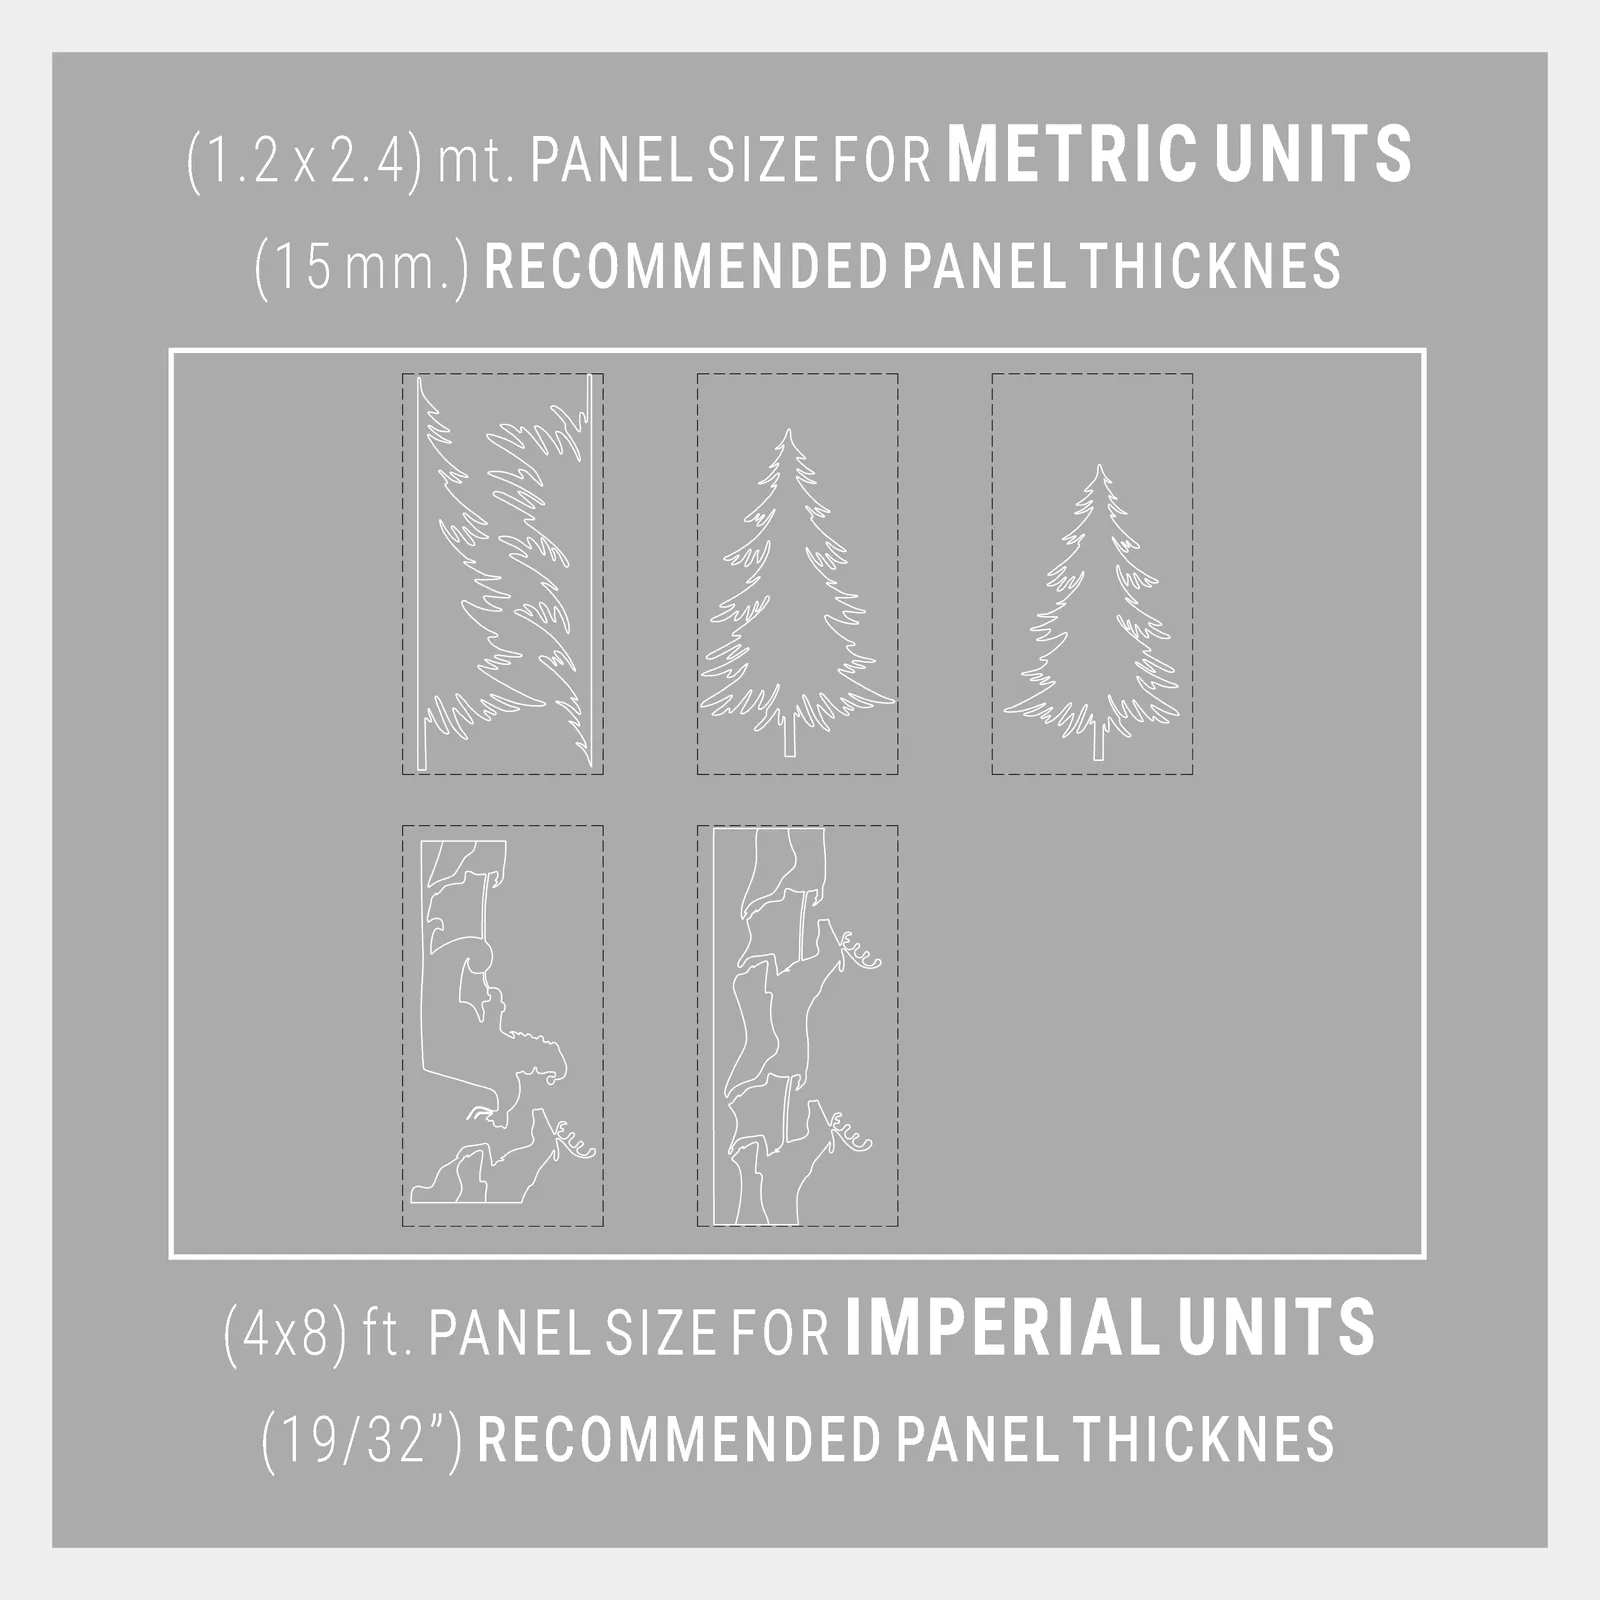
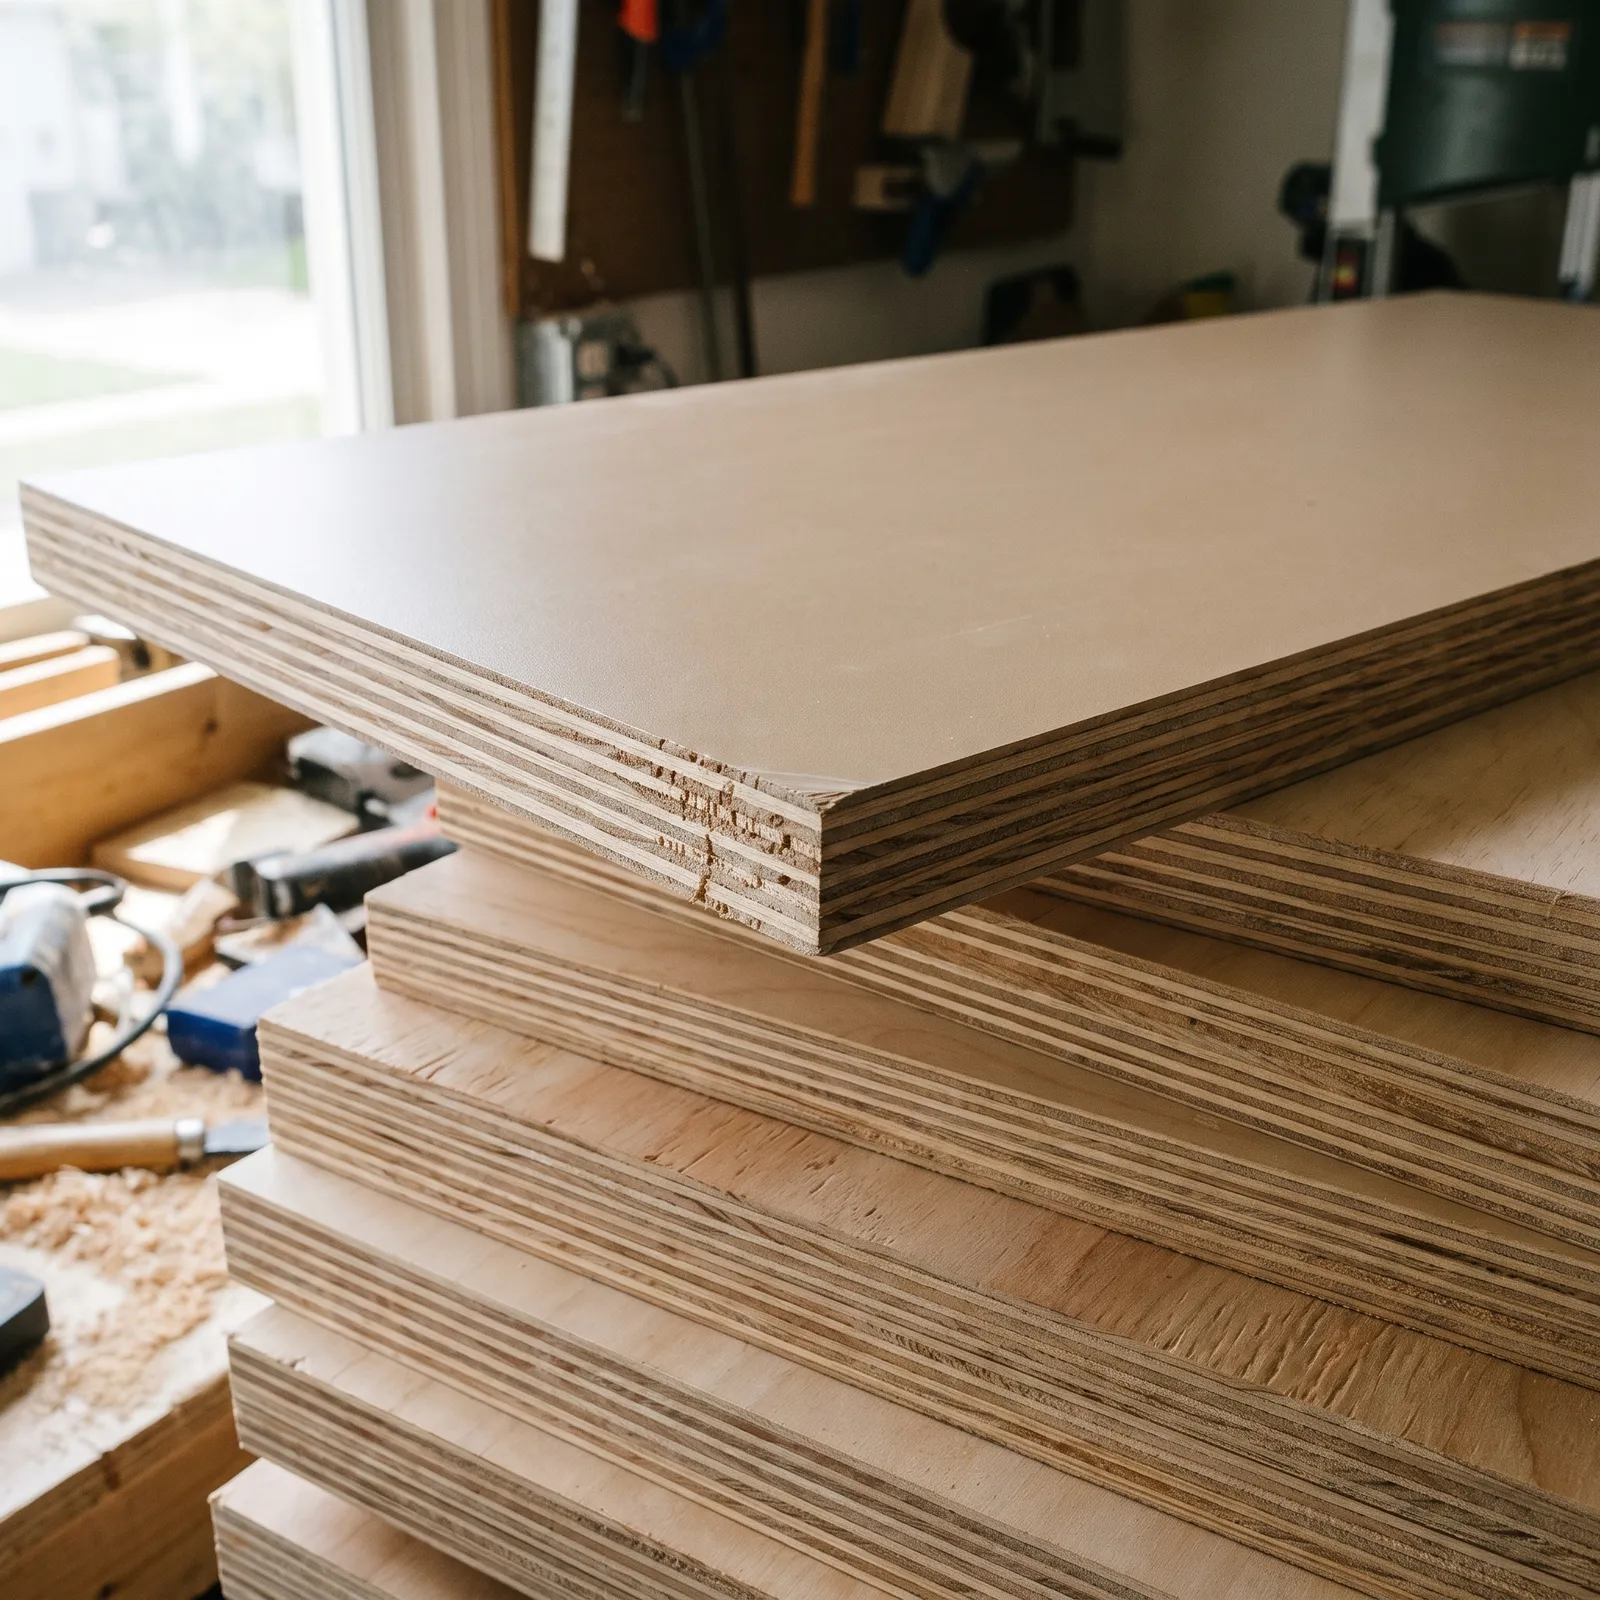
5 sheets of MDO or ACX exterior plywood (4×8 ft, 15mm / 19-32 in. thick) — the more budget-friendly ACX grade is used for this estimate.
Primer + Paint (Combined Product)
For seasonal yard decor like this, using a combined exterior "paint + primer in one" product instead of separate coats makes more sense — cheaper, and only needs a single coat. Priced from combined-product gallon pricing.
Mounting Hardware
Plywood stake, telescoping PVC pipe, or wall mounting are all valid options here, each needing different hardware at a different cost. Not included in this estimate since it depends on which method you choose.
CNC Cutting Labor
If you choose CNC cutting instead of the hand-cut trace templates, labor pricing varies significantly even between local shops. Not included in this estimate.
Lighting (LED Strip & Transformer)
Lighting can range from an LED strip to garden spotlights, and depending on your composition you may not want every figure lit. Not included in this estimate.
Good quality downloads, easy to print out.
Dec 6, 2024 · Ted B*
A really good template, download and instructions were all great. I'm truly impressed.
Nov 10, 2024 · Arnika S*
Really great to use, thanks!
Nov 7, 2024 · Eric G*
Really good design. Great customer service — seller responded quickly to my help request.
Oct 28, 2024 · Nuwan L*
Easy to print, quick to print.
Oct 25, 2024 · emily M*
Easy to download and the instructions are easy to understand. Cutting it out is time-consuming, but the outcome is fab.
Oct 2, 2024 · Charlie W*
It works great and looks great!
Feb 19, 2024 · Kevin A*
Easy to combine the templates. Design looked great.
Jan 24, 2024 · Ron B*
Haven't used it yet, but I looked over the plan and instructions and I'm very happy.
Jan 23, 2024 · Zane P*
Fantastic and easy to use.
Jan 19, 2024 · Monica P*
Download worked without any issues, the silhouette is great!
Dec 18, 2023 · Kirstin D*
Thanks a lot for the cool template!
Nov 11, 2023 · holger k*
Can't wait to try this out ASAP.
Nov 11, 2023 · Christopher M*
Good quality downloads, easy to print out.
Dec 6, 2024 · Ted B*
A really good template, download and instructions were all great. I'm truly impressed.
Nov 10, 2024 · Arnika S*
Really great to use, thanks!
Nov 7, 2024 · Eric G*
Really good design. Great customer service — seller responded quickly to my help request.
Oct 28, 2024 · Nuwan L*
Easy to print, quick to print.
Oct 25, 2024 · emily M*
Easy to download and the instructions are easy to understand. Cutting it out is time-consuming, but the outcome is fab.
Oct 2, 2024 · Charlie W*
It works great and looks great!
Feb 19, 2024 · Kevin A*
Easy to combine the templates. Design looked great.
Jan 24, 2024 · Ron B*
Haven't used it yet, but I looked over the plan and instructions and I'm very happy.
Jan 23, 2024 · Zane P*
Fantastic and easy to use.
Jan 19, 2024 · Monica P*
Download worked without any issues, the silhouette is great!
Dec 18, 2023 · Kirstin D*
Thanks a lot for the cool template!
Nov 11, 2023 · holger k*
Can't wait to try this out ASAP.
Nov 11, 2023 · Christopher M*
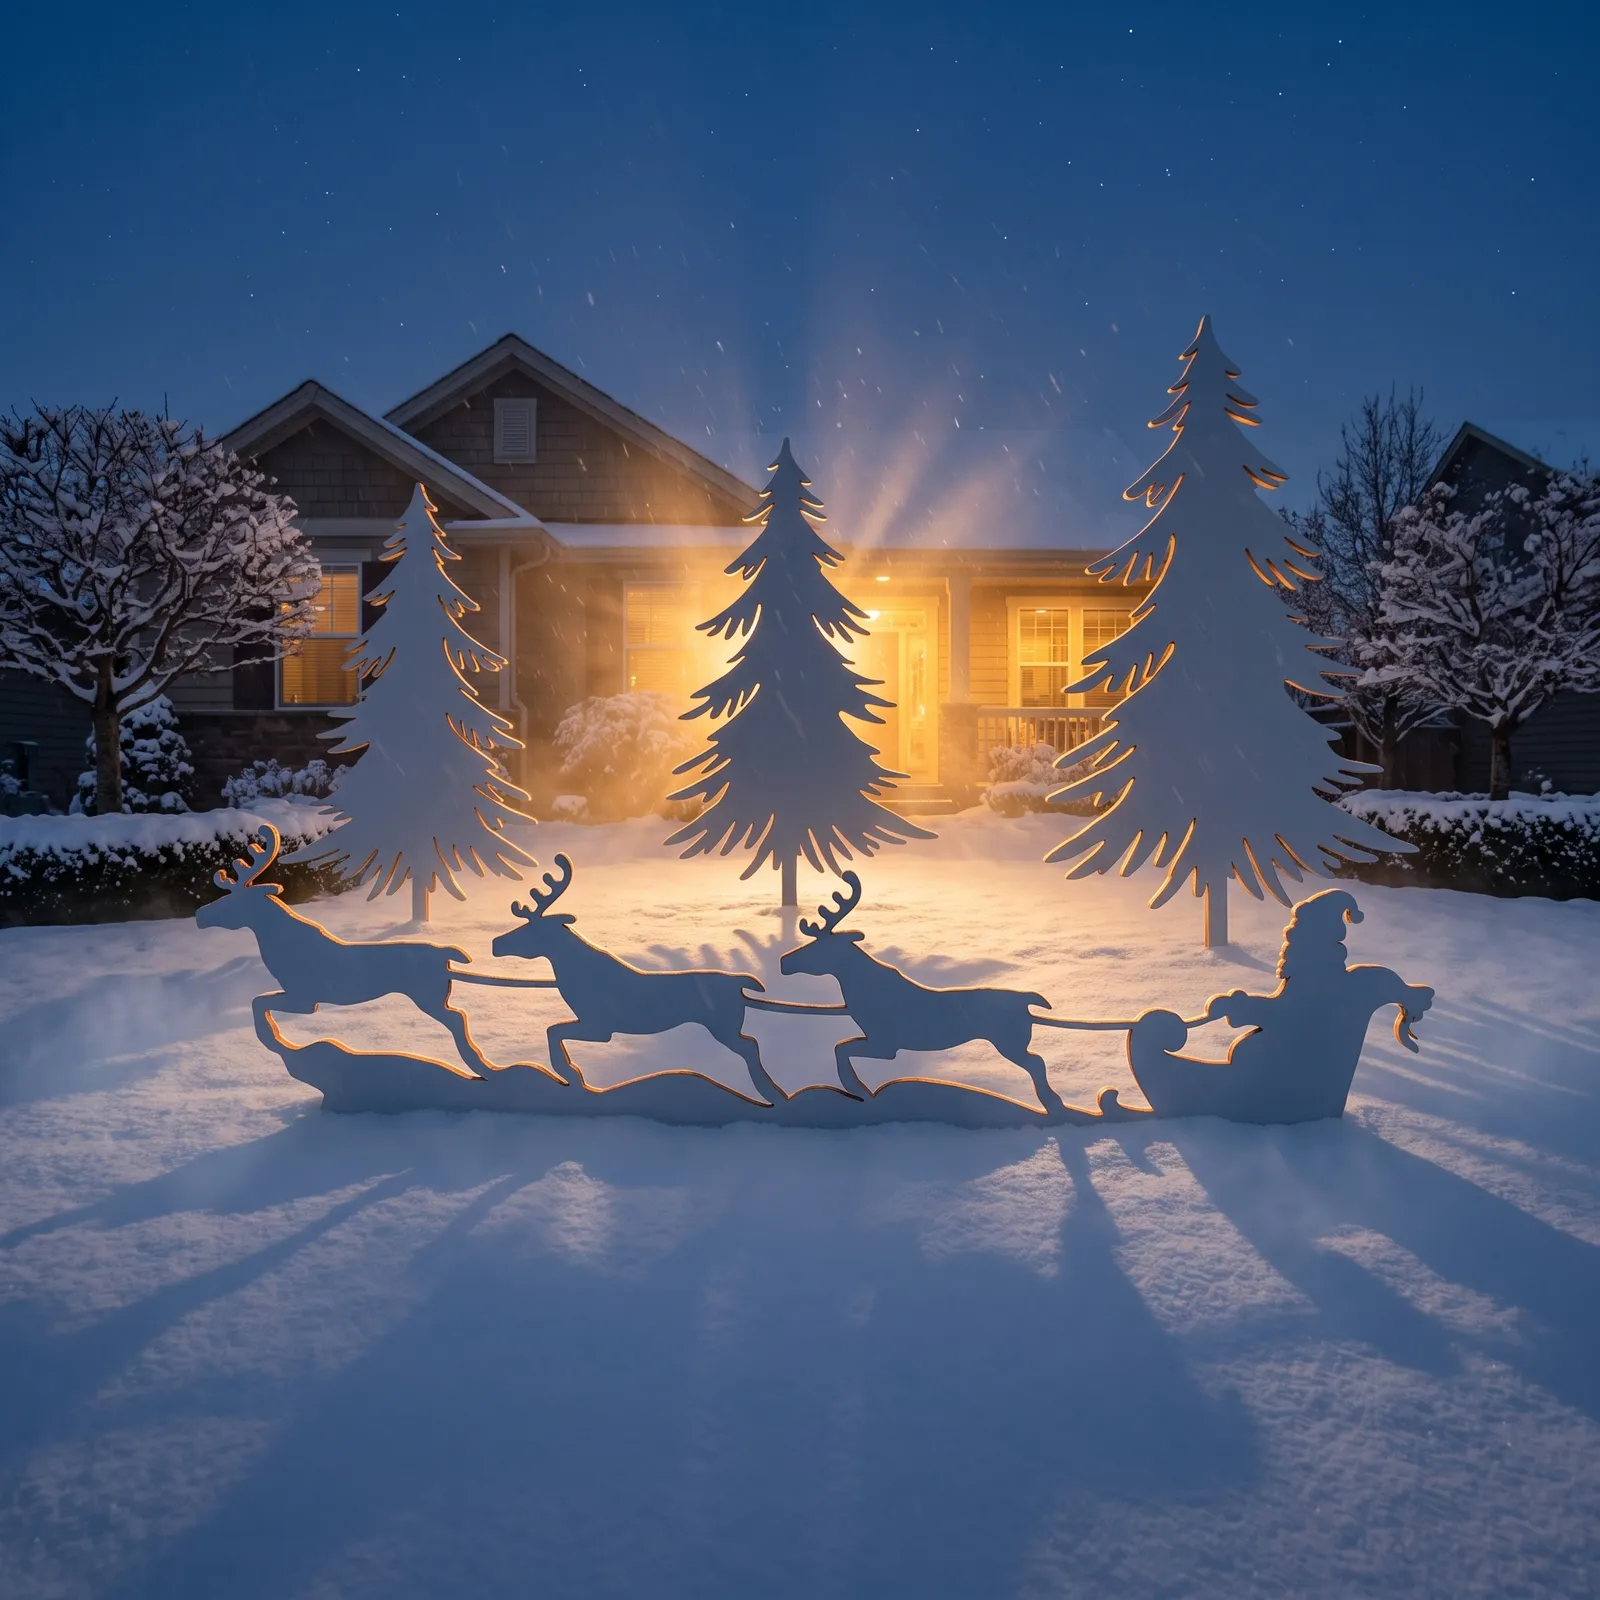
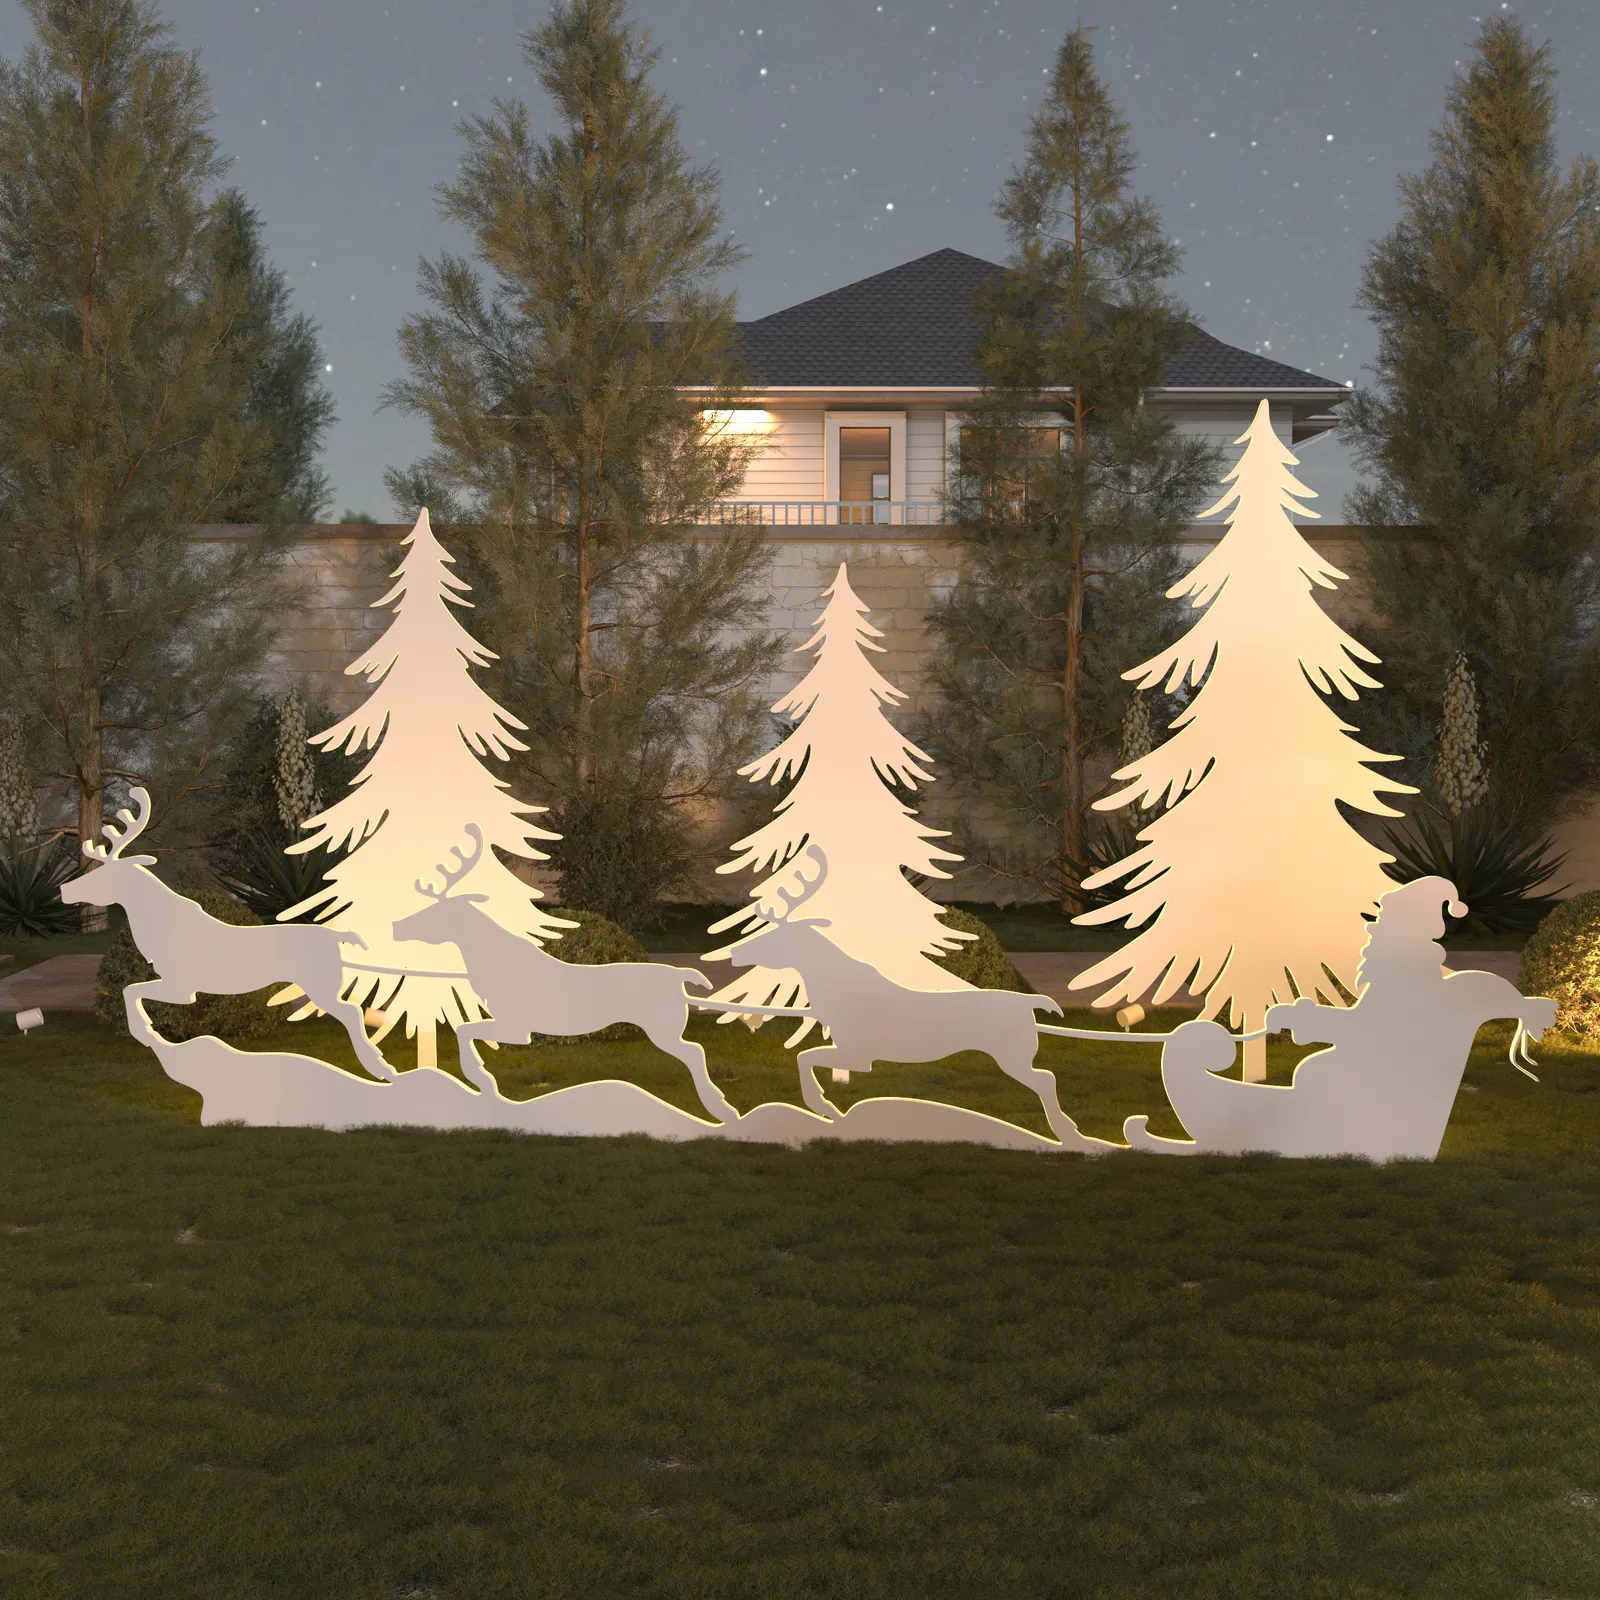
For this composition I made Santa in his sleigh, pulled by three reindeer, into a single piece — the reindeer's running stride gives the scene a sense of motion. Behind them I placed three pine trees at different heights: the varying heights, front and back, give the composition a sense of perspective depth. The image shows one arrangement I put together — you can set up a different layout based on your own yard's depth or your own taste.
I designed the sleigh-and-reindeer group as one wide single piece — unlike my other figures, this one is assembled from two joined panels (see the Panel section). I kept the figures at human scale, though I made room for a few larger pieces for some added grandeur.
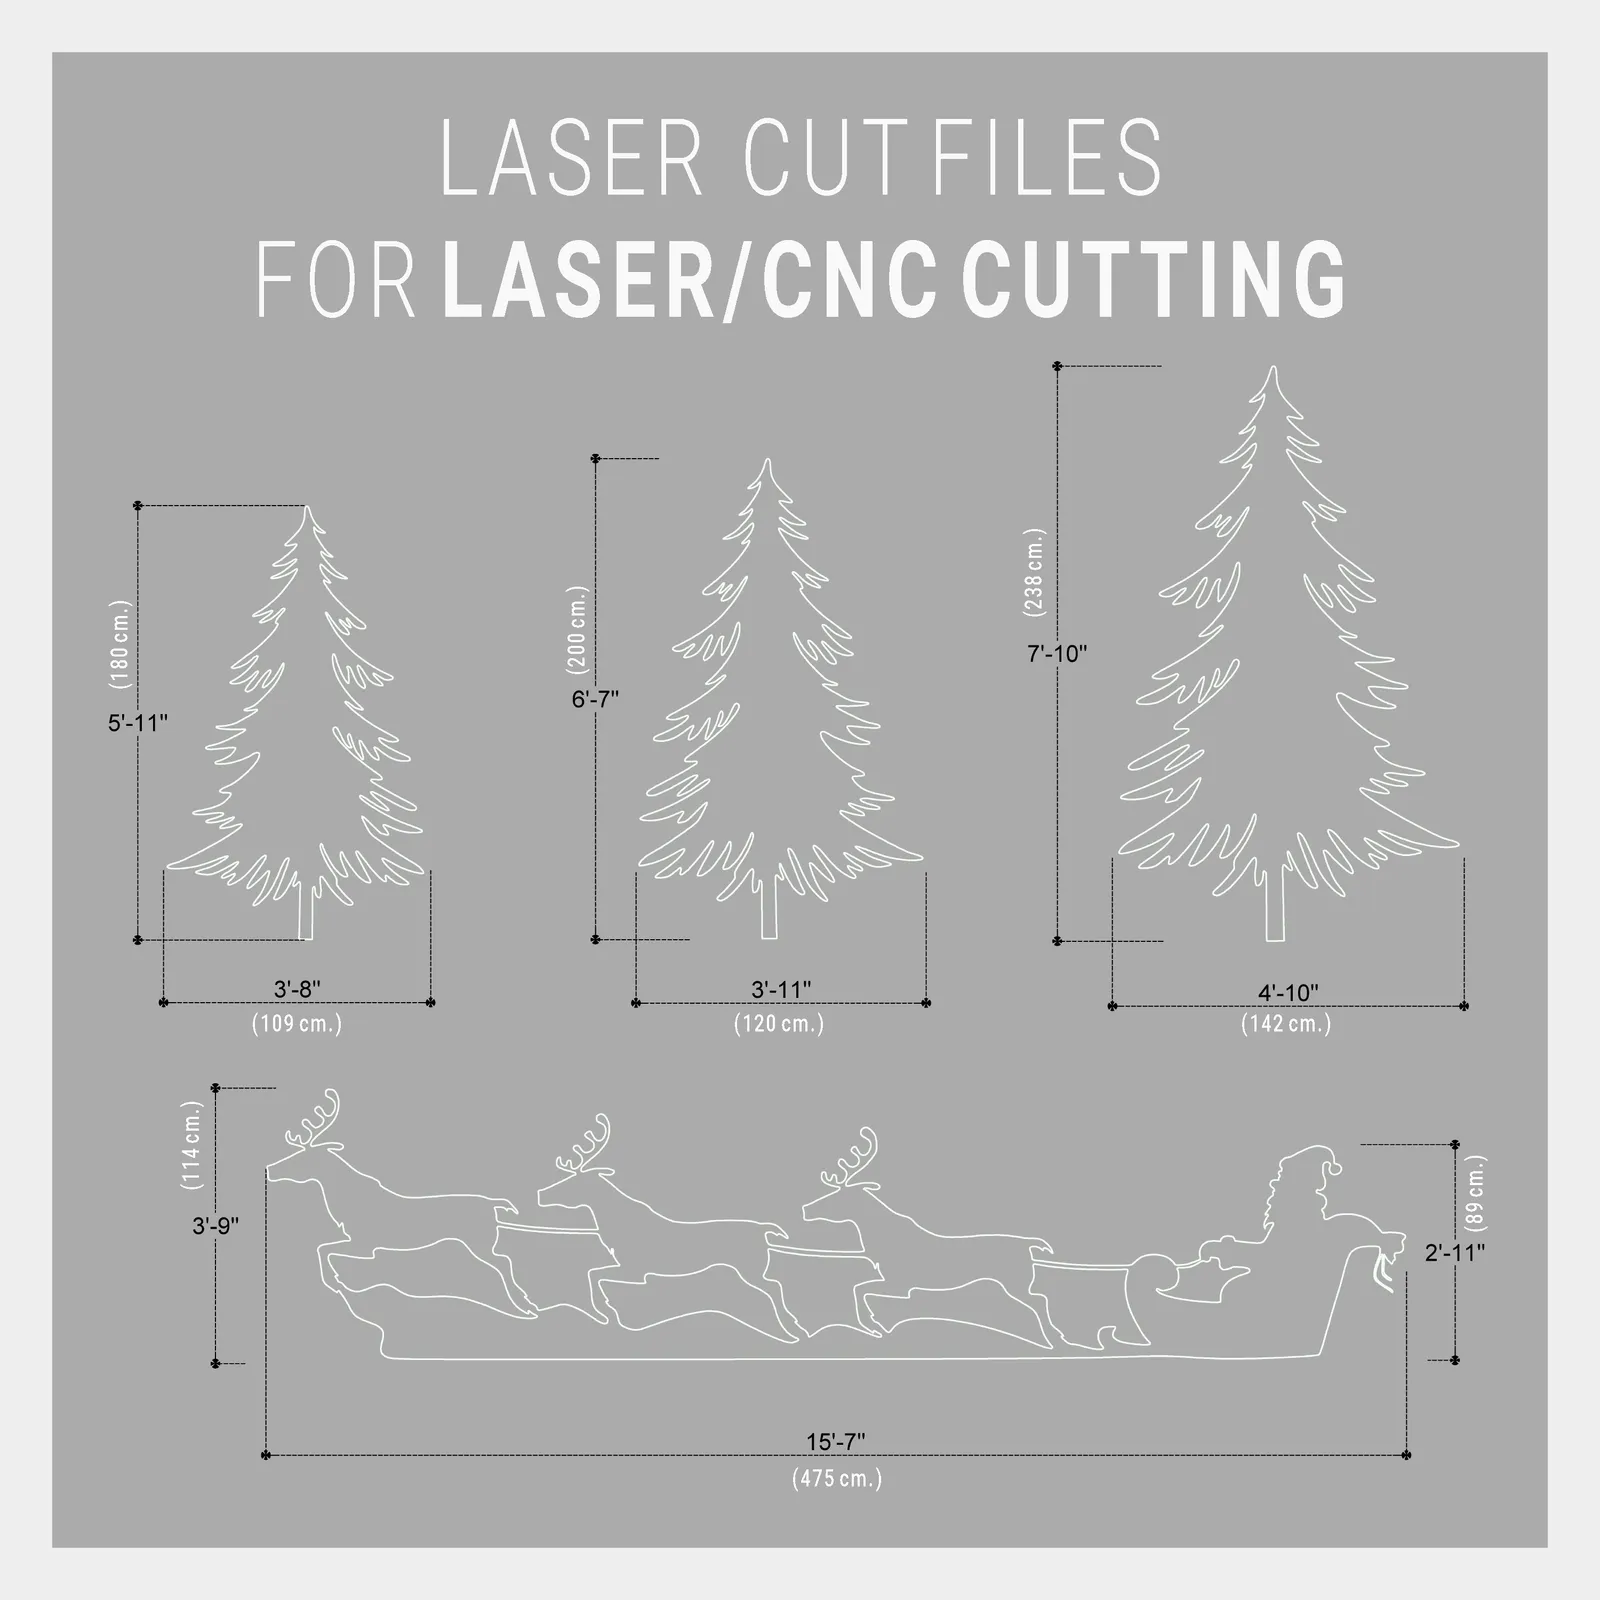
- Santa, Sleigh and 3 Reindeer (single piece, assembled from 2 panels): 475 cm (15'7") × 114 cm (3'9")
- Pine tree (1): 180 cm (5'11") × 109 cm (3'8")
- Pine tree (2): 200 cm (6'7") × 120 cm (3'11")
- Pine tree (3): 238 cm (7'10") × 142 cm (4'8")
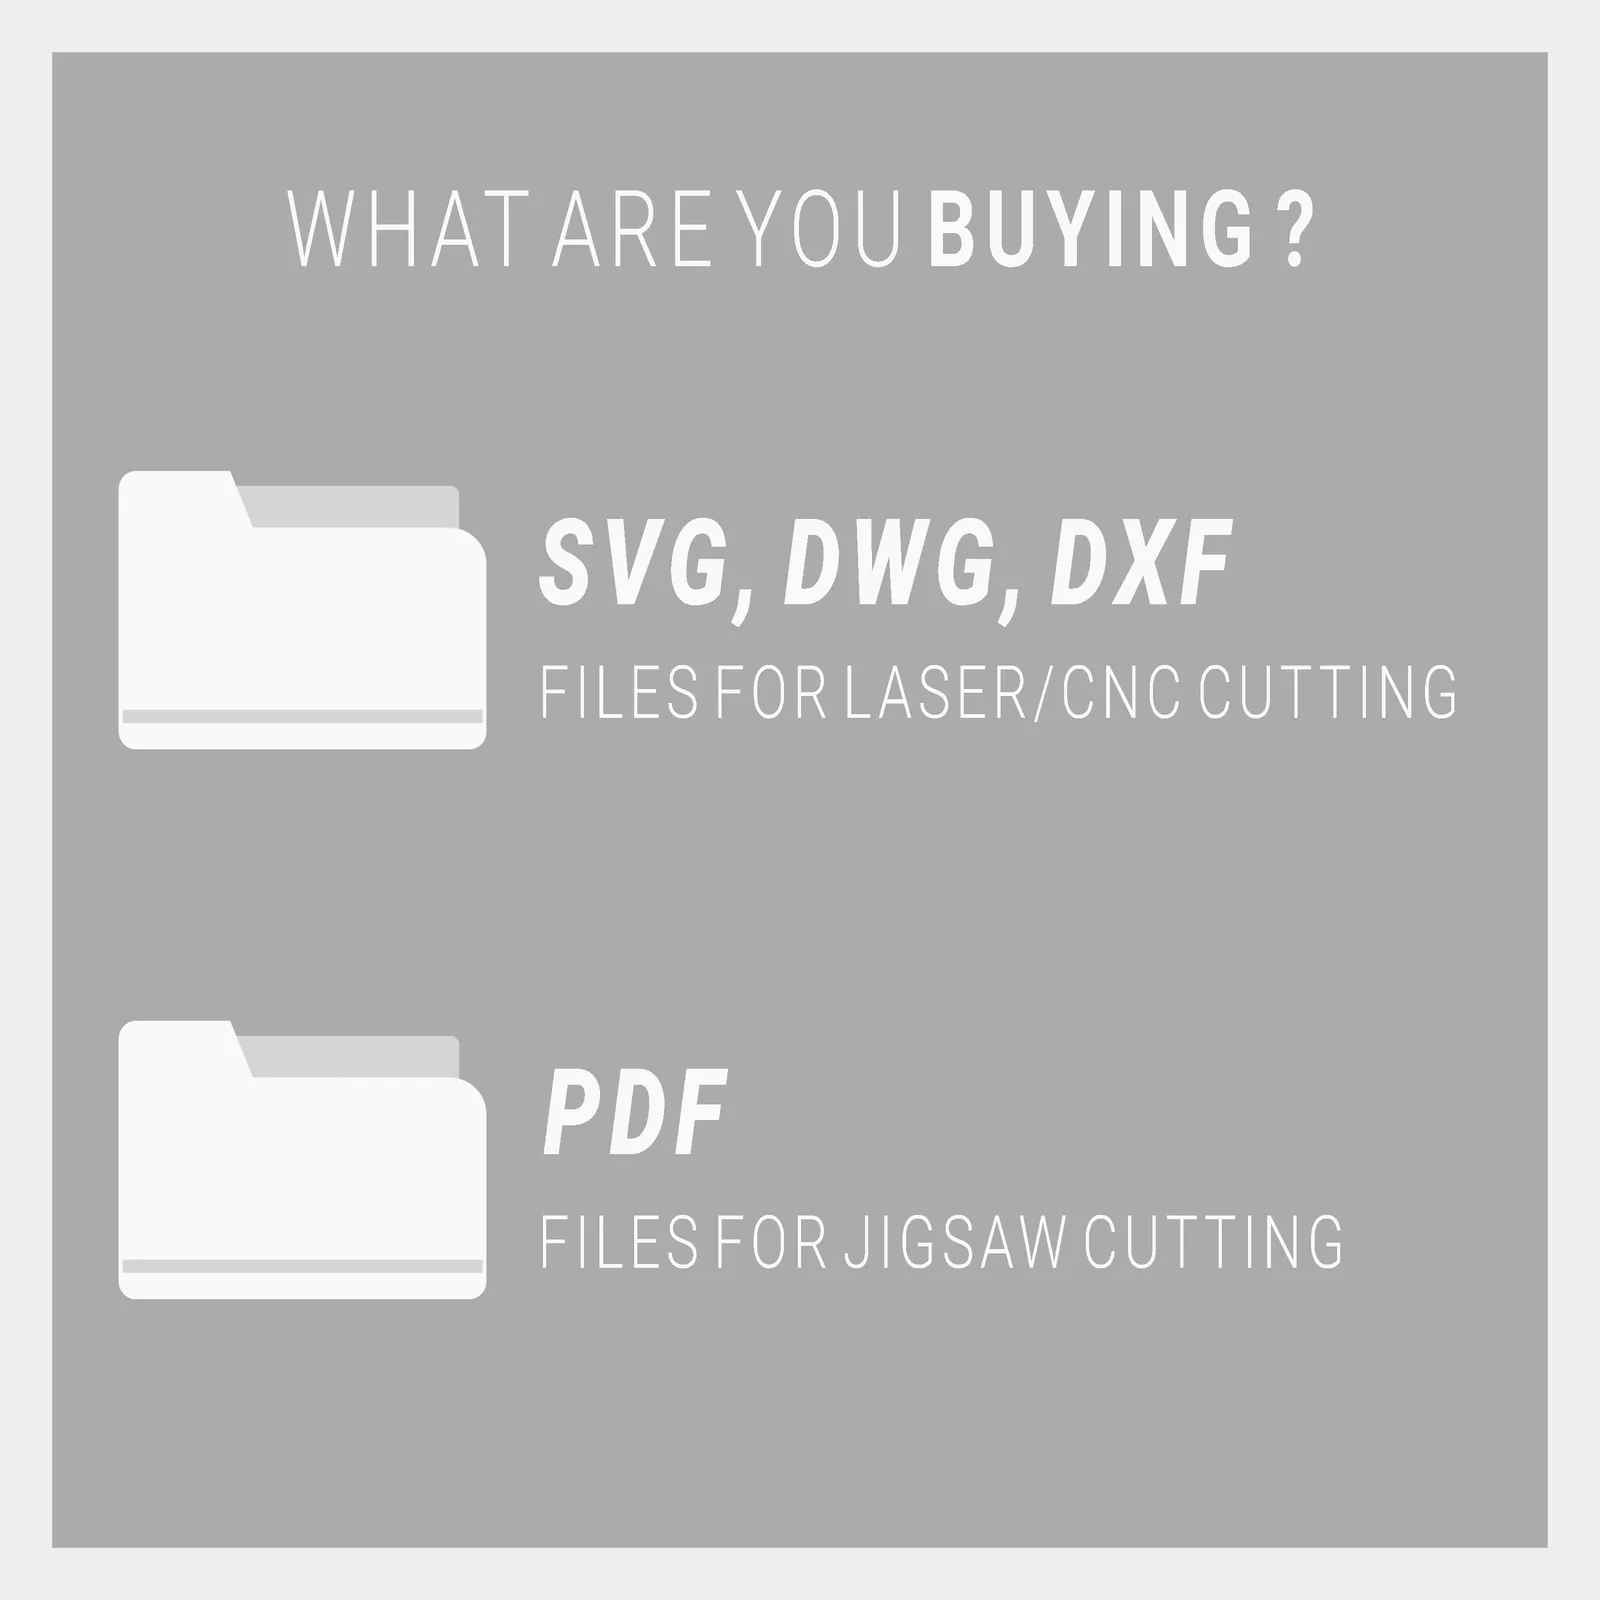
3 SVG, DWG, and DXF Format CNC Files: The three CNC files carry the same content — I prepared them in three formats purely for compatibility with different software. You don't need paid software to open them: LibreCAD (free, open-source) and QCAD (free community edition) both run on Windows and Mac and are lightweight, easy-to-install options. If you want a Windows-only option, Autodesk's own free viewer DWG TrueView is available (it doesn't run natively on Mac). That said, if you're having it CNC-cut, you don't need to open the file yourself — just hand it off to whoever's doing the cutting; you can also ask them for a small scale adjustment if you need one.
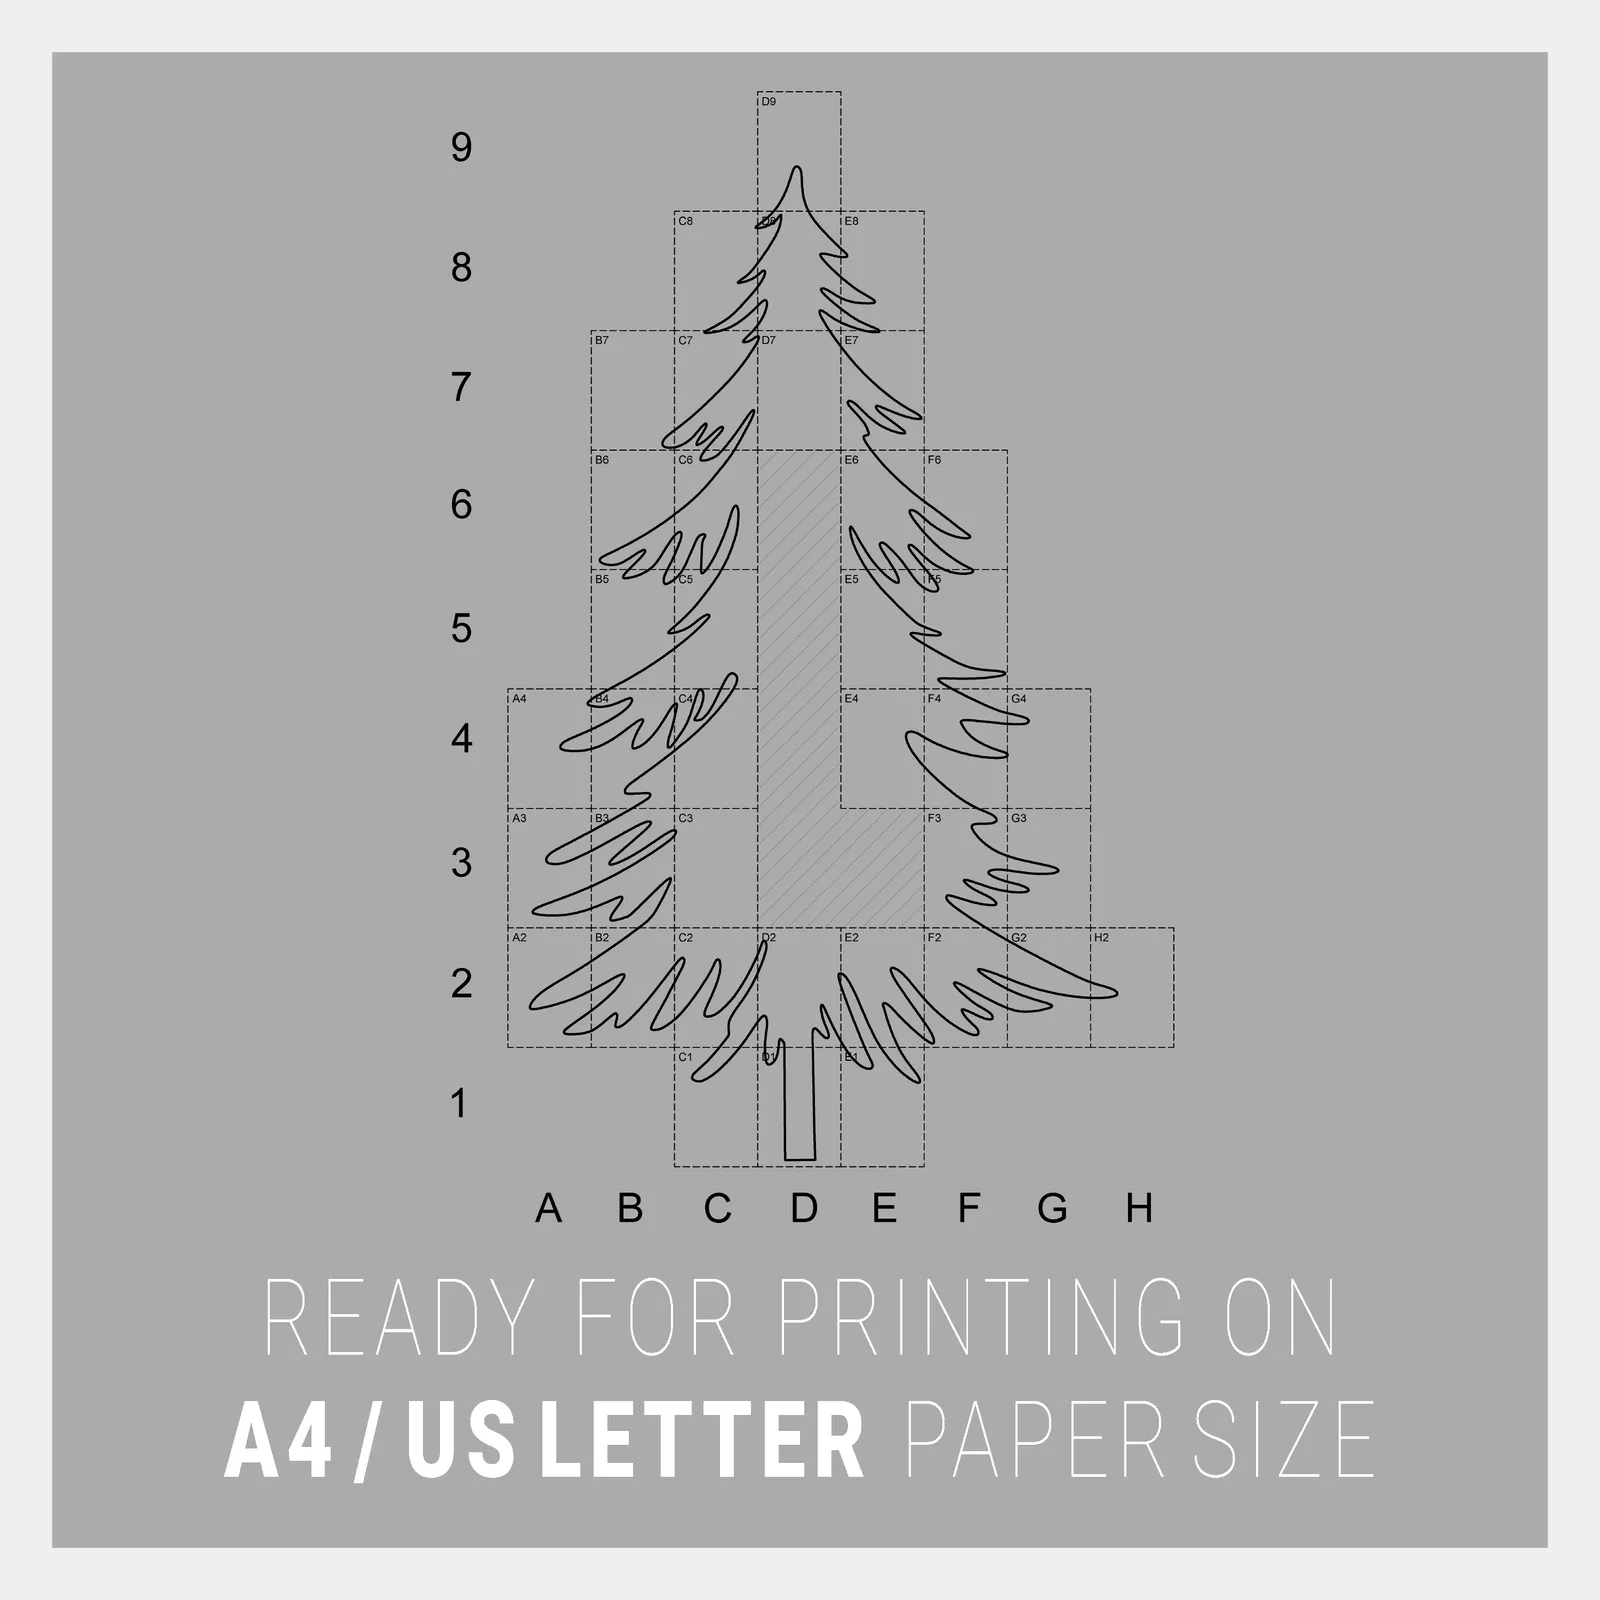
1 PDF Format Templates File: A template sized for A4/US Letter for hand-cutting.
1 PDF Format Readme File: All of these steps are also written out in the README file, so you've got it as a reference on hand.
I recommend MDO (Medium Density Overlay) plywood for this — its resin-coated, smooth surface holds paint very well and stands up to weather and scratching; it's genuinely made for jobs like signage and yard decor. If you want to keep the budget tighter, ACX plywood is a solid alternative — its waterproof glue and smooth face are enough for most outdoor projects. I wouldn't recommend marine-grade plywood: it's the most durable option, but it can cost 3-4 times as much as standard plywood — that premium makes sense for boats or anything in constant contact with water, but it's more than a yard ornament needs.
You need 5 panels total to complete this composition — one each for the 3 pine trees, and two for the sleigh-and-reindeer group; this wide piece is cut in two segments and joined side by side during setup. In imperial, that's a 4×8 ft panel at 19/32 in. thickness; in metric, a 1.2×2.4 m panel at 15 mm thickness.
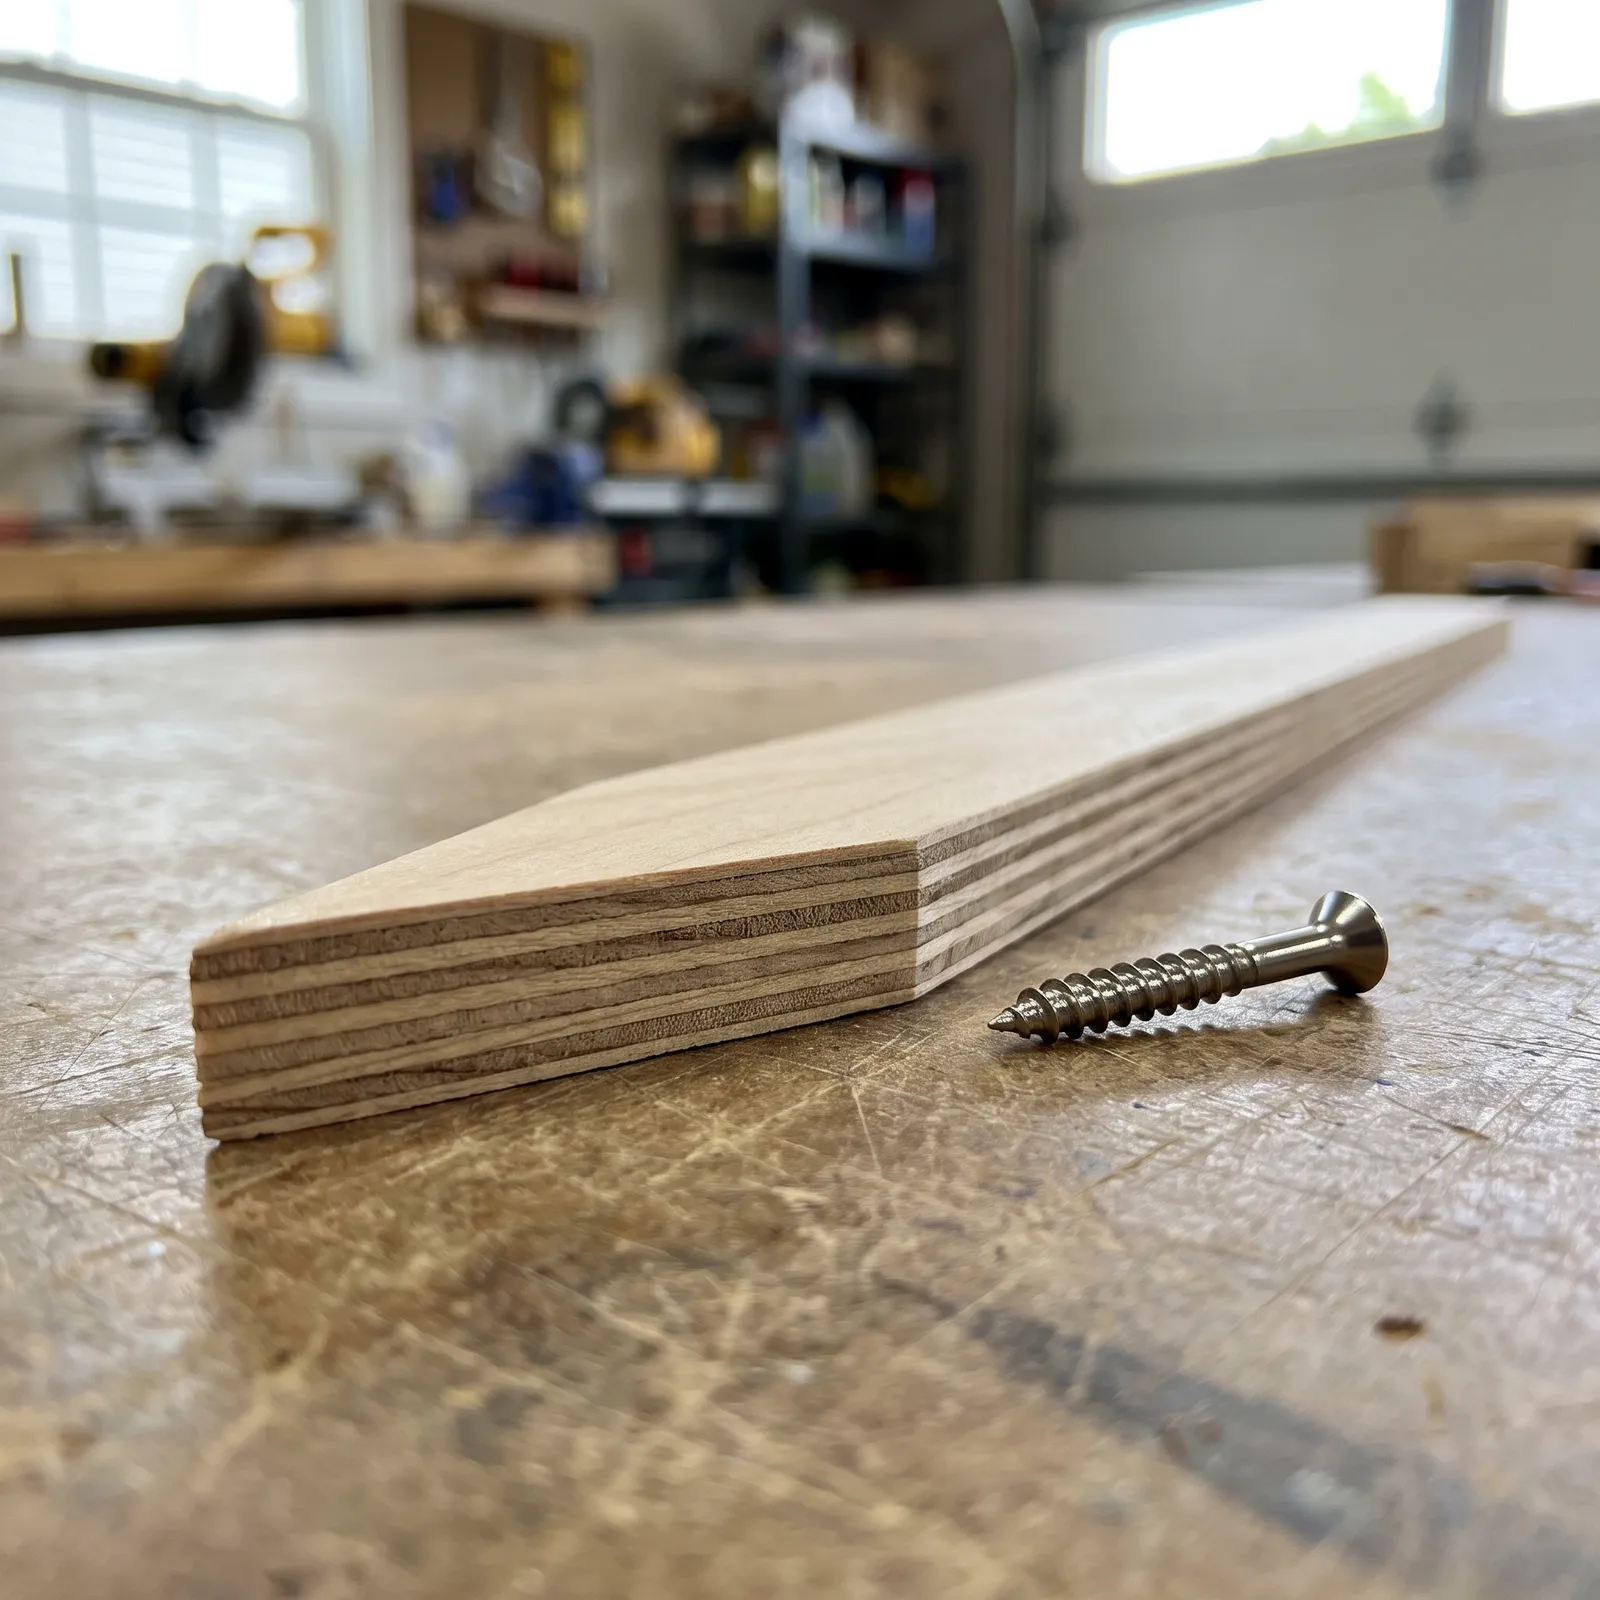
For the plywood stake: the length of your nail or screw matters — it shouldn't exceed the combined thickness of the stake and panel together (roughly 30 mm / 1-3/16 in.), or the tip will poke through the front. A 3/4"–1" (19-25mm) exterior-rated stainless screw is a safe choice.
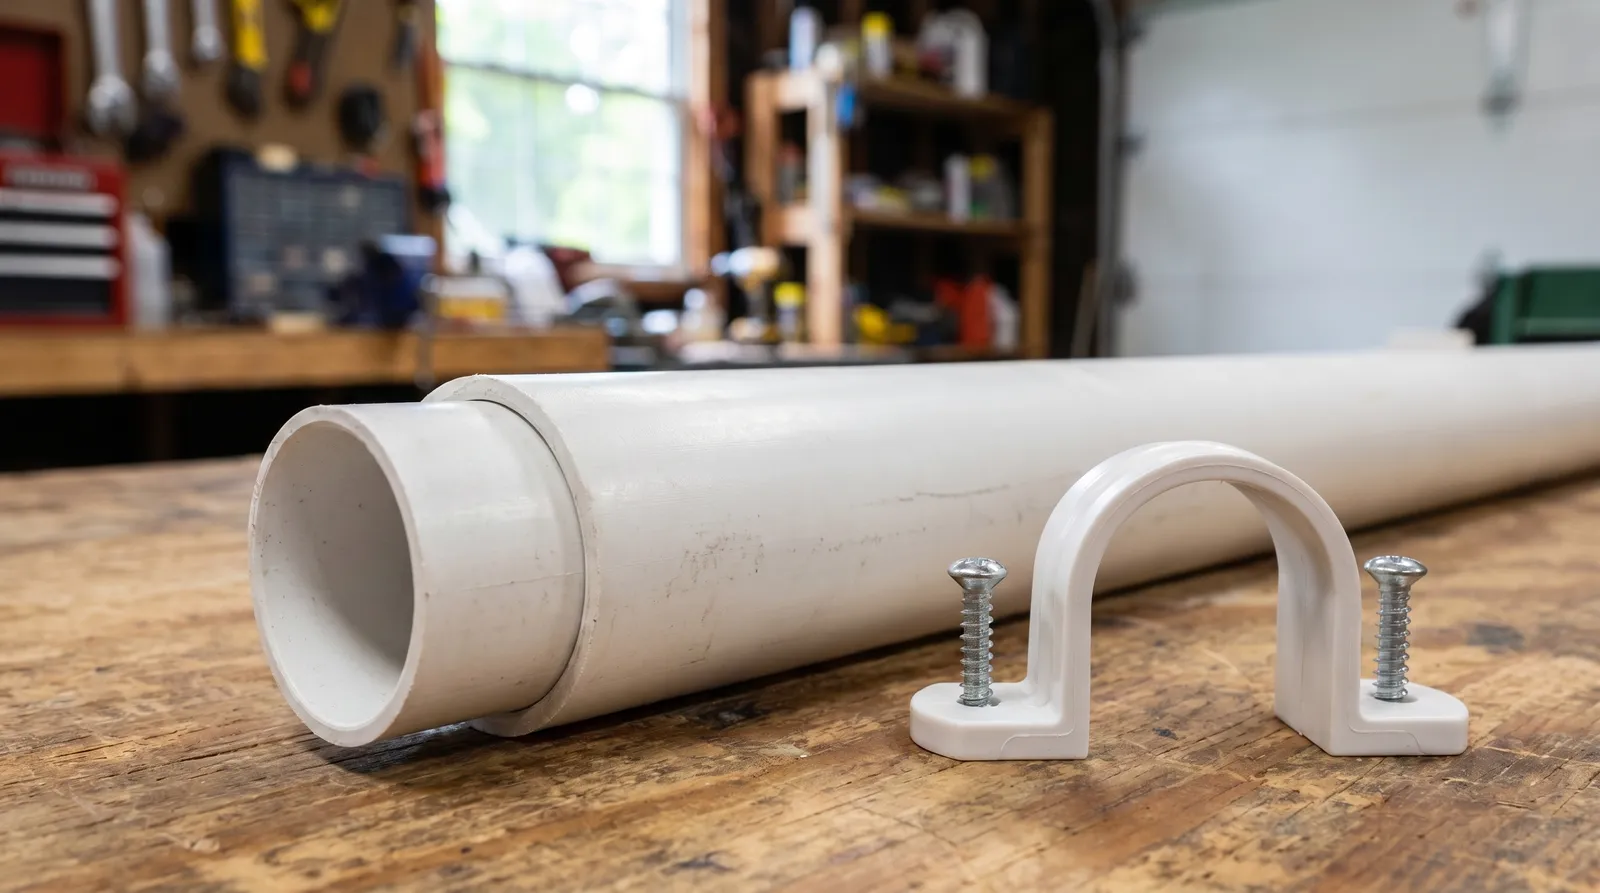
For the telescoping PVC pipe: Home Depot carries Schedule 40 PVC pipe in many diameters from 1/2" to 4". Exactly which two sizes will nest together can vary slightly by brand — I'd recommend physically test-fitting two sizes in the store before buying. Cantex-brand PVC pipe clamps come in matching diameters for fastening the pipe to the panel.
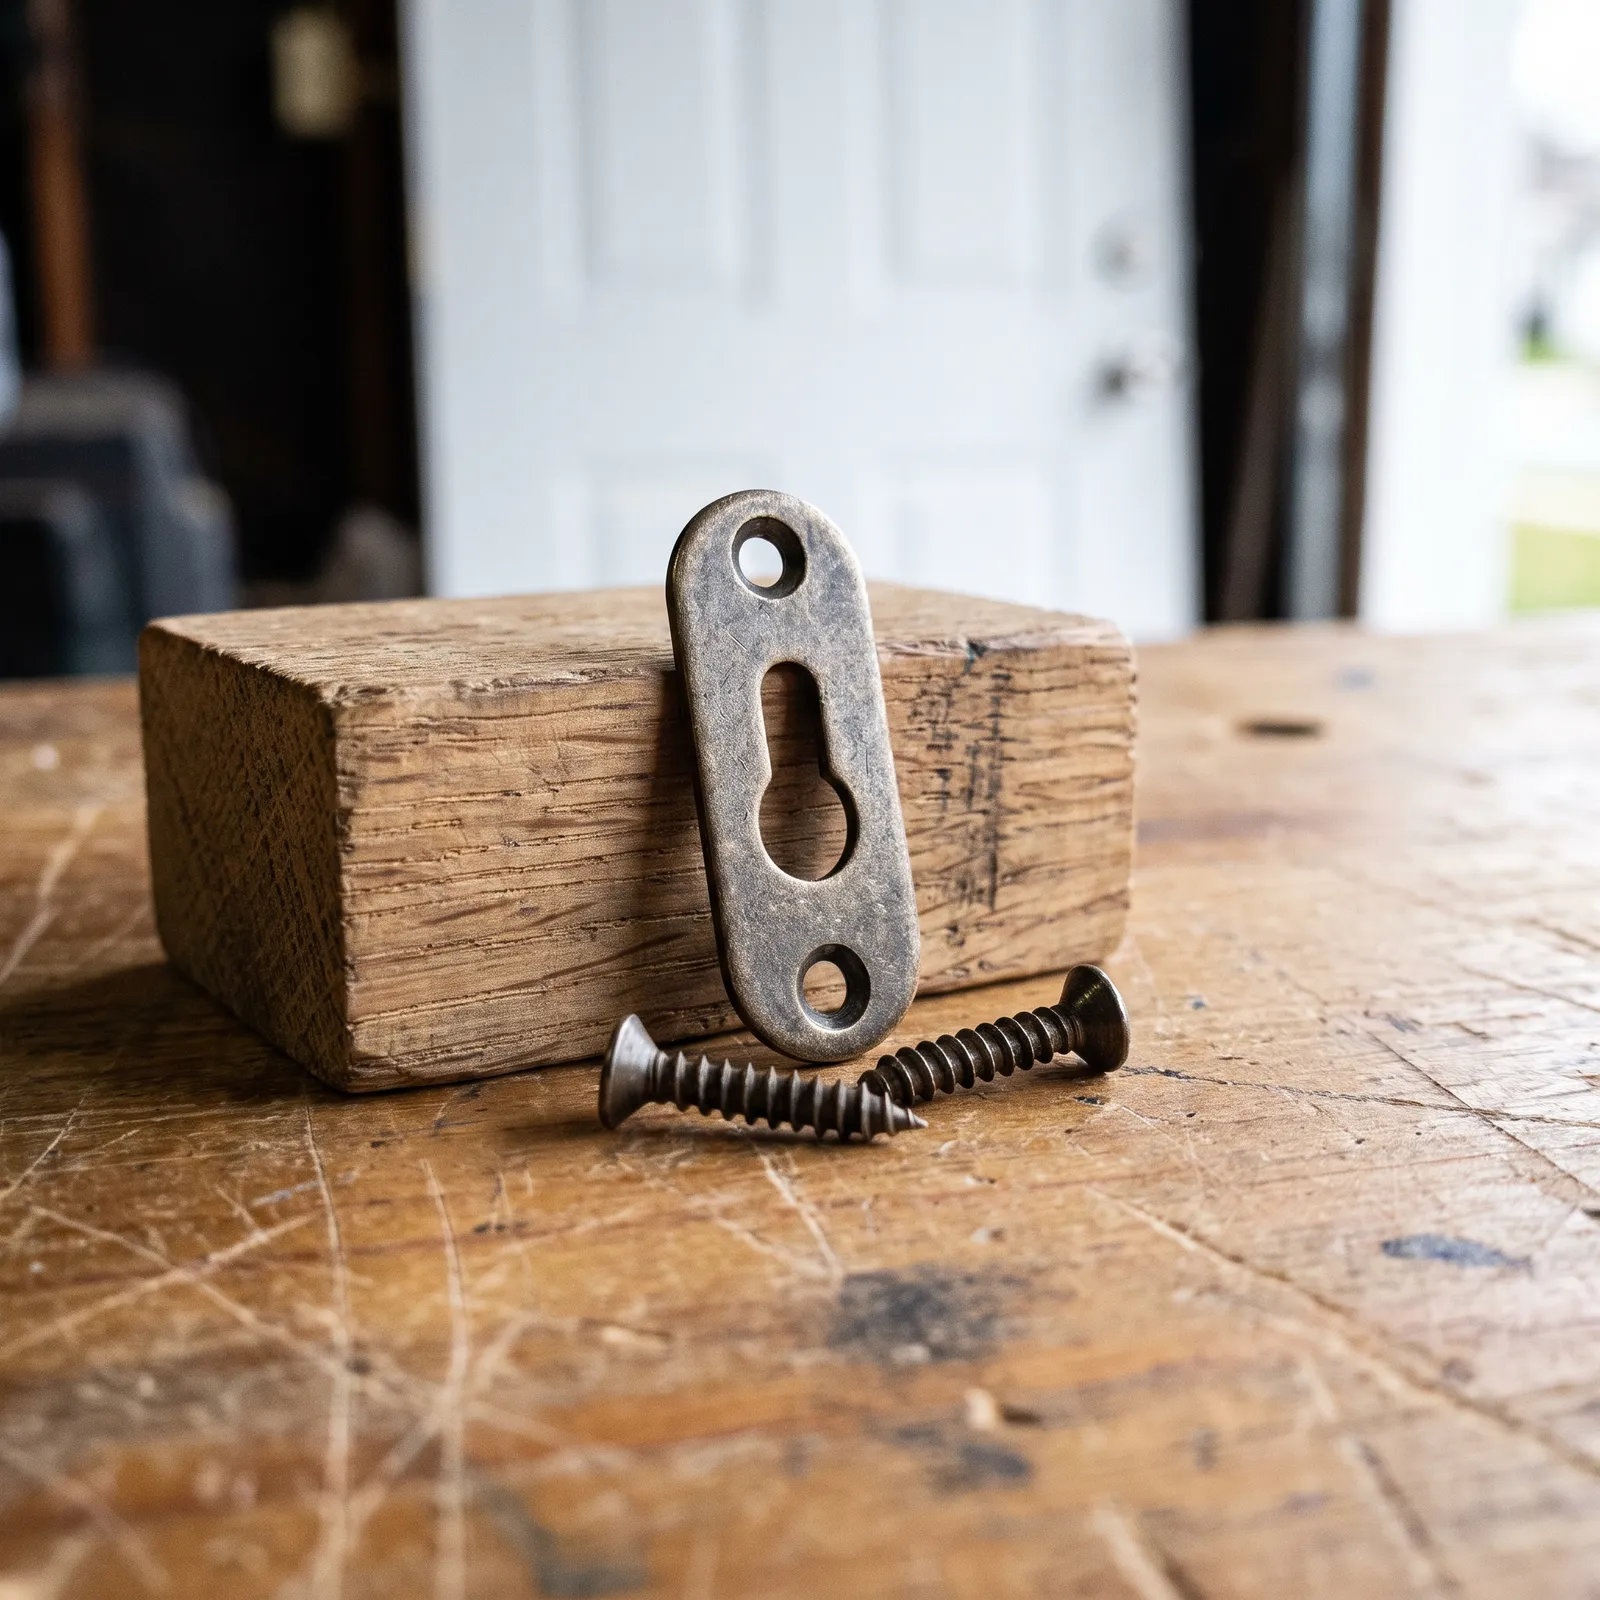
For wall mounting or leaning: you'll need a keyhole plate and a wood spacer to hold the panel off the wall; Home Depot carries ready-made keyhole hardware kits (brands like OOK and Waddell).
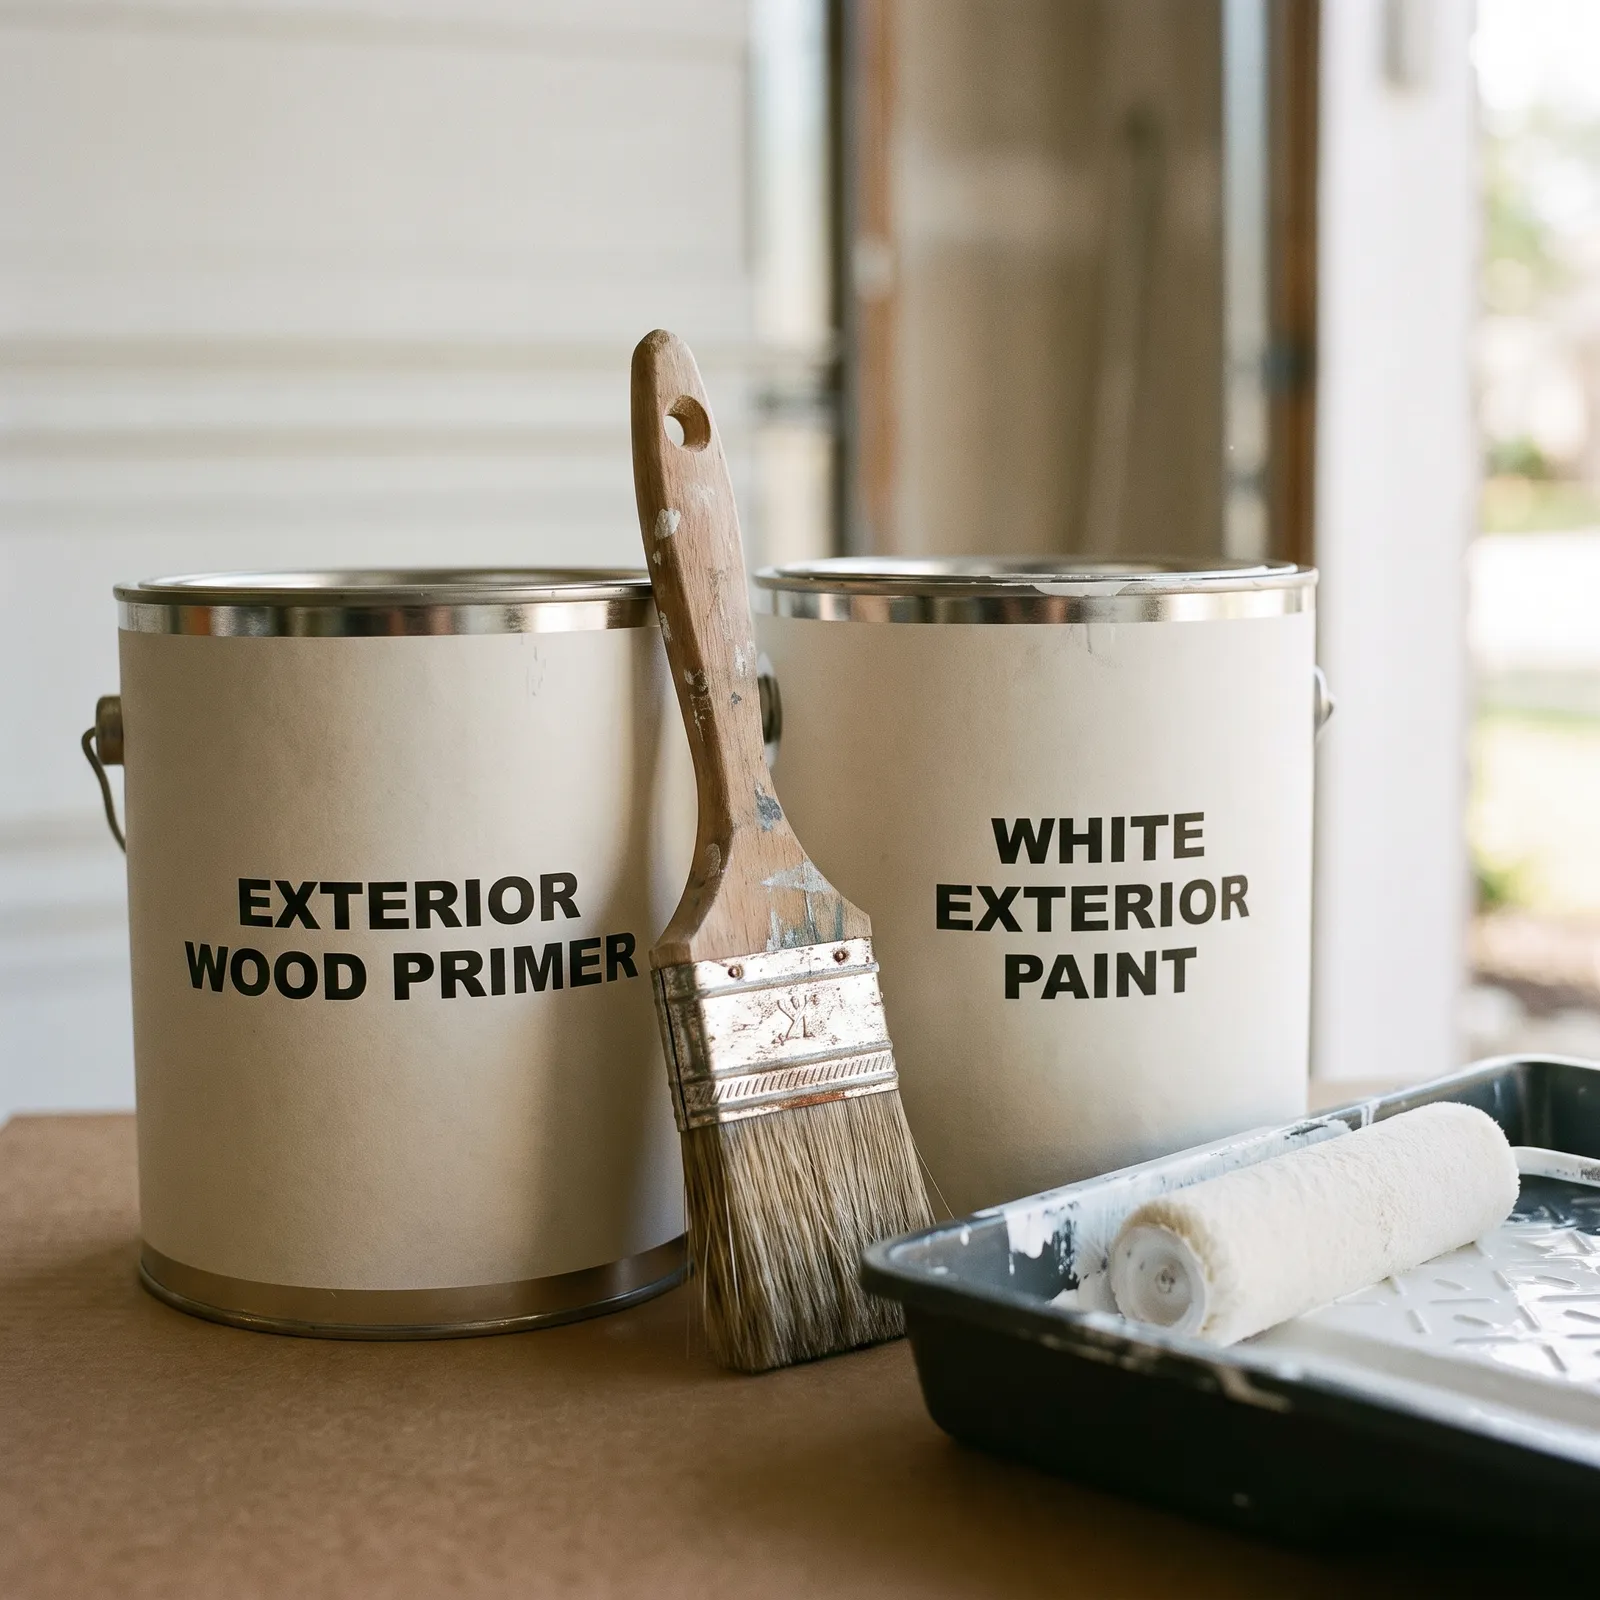
I recommend starting with an exterior primer and finishing with exterior paint — most products call for 2 coats. The combined surface of the 5 panels comes to roughly 160-170 sq ft (15-16 m²), which generally works out to 1-2 gallons of primer and 1-2 gallons of paint. The exact amount depends on the coverage listed on your chosen product's label — worth checking before you buy.
Decor like this usually only spends about a month outdoors during the holiday season, then sits in storage the rest of the year. For that kind of use, a combined exterior "paint + primer in one" product is also a solid option instead of separate coats — it's more economical (one product, usually just a single coat) and still provides enough protection for this short seasonal exposure.
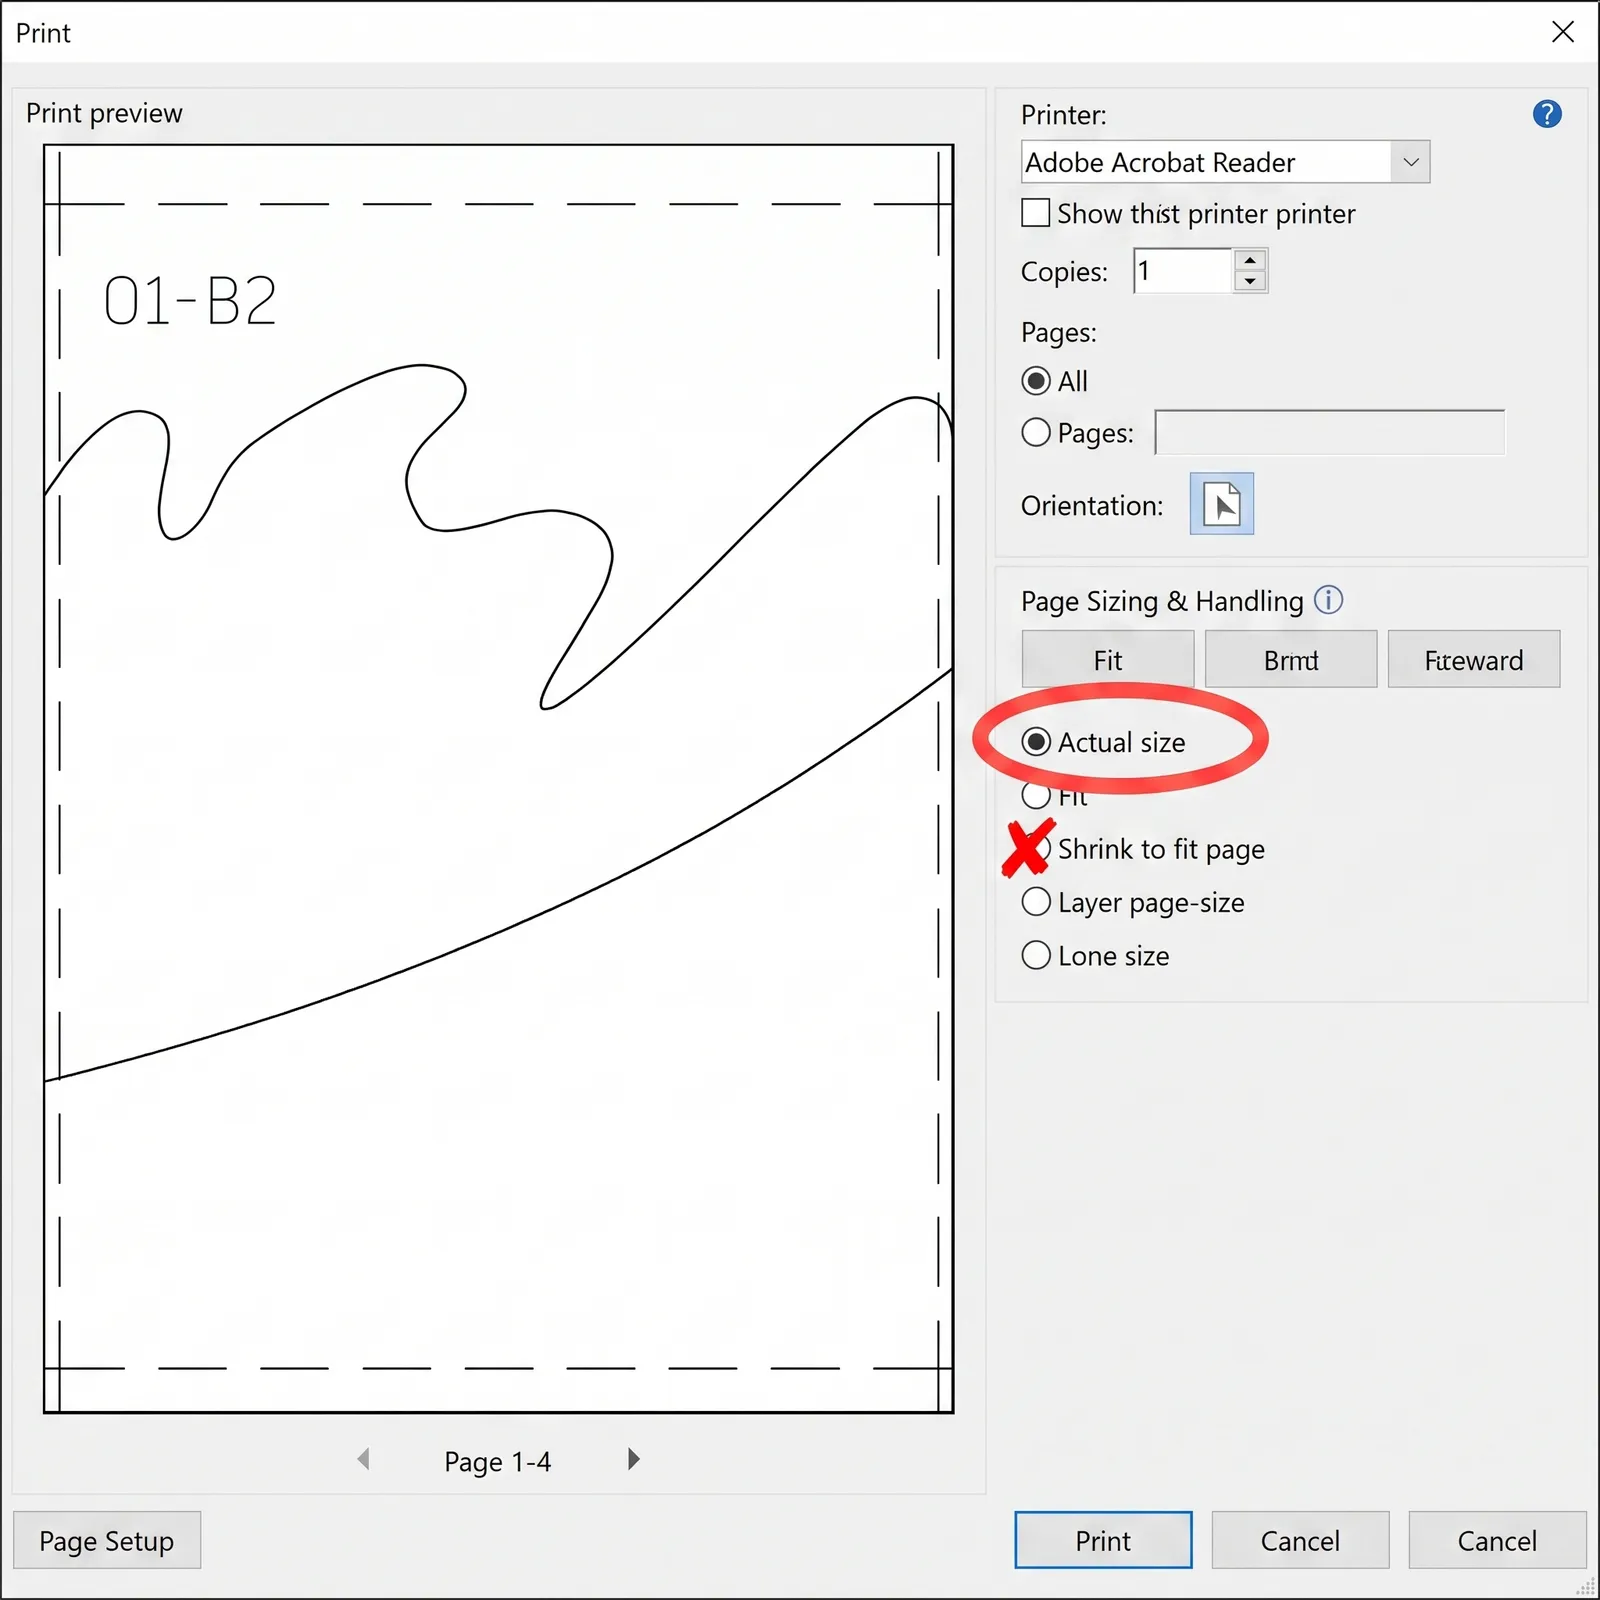
- Print it — The template package includes a single file that works for both A4 and US Letter paper sizes. It's designed to fit both sizes properly, with no scaling issues. In the print dialog, set the scale to "actual size / 100%" and make sure "fit to page" is NOT selected — if it is, the printer will shrink or stretch the file to fit the paper and every measurement on it will be thrown off. The file is already prepared at its own scale, with margin built in for small differences between paper sizes.
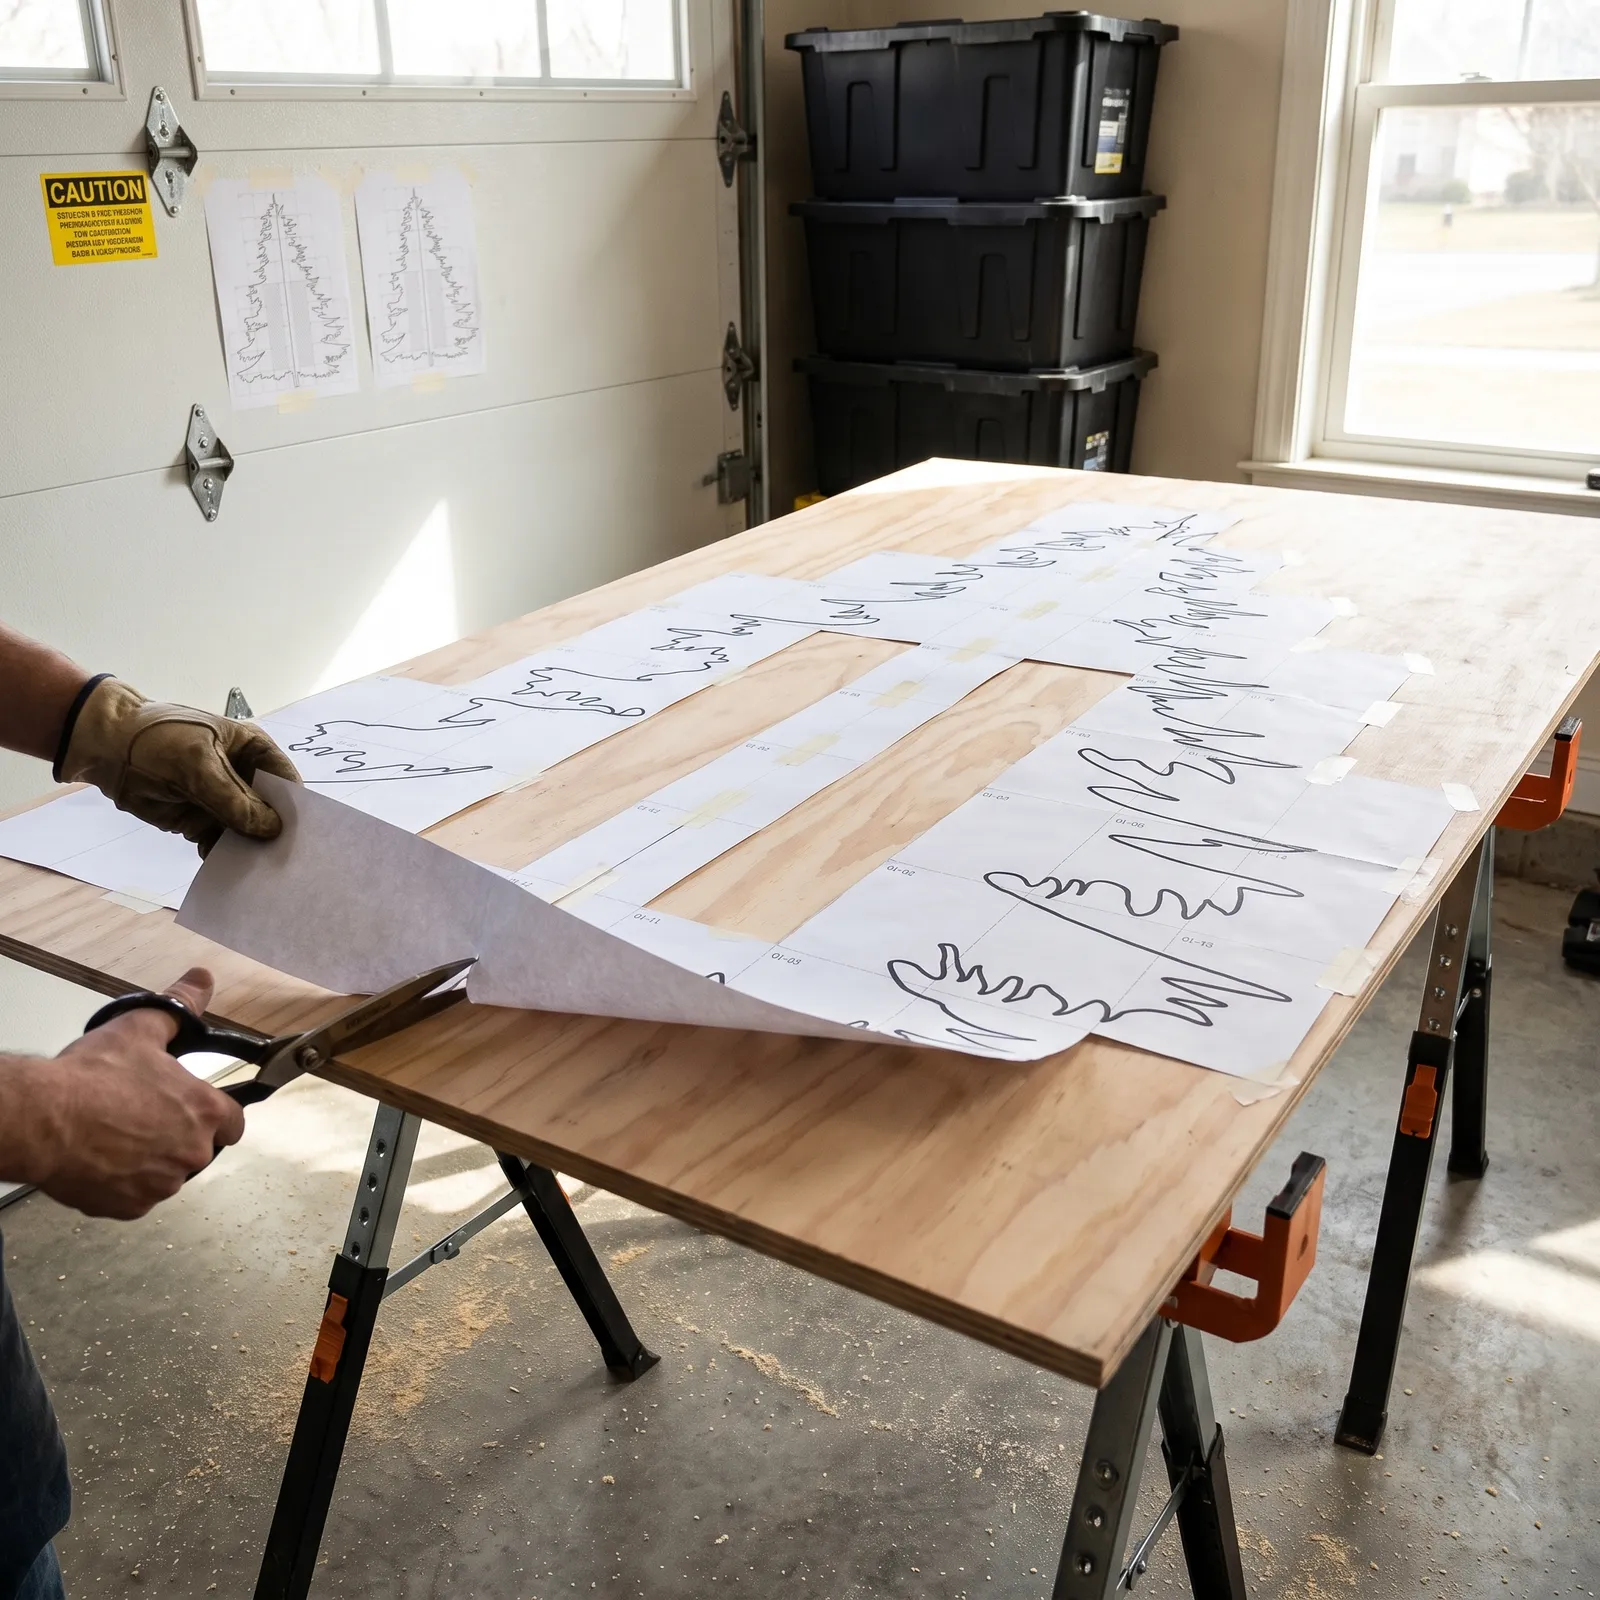
- Assemble the pages — the template arrives as a multi-page pattern split across A4/US Letter sheets. First, carefully cut along the trim lines at the edge of each page with scissors or a craft knife — these lines are there so the edges line up exactly when the pages are joined, without any overlap. Once the edges are trimmed, follow the letter-number grid printed on the pages to line up the correct sheets, then tape the edges together to form the full-size pattern.
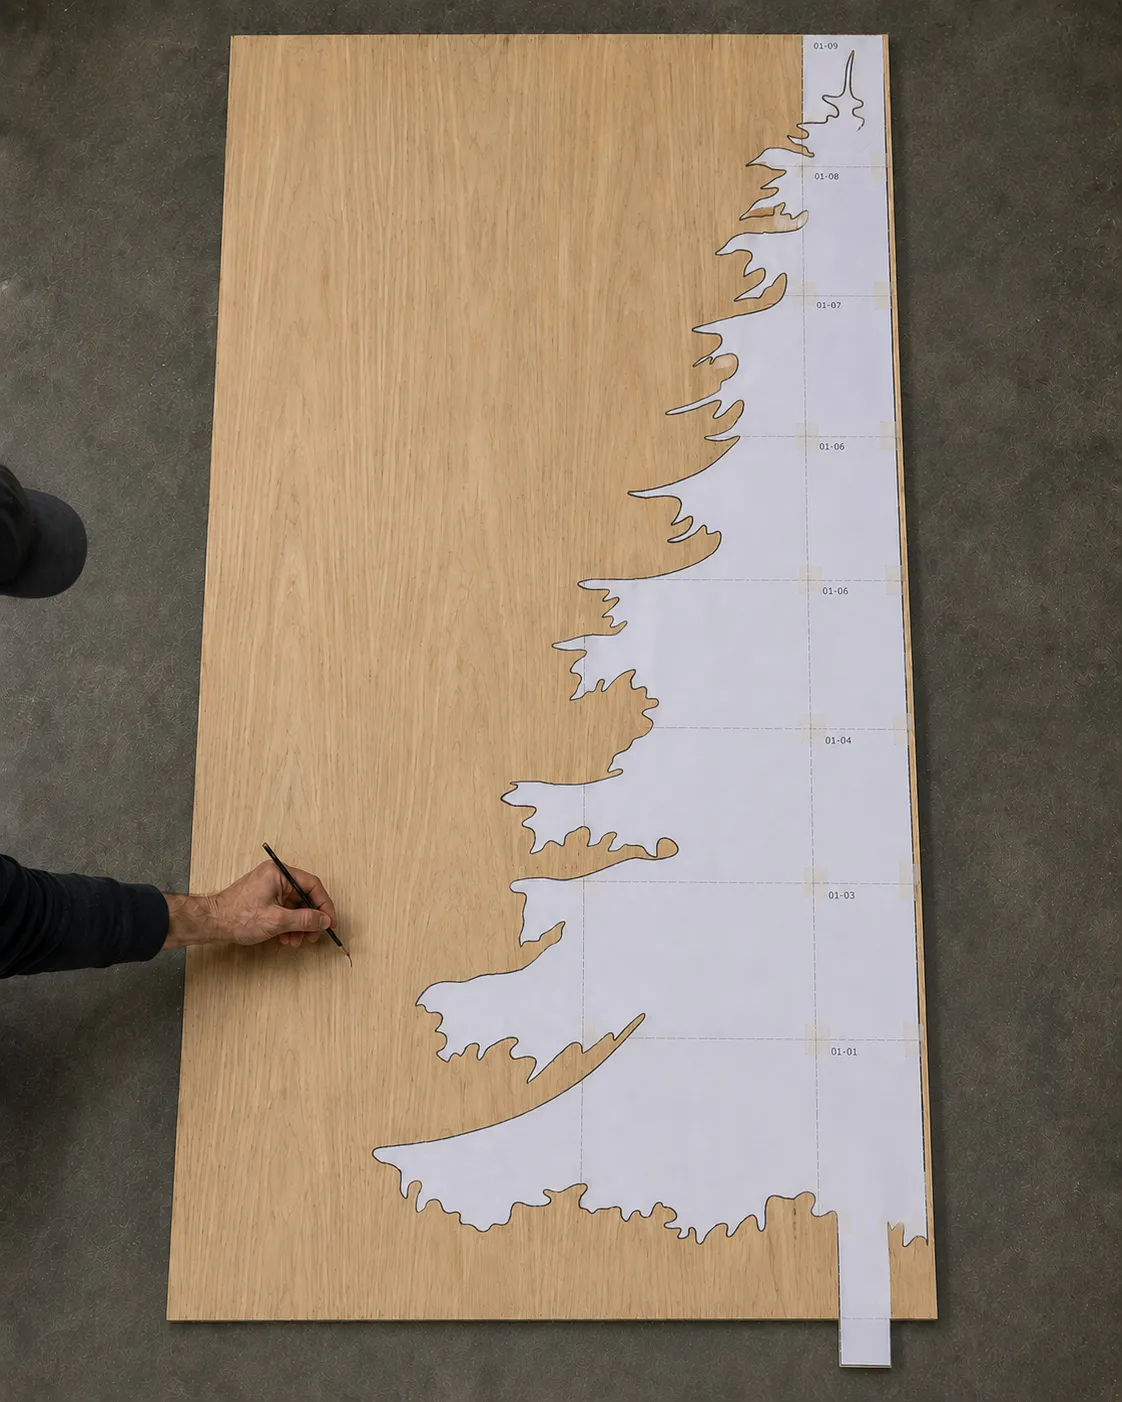
- Transfer the pattern onto the plywood — two methods:
- Spray adhesive: a "repositionable" spray like 3M Super 77. Apply a thin, even coat to the back of the paper and press it down without bubbles or creases. After cutting, the paper peels off easily with mineral spirits.
- Double-sided tape: you can do the same with tape — use a "residue-free, removable" type. You don't need to cover the whole surface, just strips along the edges and inner corners.
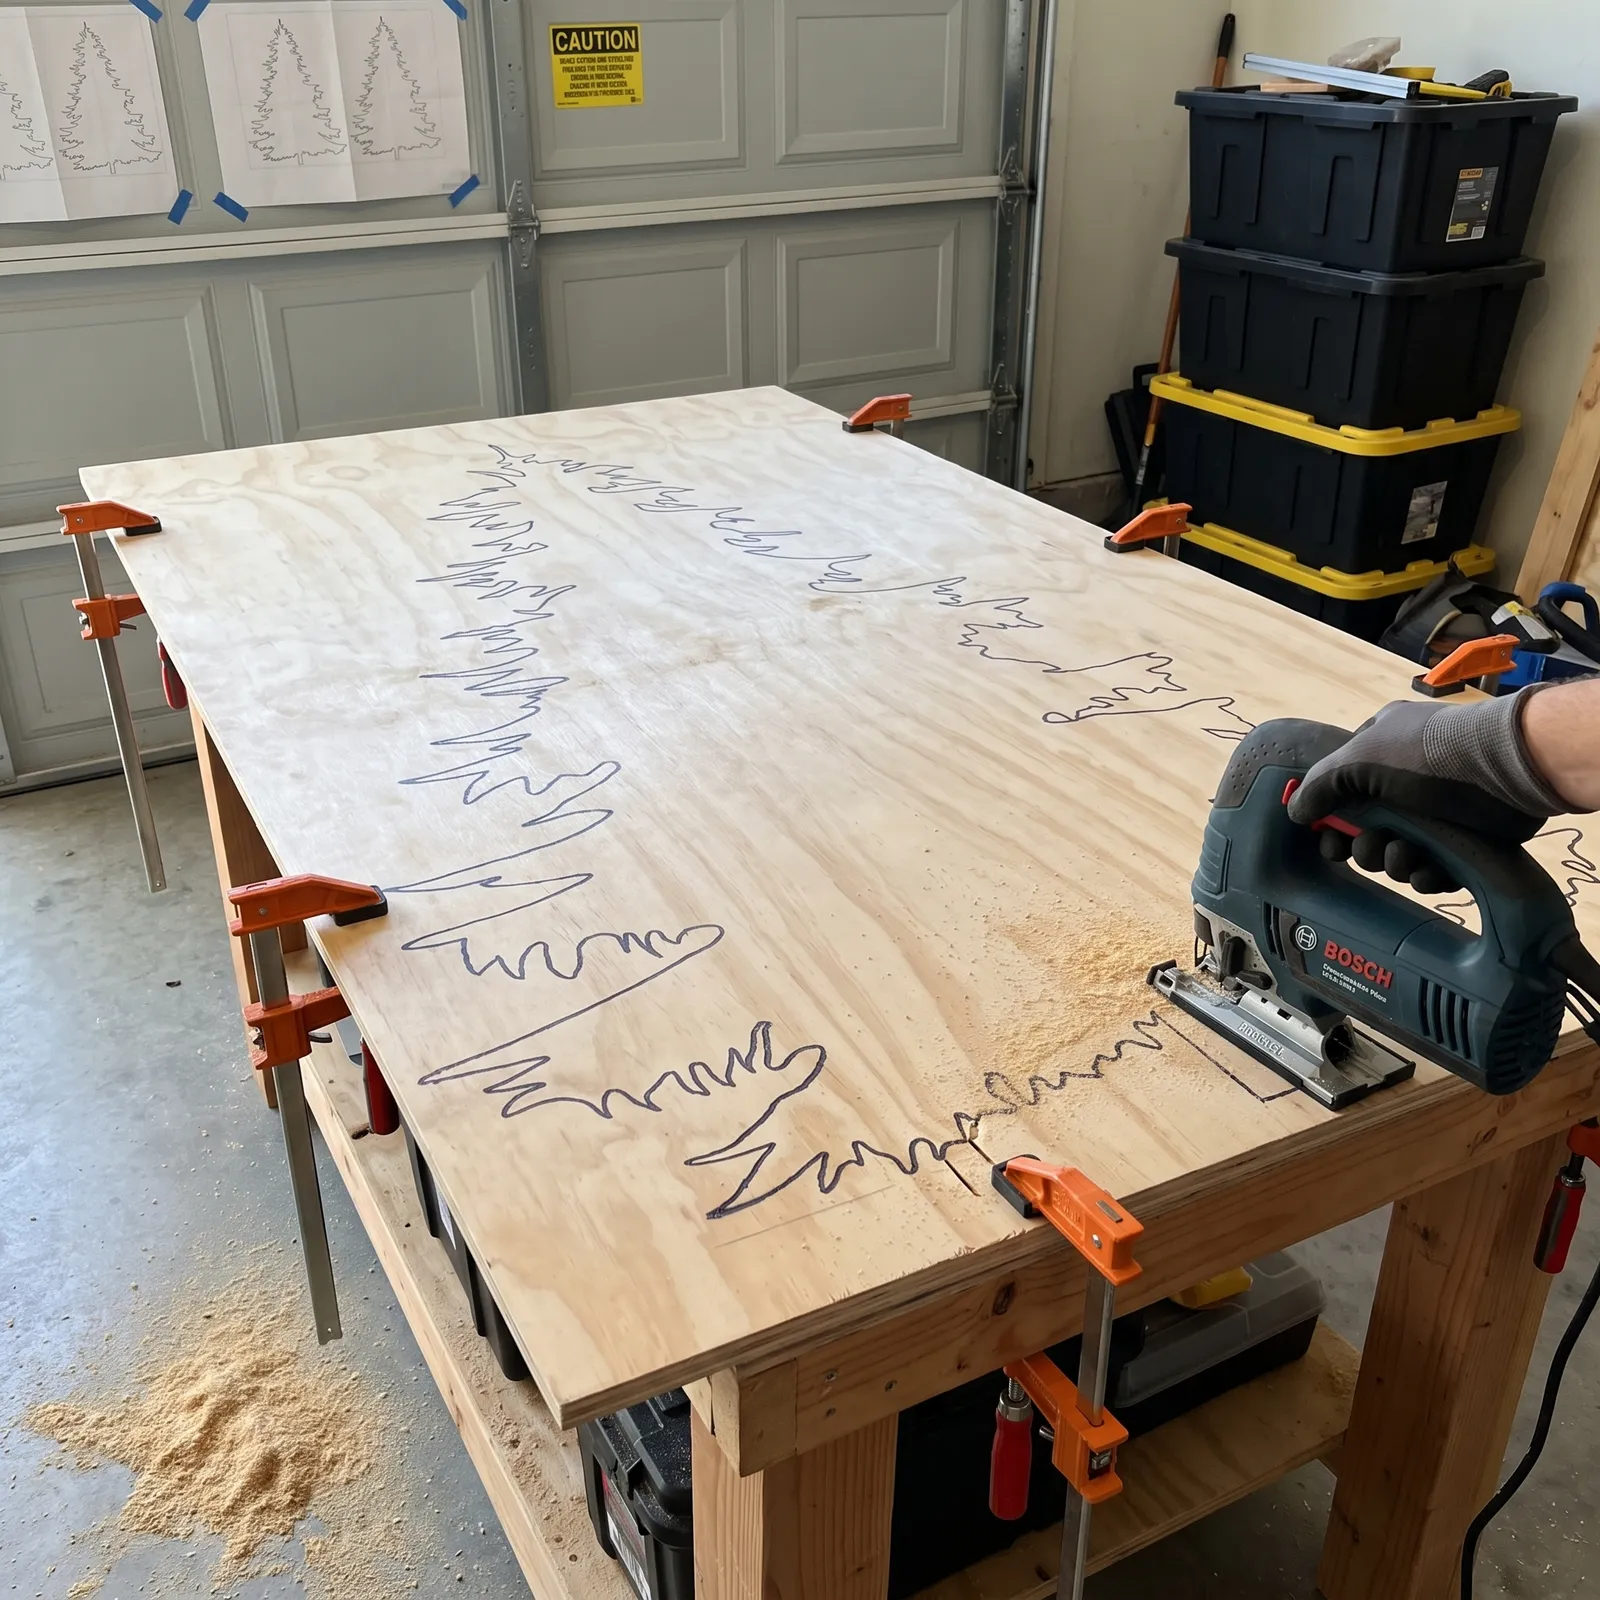
- Cut it — follow the line with a jigsaw using a narrow blade; don't force the saw, and make small relief cuts before sharp corners. Make sure to clamp the plywood securely to your workbench.
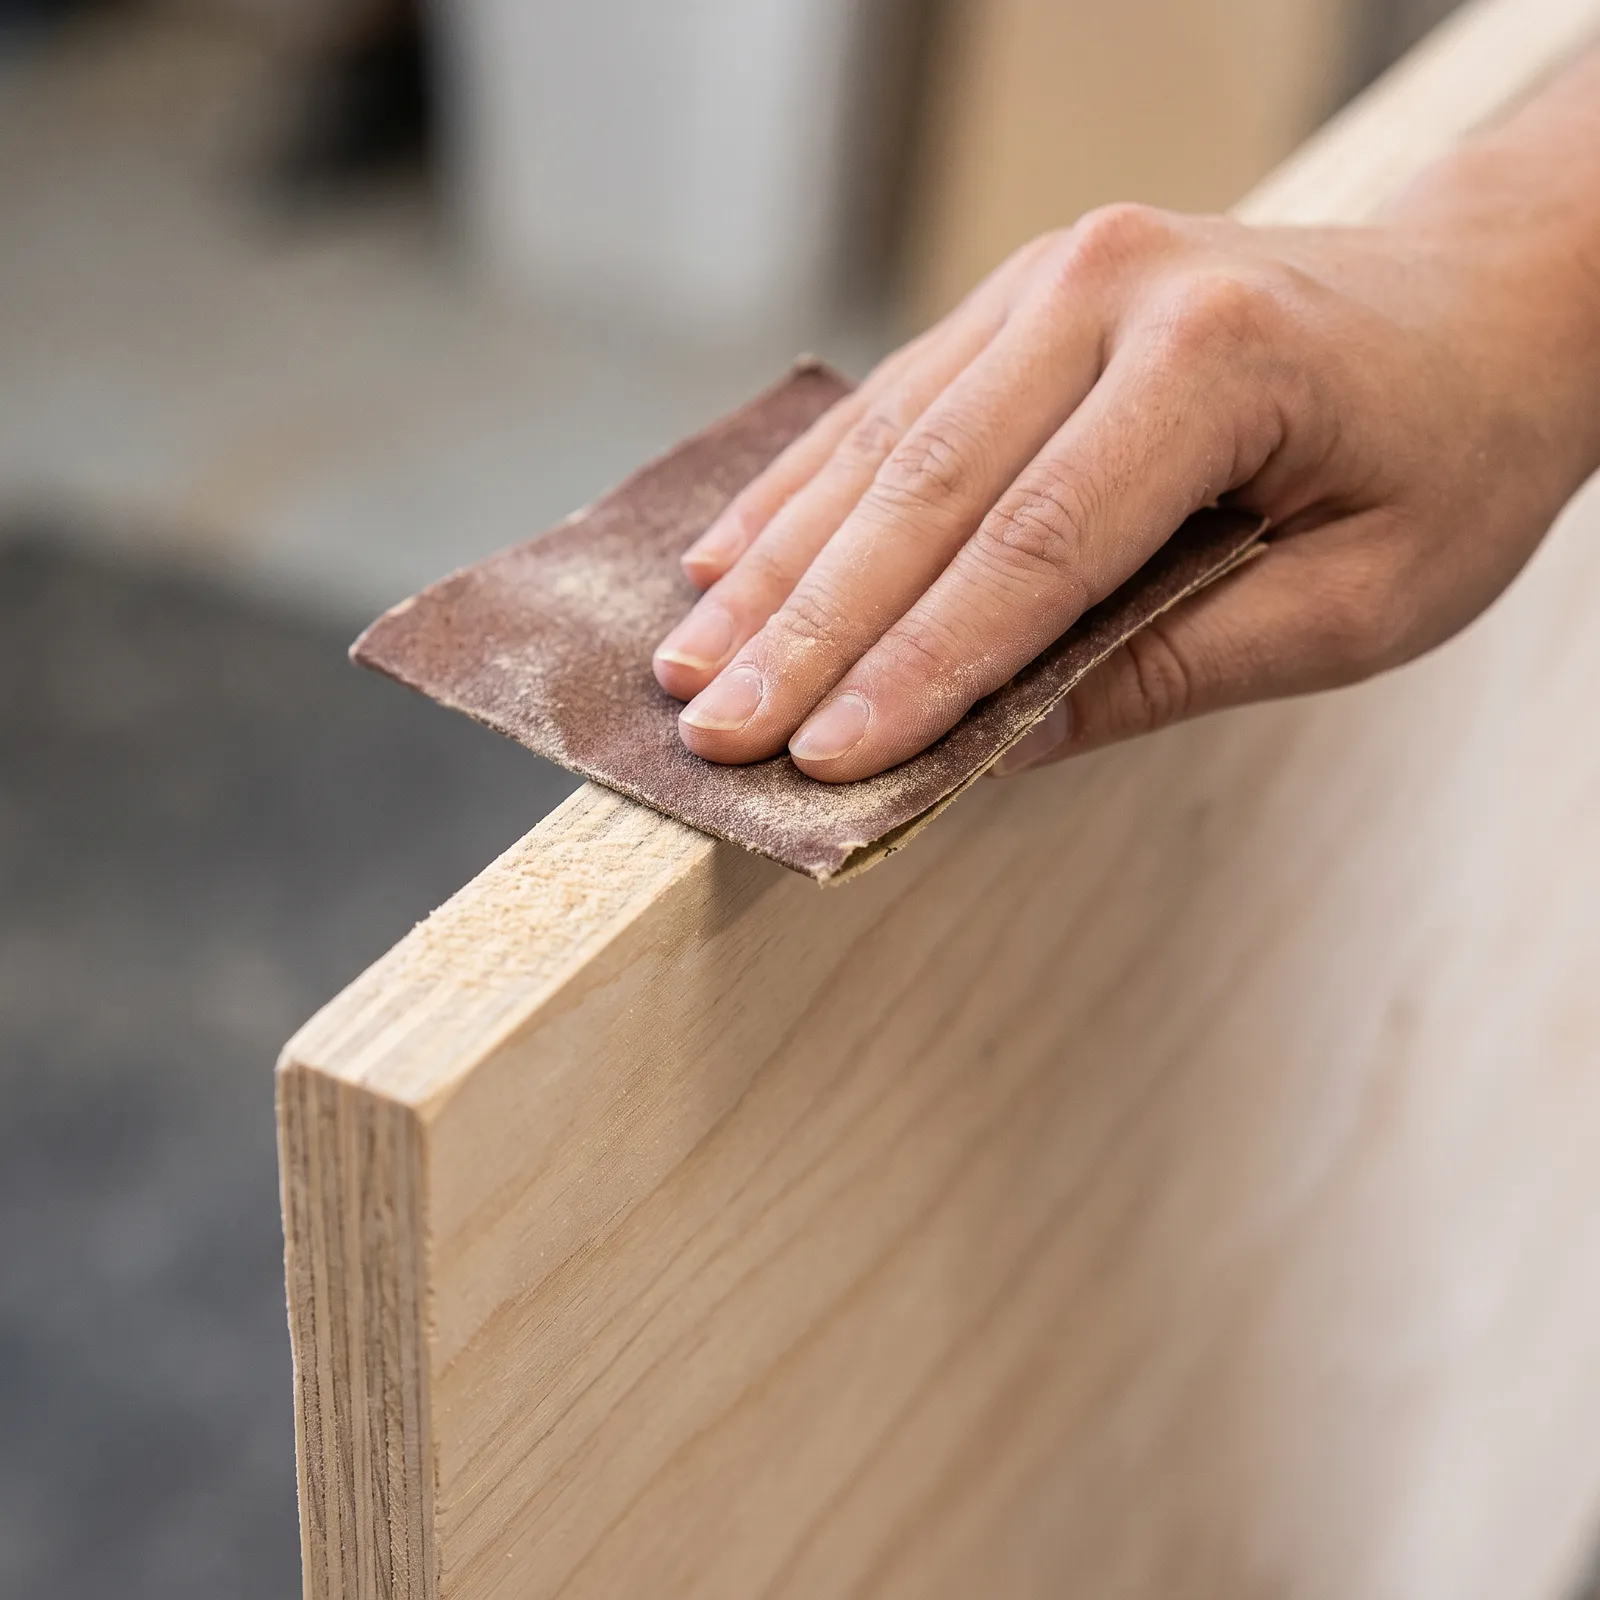
Once the cutting is done, sand the surface. Start with 80-120 grit on the edges and any rough spots, then move to 150-220 grit for a smooth, paint-ready finish. A random orbital sander speeds things up on the broad flat areas; the curved edges, antler tips, and branch detail come out cleaner sanded by hand. For 5 panels, plan on roughly 2.5-4 hours, depending on how much detail work you want to put in.
If you're using separate primer and paint: apply the primer in thin, even coats — 2 coats is usually enough — then follow with 2-3 thin coats of exterior paint, letting each coat dry before the next. If you went with a combined "paint + primer in one" product instead, a single coat is usually enough; add a second if you notice any uneven coverage. Whichever product you use, pay particular attention to the edges — that's where plywood picks up moisture most easily.
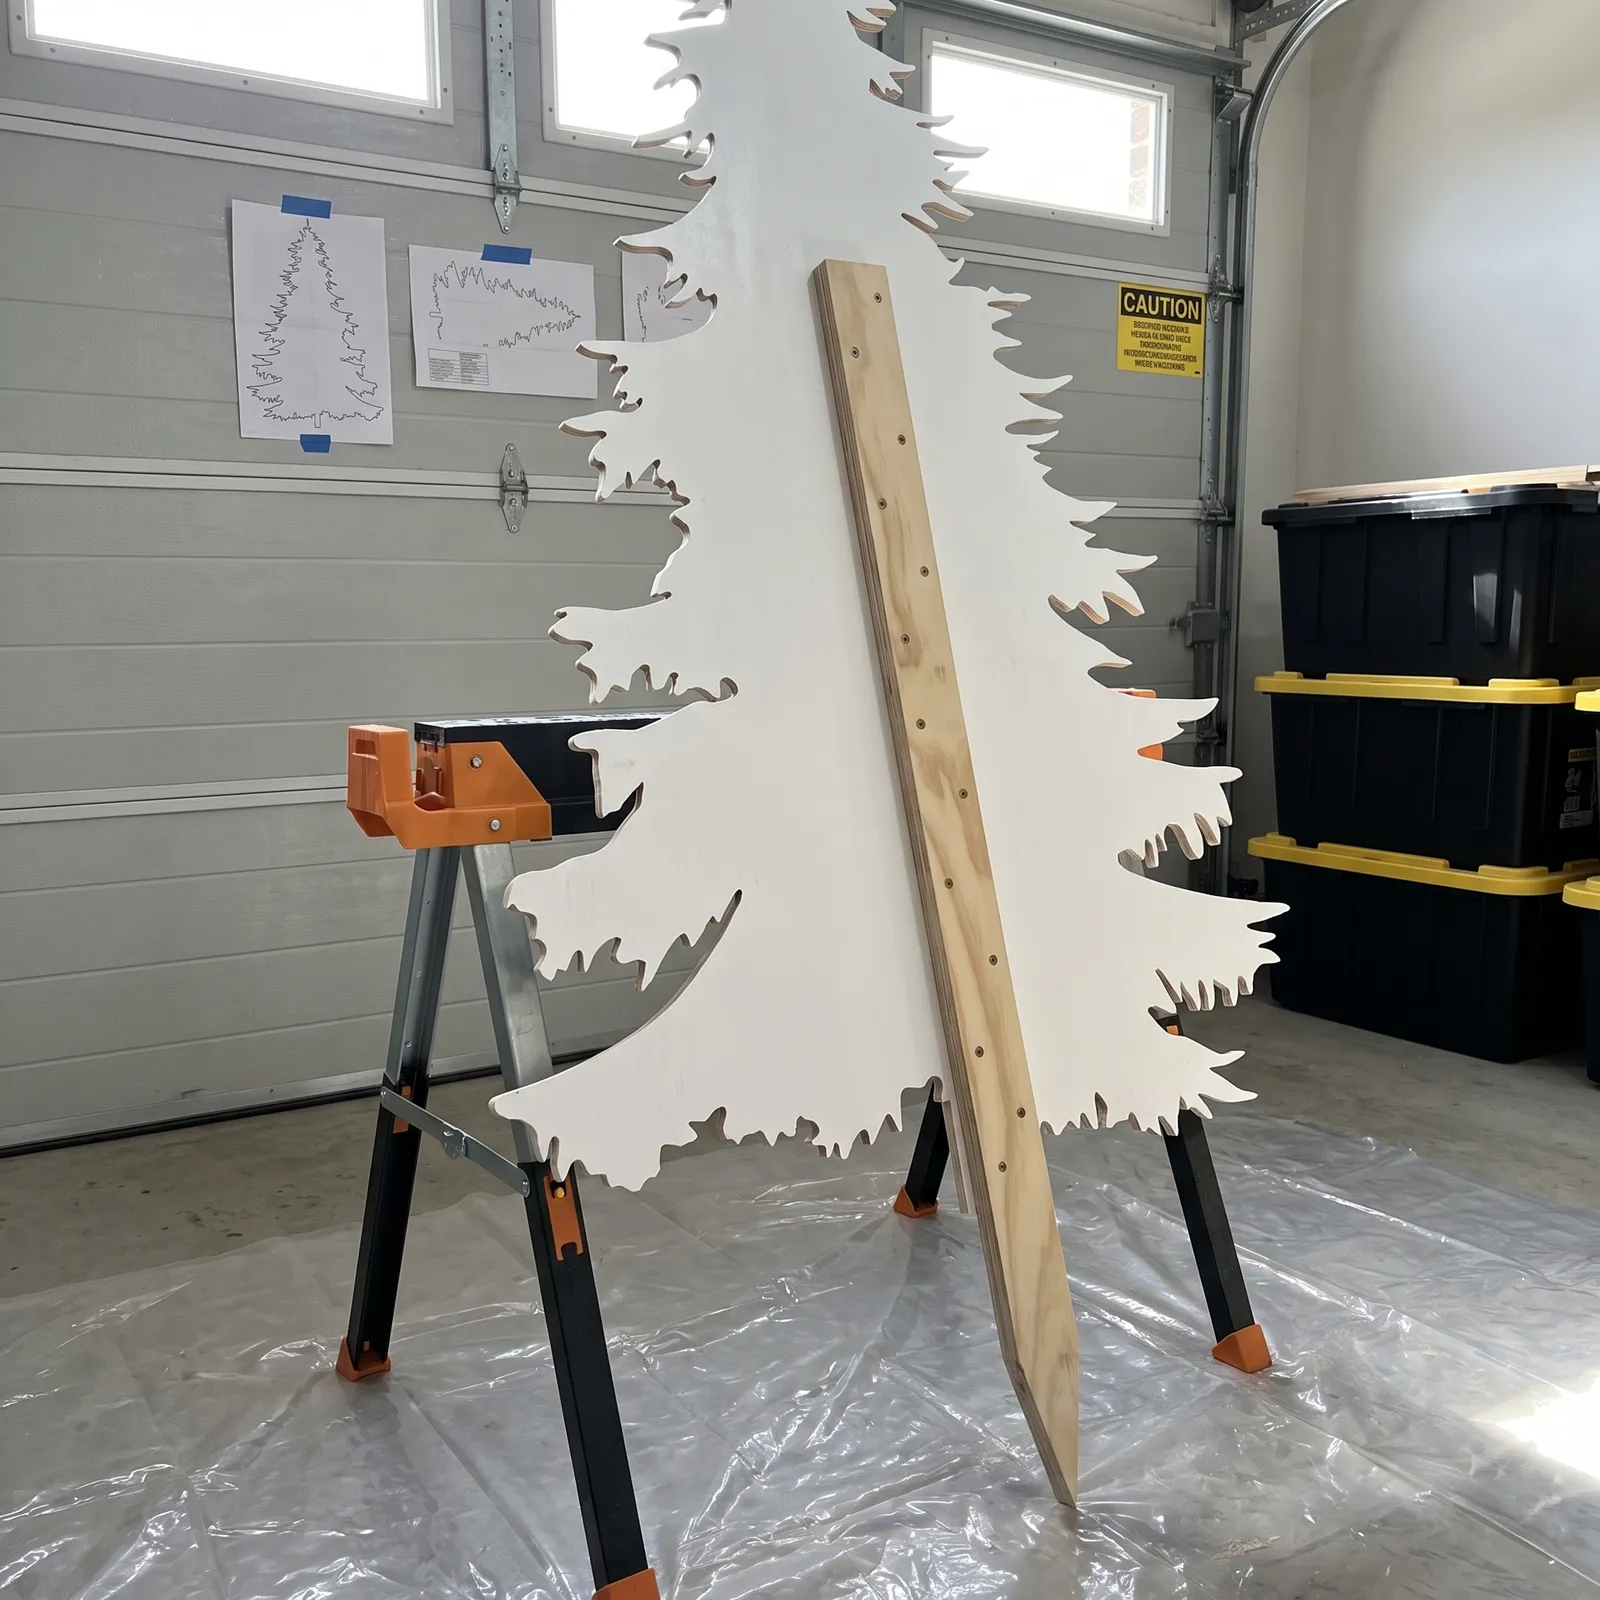
You can put the plywood offcuts left over from cutting the figures to good use. Cut one piece with one end pointed — that's your stake. Set the flat end against the back of the figure and fasten it with a nail or screw; the length of the nail or screw shouldn't exceed the combined thickness of the two overlapping plywood pieces, or the tip will poke through the front. Once the stake is fastened, drive the pointed end into the ground. If the soil is hard, wetting it beforehand makes this easier.
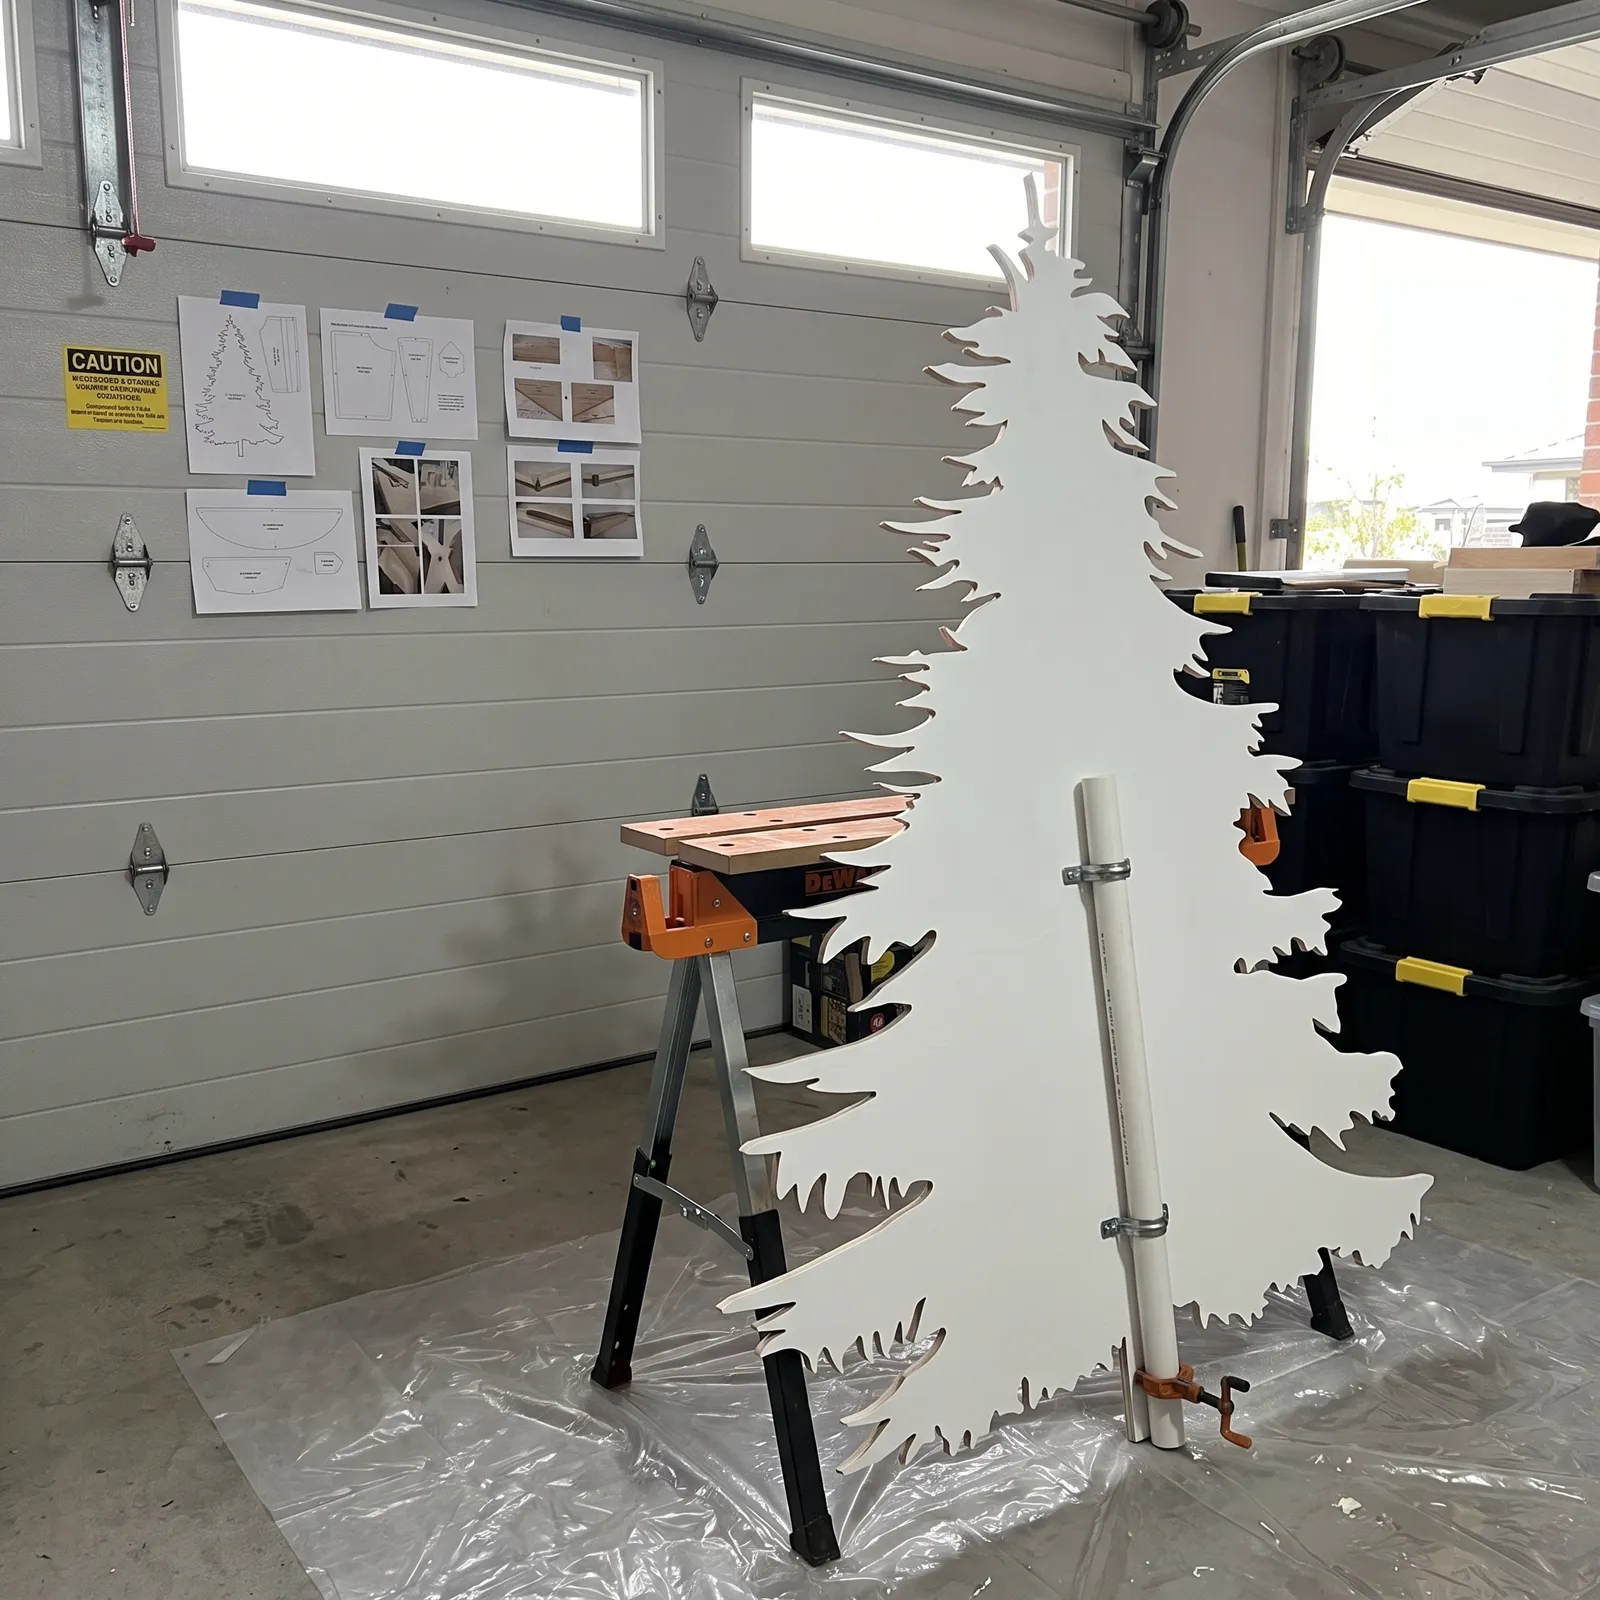
For a more permanent setup: fasten a PVC pipe to the back of the figure so it runs down toward the ground when the panel is standing — a couple of pipe clamps are enough to secure it. Then drive a second, slightly wider PVC pipe into the ground to create a fixed sleeve. All you need to do at install time is slide the figure's pipe into that sleeve; taking it out at the end of the season is just as easy — the sleeve stays put in the ground, so you're not driving a new stake every year.
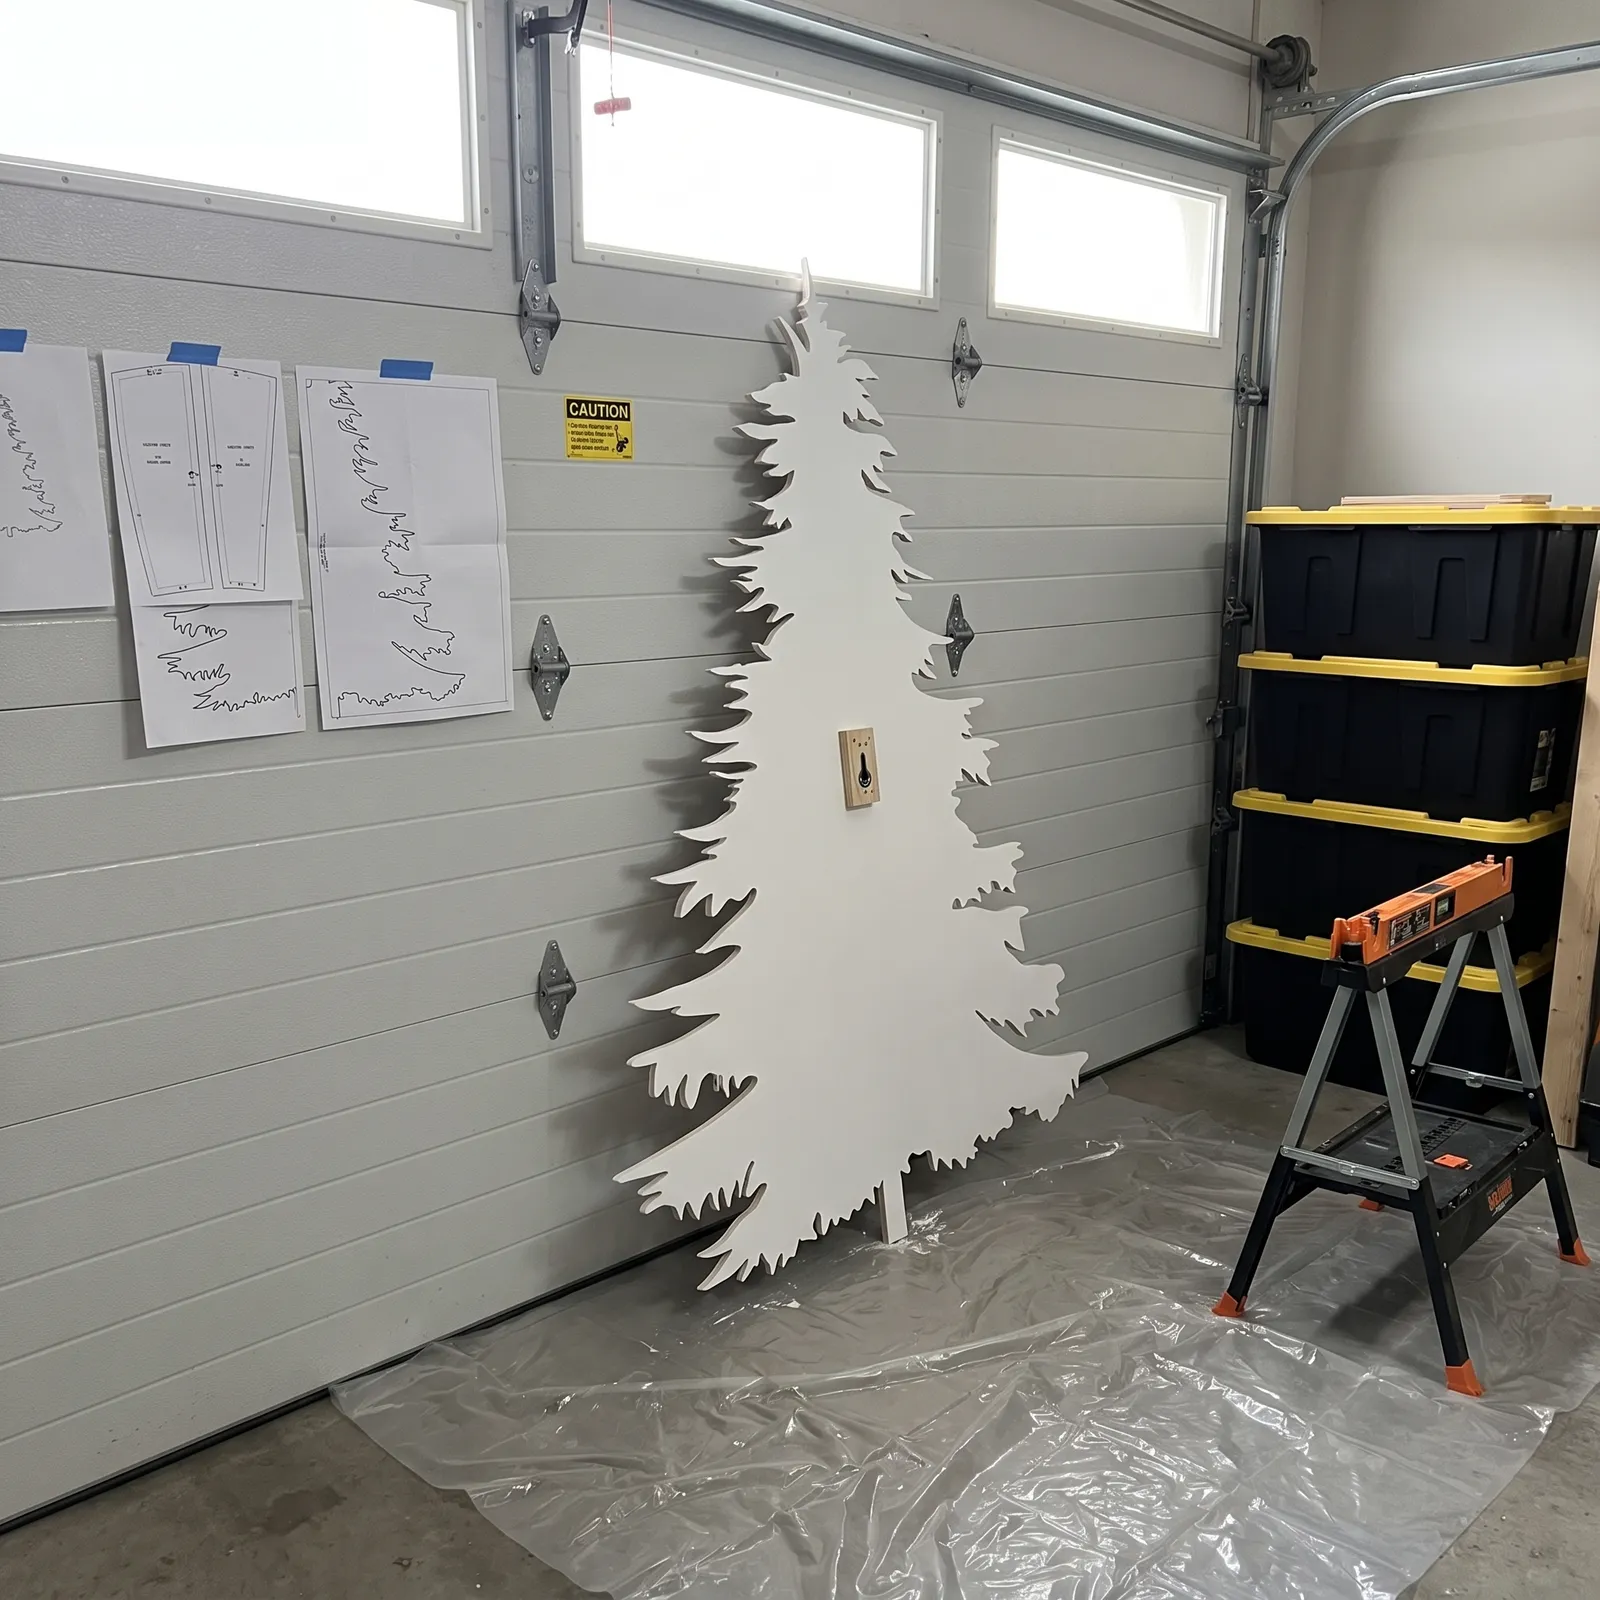
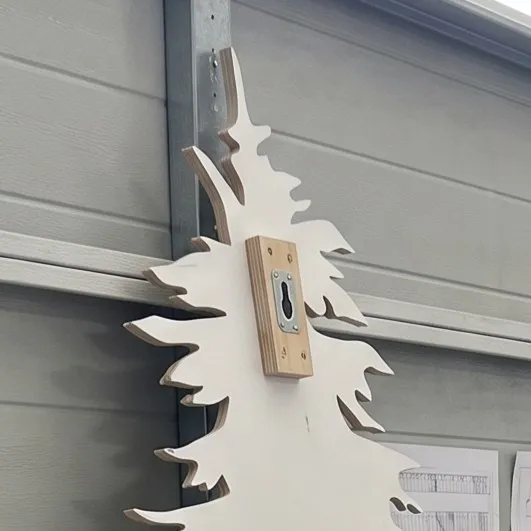
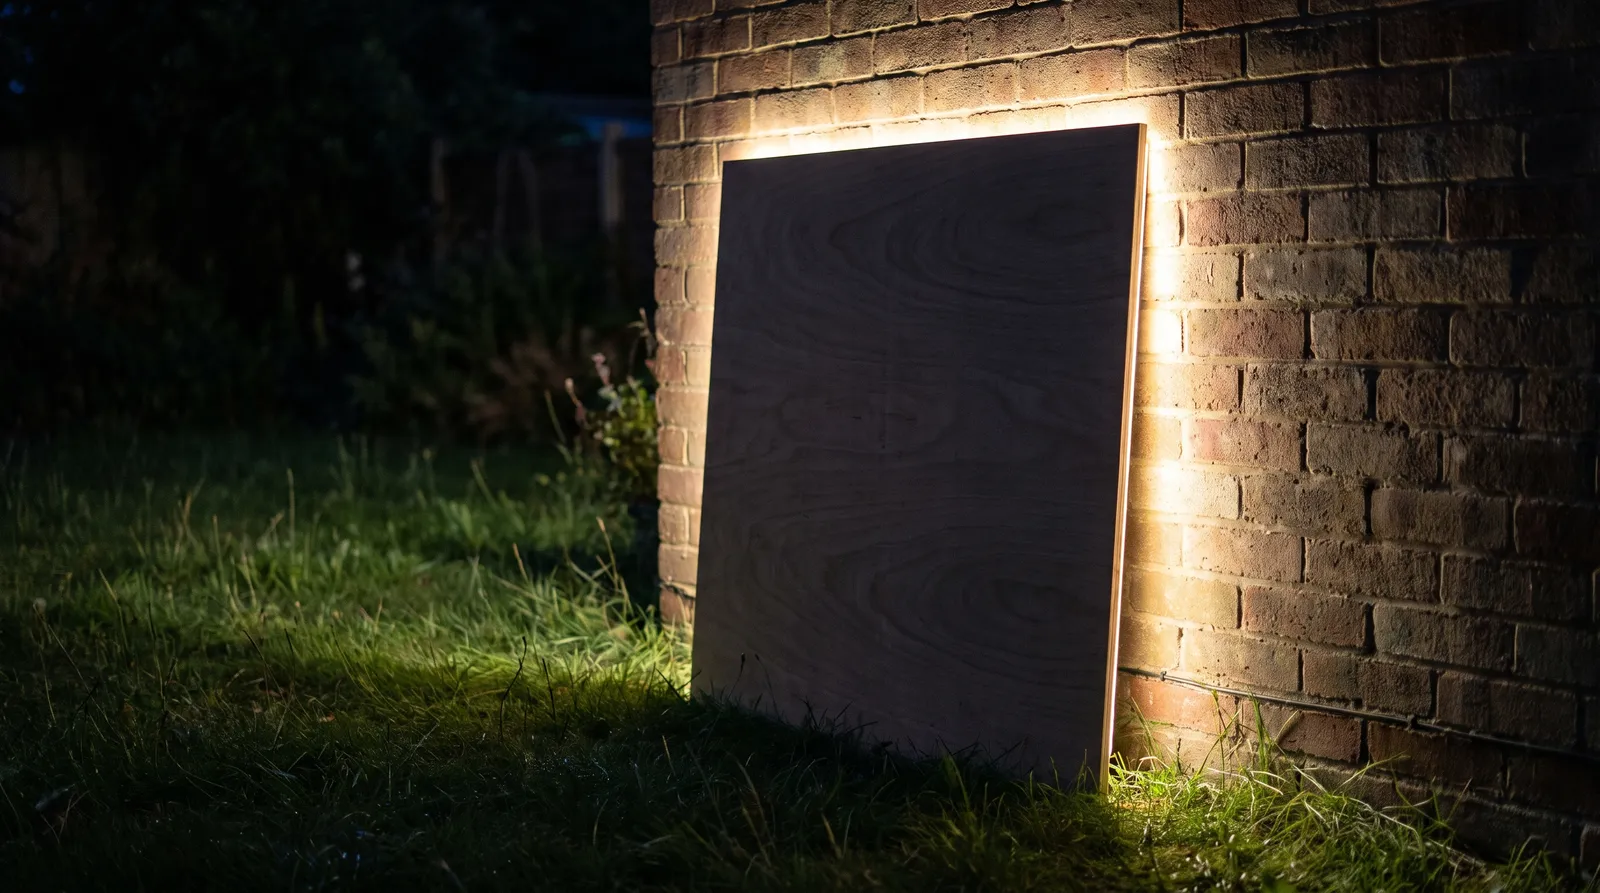
If staking into the ground isn't an option, you can mount the figure to a wall or a fence. For the cleanest result: attach a keyhole plate to the back, and add a wood spacer a few centimeters thick underneath it — this holds the figure slightly off the wall, which keeps moisture from building up and, if you want to add lighting behind it later, leaves room for the light to spread. All you do at the wall is slip the screw head into the keyhole slot. If you want something simpler, you can just lean the figure against the wall and weigh down the base slightly.
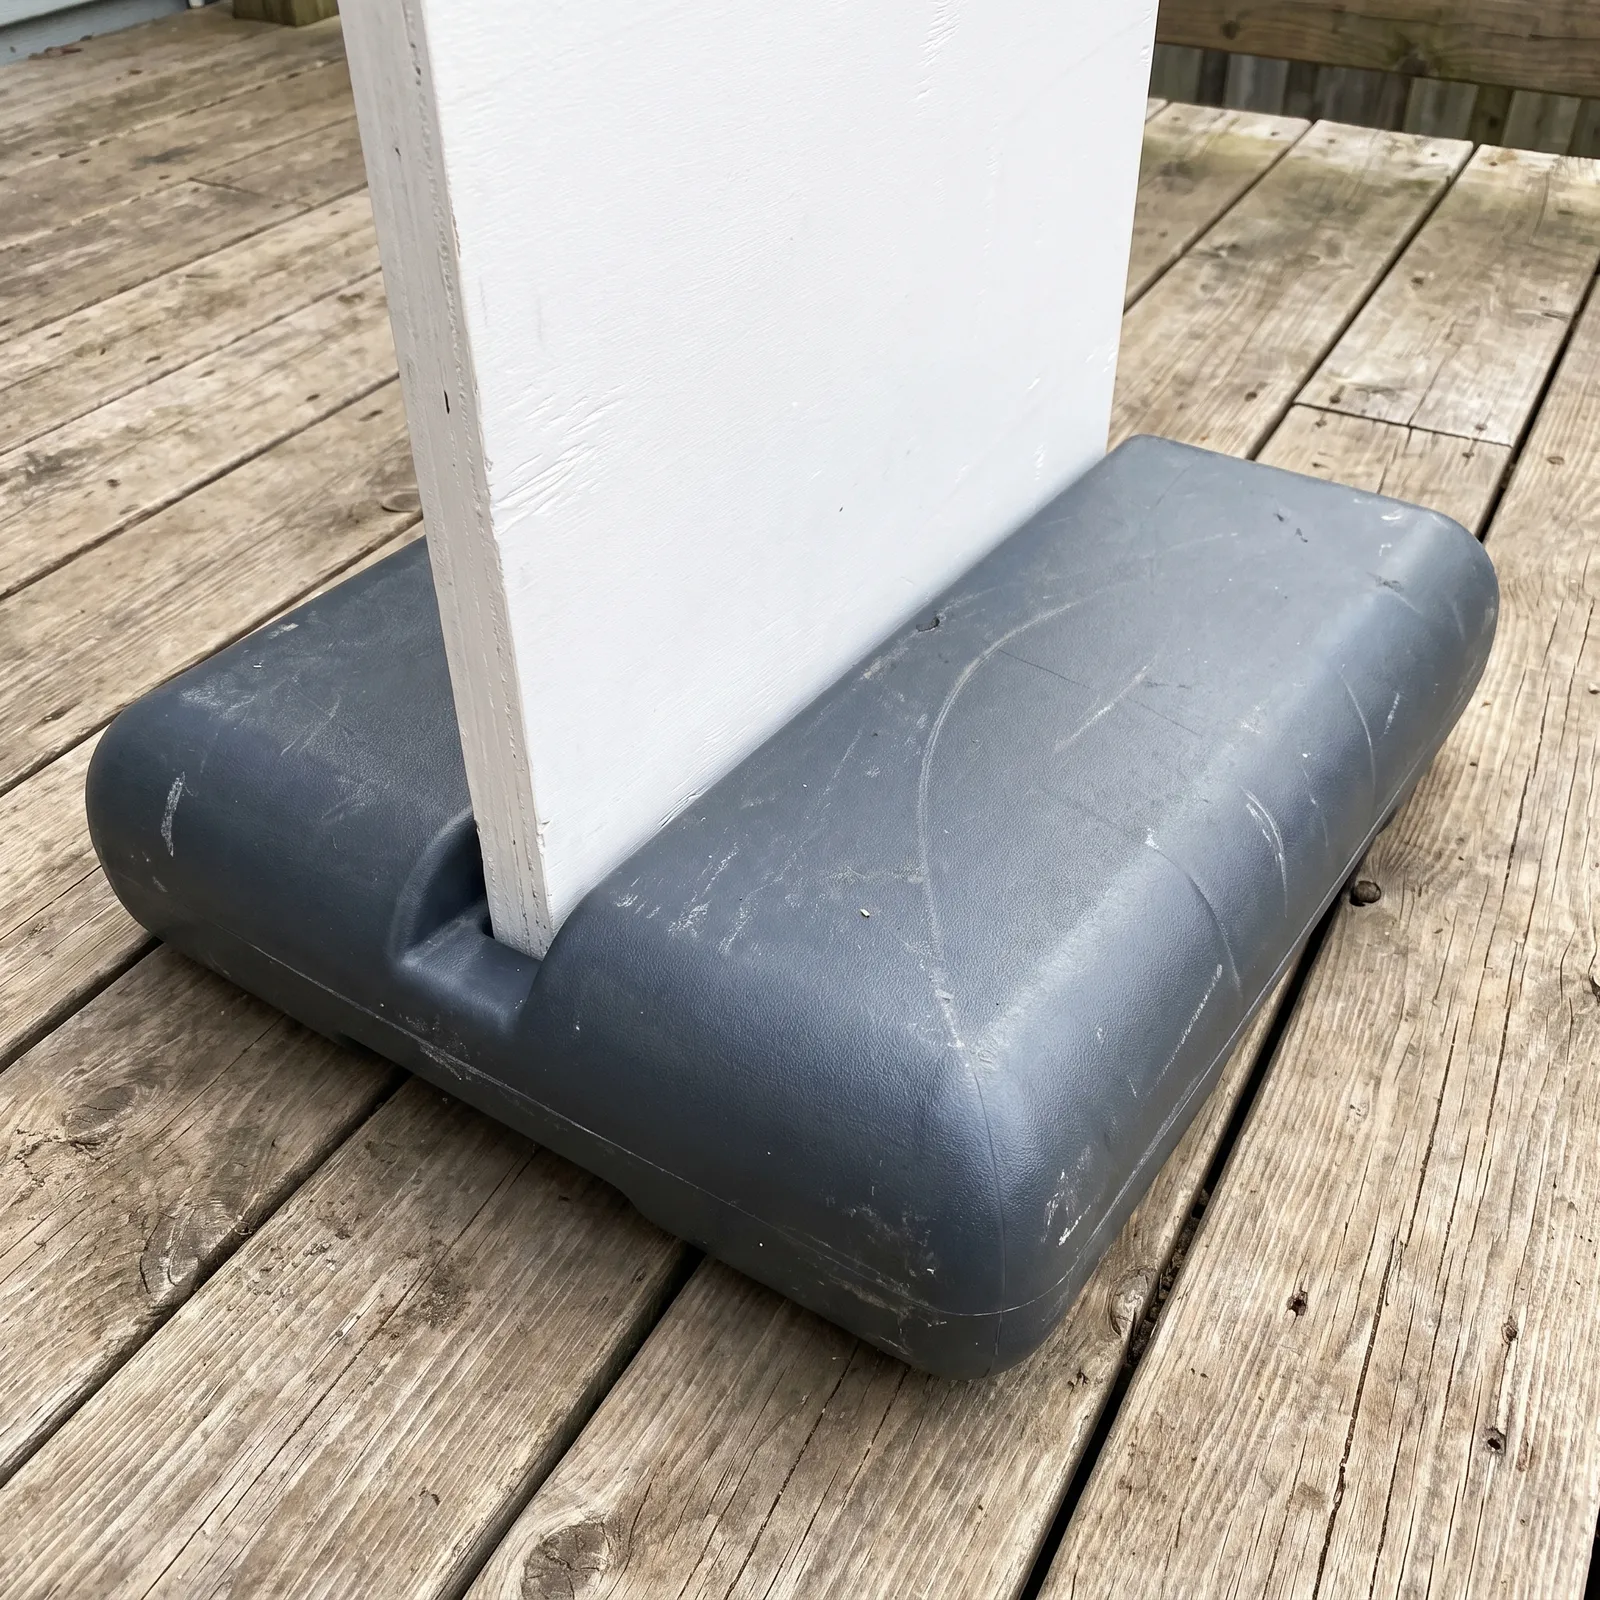
If you don't have soil to stake into and there's no wall or fence nearby, a weighted sign base is a practical third option — the kind sold for sidewalk signs and event banners. These usually work as a slotted or clamped stand: slide the panel's bottom edge in, then fill the base with sand or water for ballast. Match the base's rated capacity to the panel itself, not just its weight — a tall, flat silhouette catches wind like a sail, and this composition's tallest piece (238 cm / 7'10") needs a base built for that height. In an open, wind-exposed spot, I'd still run a couple of thin guy-lines from the panel down to the ground even with a weighted base — the base keeps it from tipping over, the lines keep it from rocking and slowly working the base loose over a season.
If you'd like, you can add an LED strip behind the figures for a nighttime effect too. The spacer you used for wall-mounting comes in handy here — the gap it leaves between the panel and the wall gives the light room to spread out from the edges.
What kind of LED: go with a 12V, outdoor-rated strip with an IP67 waterproof rating — IP65 only handles light rain/splashing (fine for covered spots under an eave), IP67 is the safer choice for full exposure in an open yard. Warm white (3000K) gets closest to that amber glow in the reference photos.
How much you'll need: based on the total outline of the figures, roughly 40-45 meters of strip (usually sold in 5-meter reels, so about 8-9 reels). That's a rough estimate — it depends on how much of the silhouette you want lit.
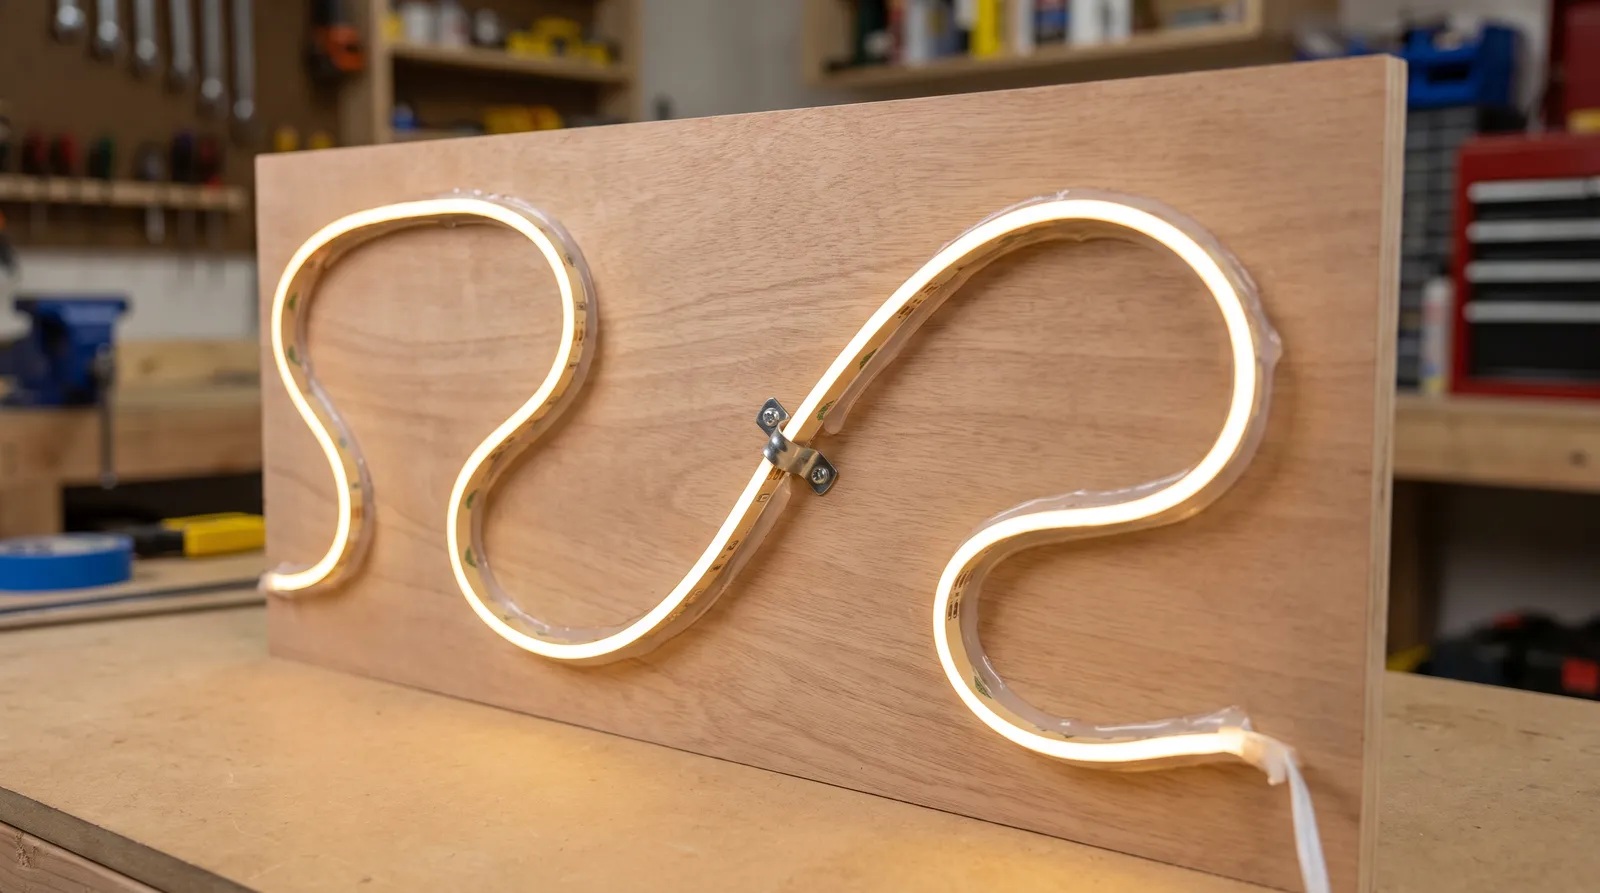
How to mount it: since these silhouettes have curved, organic outlines, a rigid aluminum channel won't follow the shape — stick the strip directly to the wood using its own adhesive backing instead. For extra hold in outdoor conditions (cold weather weakens adhesive tape over a season), lay down a strip of stronger outdoor-rated double-sided mounting tape (3M VHB or similar) first and press the LED strip onto that, then add a small flexible mounting clip every 15-20 cm along the run for a mechanical backup that doesn't rely on adhesive alone. A thin bead of clear silicone sealant along both edges of the strip adds a further layer of grip and weatherproofing, especially useful right where the strip turns a tight curve.
Power supply: the strip doesn't plug straight into an outlet — you need a transformer (LED driver) that steps 220V down to 12V, and it needs to be outdoor-rated (IP65/IP67) too. You can work out the transformer's wattage by multiplying your total strip length by the watts-per-meter figure printed on the strip's packaging.
Powering it outdoors: plug the transformer into a GFCI-protected, weather-resistant (WR-rated) outdoor outlet, and use an "in-use" cover that stays closed even with something plugged in. If you need an extension cord, choose one rated for outdoor use (UV- and water-resistant).
Will rain or snow be a problem: an IP67-rated strip is safe in rain and snow, but any end you cut is always exposed and breaks the waterproofing — every cut end needs a bead of silicone or a waterproof end cap, or the strip's IP rating doesn't mean anything in practice.
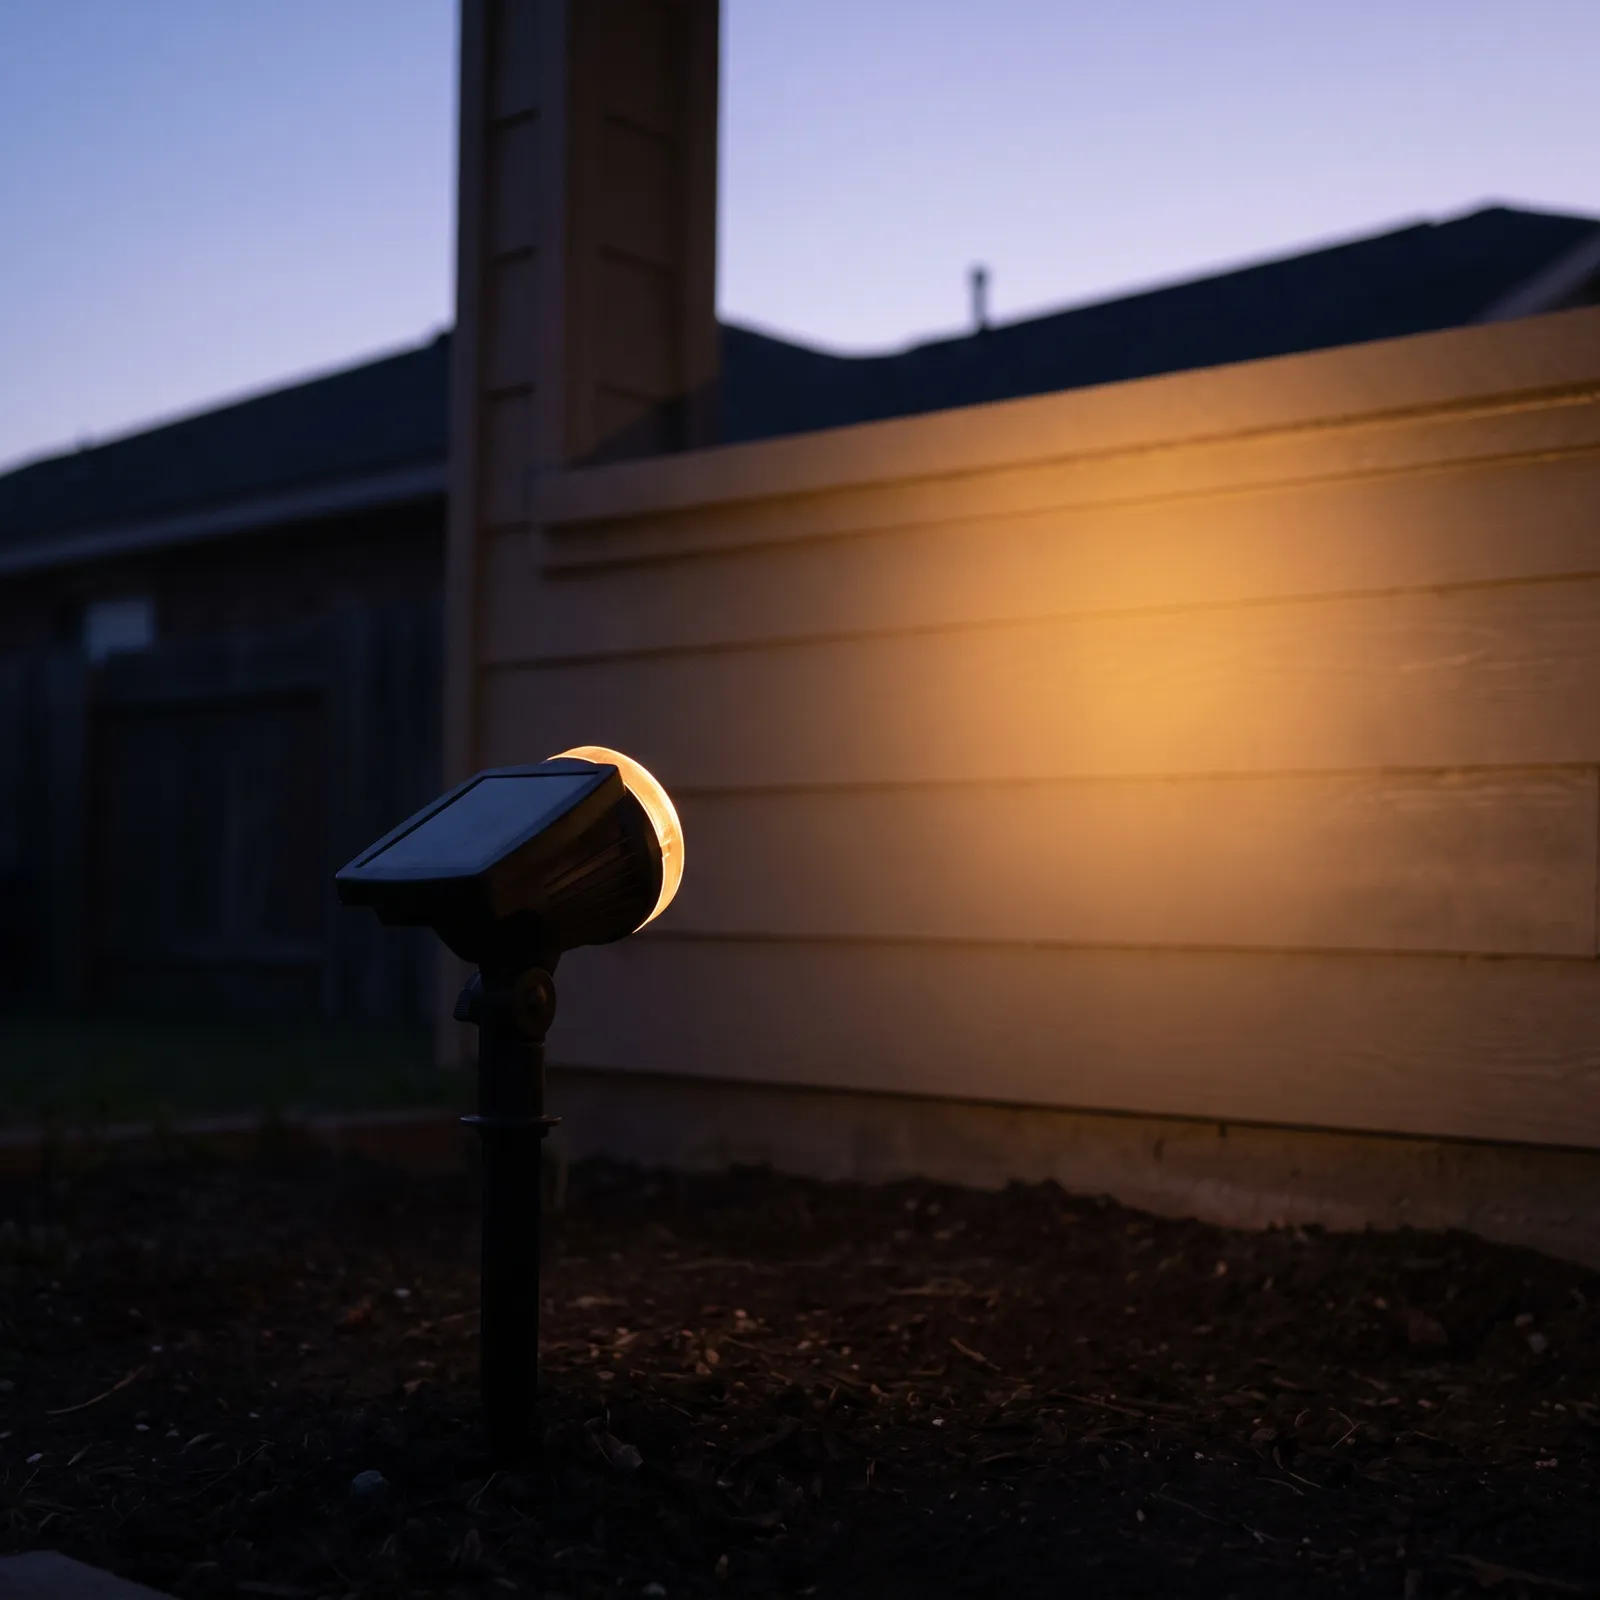
If running a full LED strip system is more than you want to take on, a couple of solar-powered spotlights staked into the ground in front of each figure give a similar uplit look with no wiring, no transformer, and nothing to plug in. The trade-off is real, though: solar panels need several hours of direct sun to charge, so shaded spots under eaves or trees will undercharge, especially given how short winter days already are. Cold weather also cuts battery capacity and runtime — expect noticeably less light on the coldest nights of the season, right when you're most likely to want it. If your display sits somewhere with decent daytime sun, this is genuinely the easier route; if it's mostly shaded or you're somewhere with harsh winters, the wired strip holds up better. Either way, an inexpensive outdoor timer on the wired setup — or just relying on the solar spot's built-in dusk sensor — means you're not walking out to flip a switch every evening.
Yes. If you're cutting by hand, just change the scale percentage in your printer settings — selecting 80% shrinks the design, 120% enlarges it. All dimensions change proportionally, so the sizes I listed no longer apply once you rescale; you can measure the printed result with a ruler to confirm the new size. If you're having it CNC-cut, you can ask whoever's doing the cutting to apply the scale adjustment directly.
Yes — this is a standard, platform-wide Etsy feature. The download link doesn't expire; you can re-access your files anytime from the "Purchases and Reviews" page in your Etsy account, with no limit on how many times you download.
Of course — I make every plan myself, and you're welcome to reach out to me directly through Etsy with any question, before or after your purchase. I stand behind every design I share.
No — these files are for personal use only. Selling what you make from them, or using the design or files for any other commercial purpose, isn't included in this purchase.
I don't offer refunds once the files have been downloaded — this is standard practice given the nature of digital goods. That said, if you run into an actual problem with the files (won't open, something's missing), reach out and I'll help sort it out.
Please select a heading above to see the project details.
Other (Composition) Christmas Decor Projects
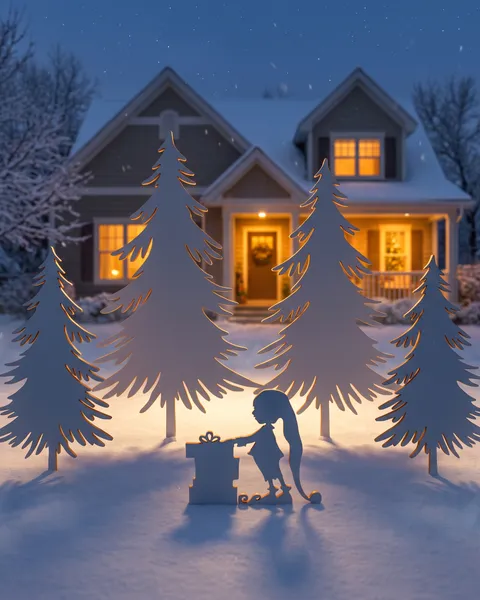
Elf and Full-Branched Pine Silhouette Duo Yard Decor Plans

Elf and Starry Swirl Tree Silhouette Duo Yard Decor Plans
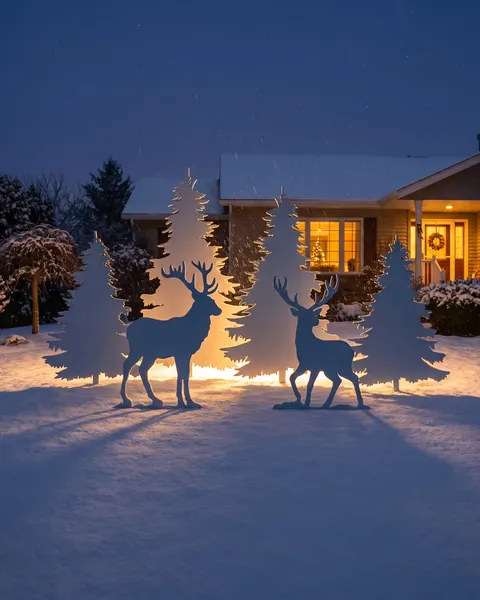
DIY Outdoor Christmas Decor - Two Reindeer and Snowy Pine Tree Silhouettes
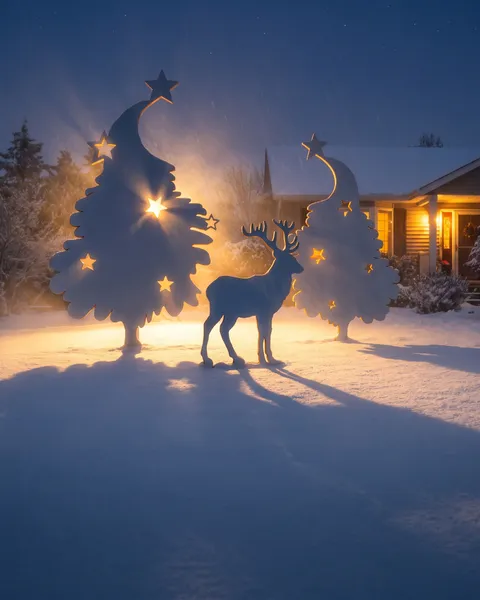
Male Reindeer and Starry Swirl Tree Silhouette Duo Yard Decor Plans

Reindeer, Elf and Tree Silhouette Trio Yard Decor Plans
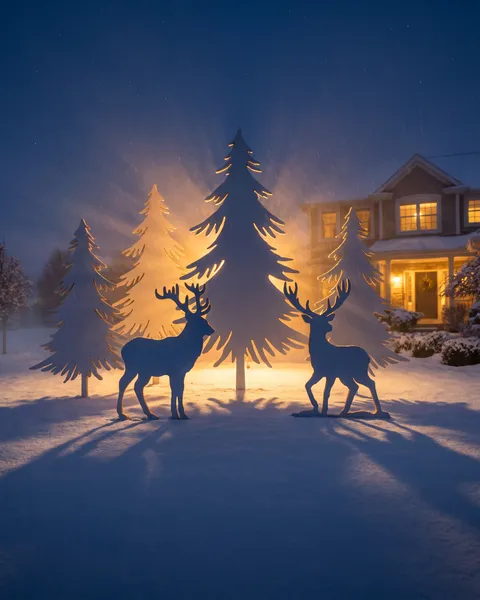
DIY Outdoor Christmas Decor - Two Reindeer and Pine Tree Silhouettes
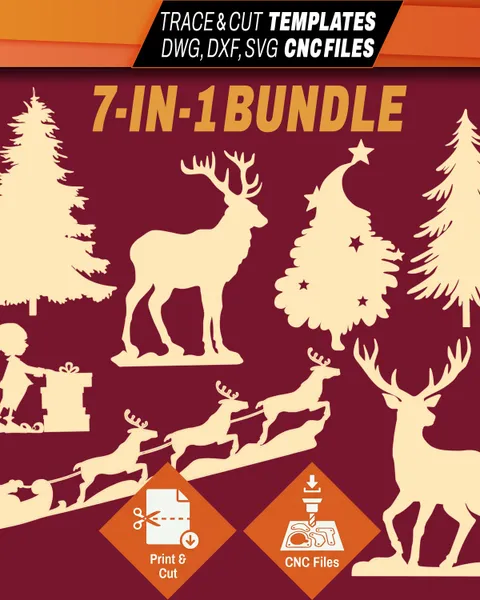
Elf, Reindeer, Trees and Santa: 7-Figure Yard Christmas Decor Set Plans
Elf and Full-Branched Pine Silhouette Duo Yard Decor Plans
Elf and Starry Swirl Tree Silhouette Duo Yard Decor Plans
DIY Outdoor Christmas Decor - Two Reindeer and Snowy Pine Tree Silhouettes
Male Reindeer and Starry Swirl Tree Silhouette Duo Yard Decor Plans
Reindeer, Elf and Tree Silhouette Trio Yard Decor Plans
DIY Outdoor Christmas Decor - Two Reindeer and Pine Tree Silhouettes